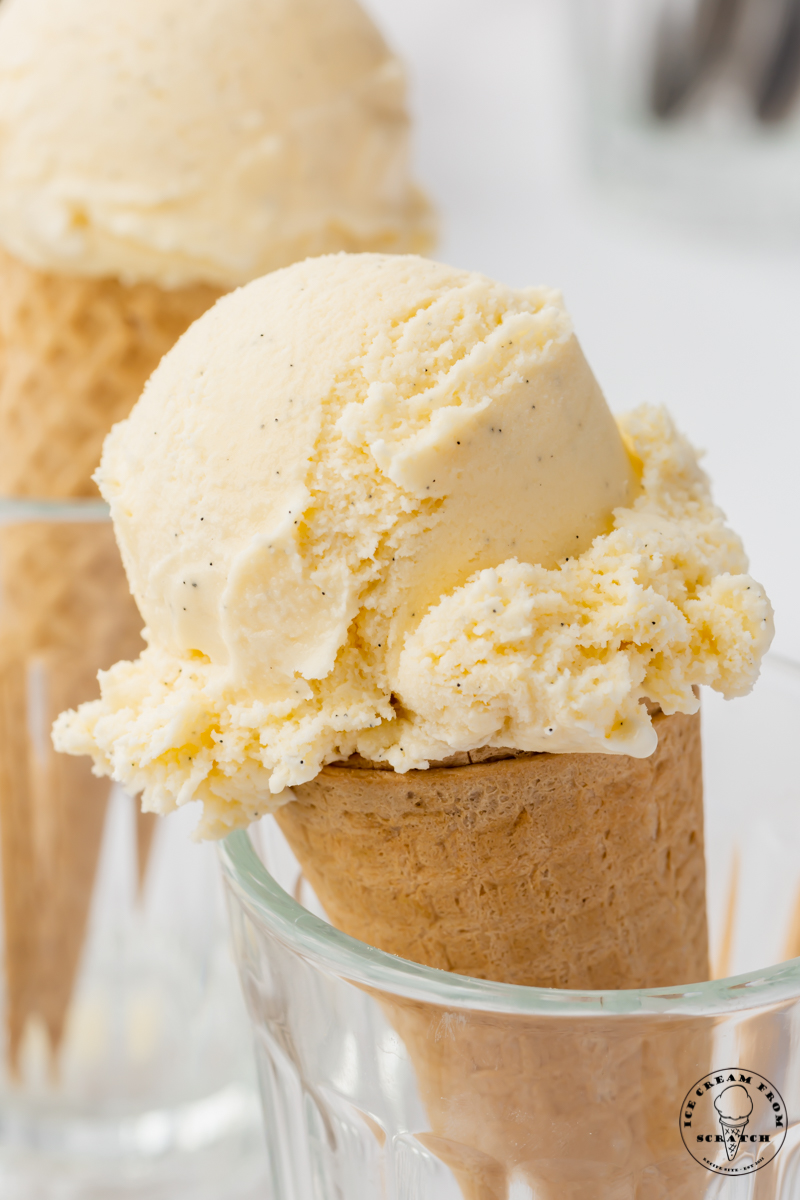
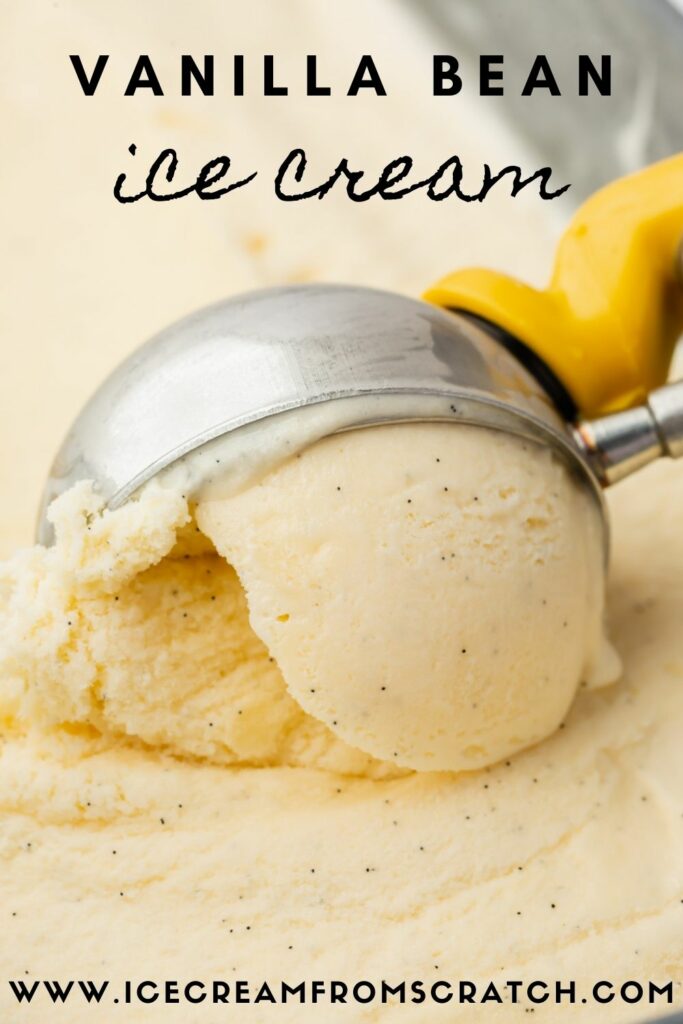
Vanilla Bean Ice Cream
A rich, creamy, and decadent homemade Vanilla Bean Ice Cream is easy to make at home with a few simple, fresh ingredients. This vanilla bean ice cream recipe is a French vanilla recipe that uses the classic method of creating a base for the ice cream with a rich egg-yolk custard.
Vanilla Bean Ice Cream made from scratch is all-natural, gluten-free, and nut-free. For a vegan option, try this Vegan Vanilla Bean Ice Cream.
What readers are saying:
Easily the best vanilla ice cream I’ve ever tasted!! Vanilla beans are a bit pricey, but it’s worth it to get them for this recipe. It was the perfect size batch for my Cuisinart ice cream maker, too! I will be adding this to my recipe collecting for sure!! – Anna
Vanilla truly is the finest of the flavors, and vanilla ice cream is number 1 on the list of American’s favorite ice creams. It’s perfect as in, or served with other desserts, or in a root beer float.
Numbers two and three on the list are, of course, Chocolate Ice Cream and Strawberry Ice Cream. You can use all three of these to create the most amazing homemade banana split.
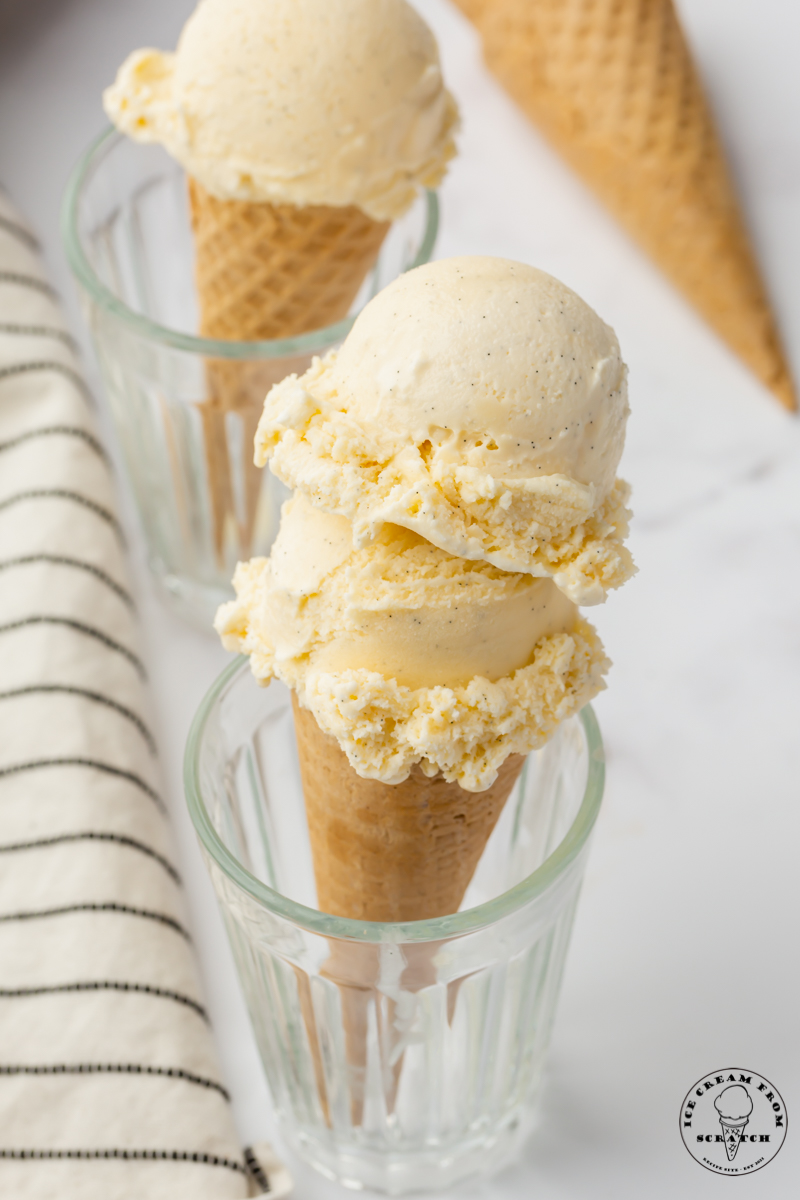
Homemade vanilla bean ice cream is easy to make with a handful of quality, fresh ingredients, and simply flavored using vanilla extract and a whole vanilla bean. It’s amazing on it’s own or in an ice cream sundae.
You can also use it in a brownie sundae, delish!
Why You’re Going to Love this Vanilla Bean Ice Cream Recipe
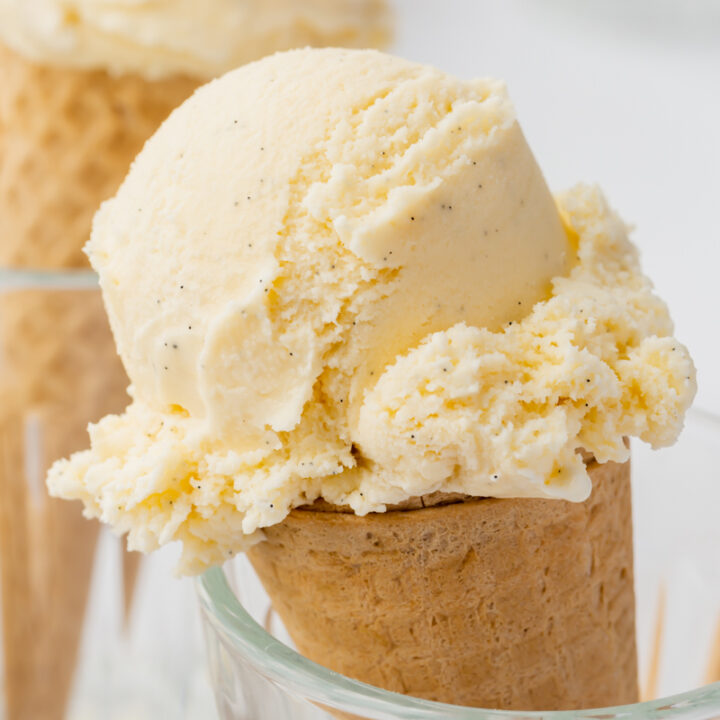
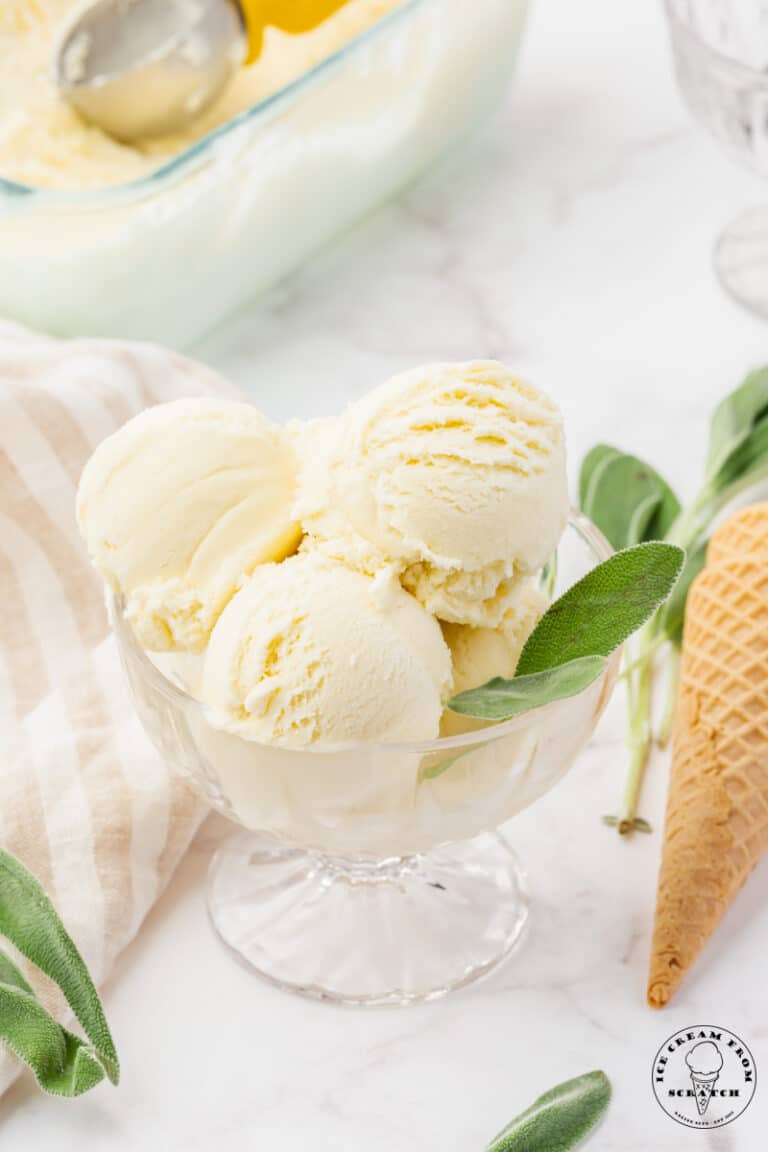
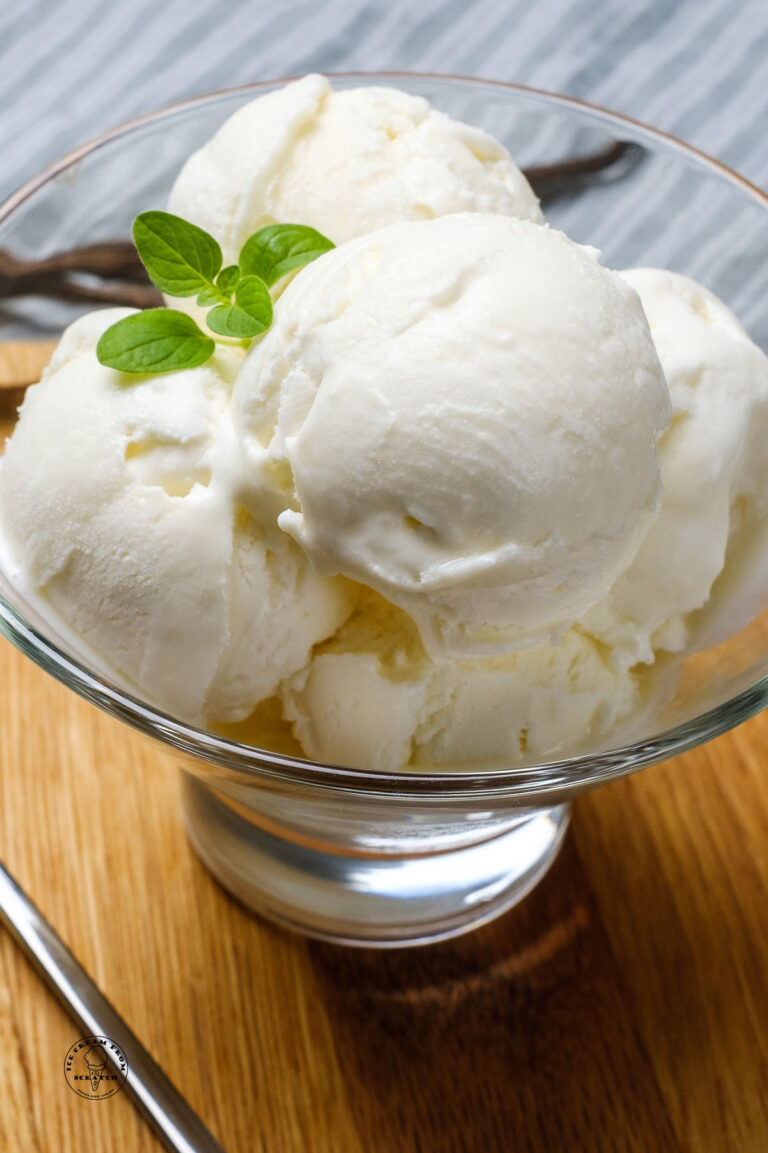
Those little black vanilla specks. There’s something extra special about a bowl of vanilla ice cream that you can actually see the vanilla seeds in. You know just from looking at it that it’s going to taste spectacular!
Just 7 Ingredients. Less is more when it comes to making vanilla ice cream. Each ingredient in this recipe has a purpose, and they all come together perfectly to make the best vanilla bean ice cream you’ve ever tasted.
Easy Instructions. Even if you’ve never made homemade ice cream before, you’ll be able to make this recipe. We’re giving you step-by-step instructions and photos to show you exactly how to make, store, and enjoy this ice cream.
Also, It makes an incredible vanilla milkshake.
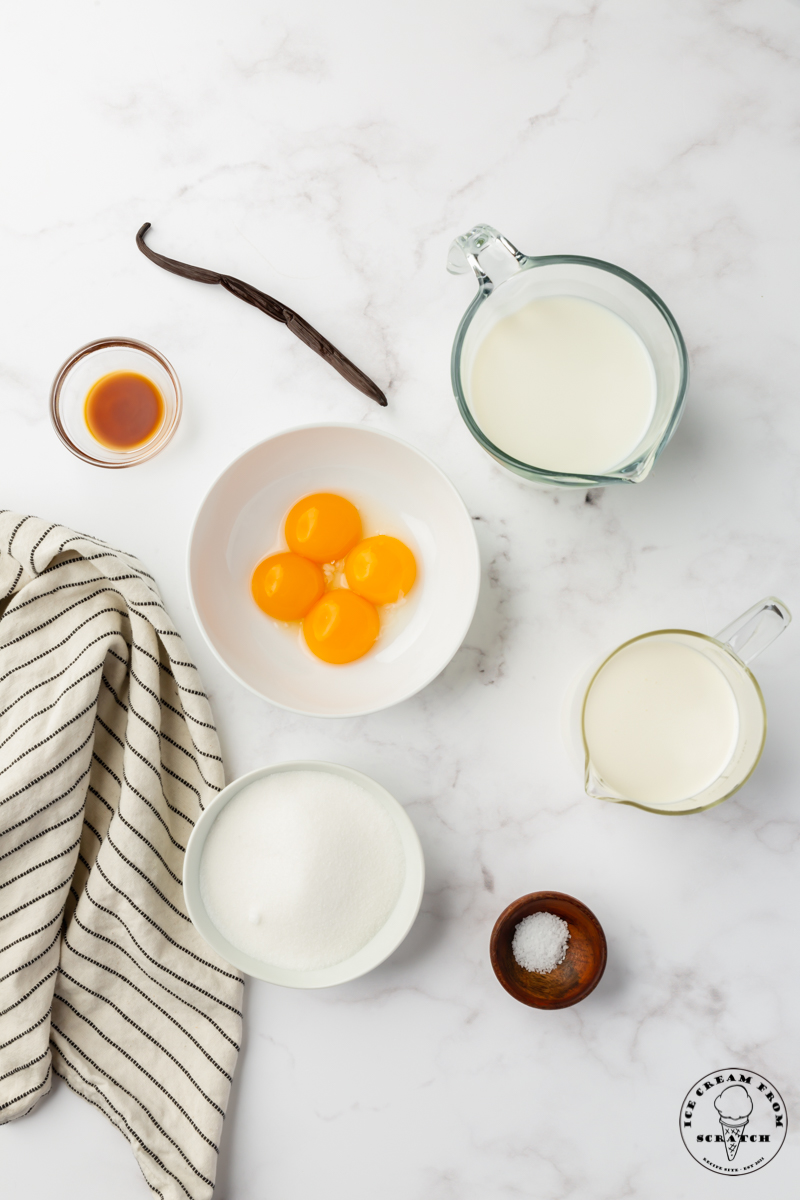
Ingredients in Homemade Vanilla Bean Ice Cream
Egg Yolks – These create the base for our ice cream custard. We’ll gently heat the egg yolks to pasteurize them, but you can also purchase pasteurized eggs if you prefer.
Sugar – For sweetness and amazing ice cream texture, plain, white, granulated sugar is the perfect choice.
Vanilla Bean – We will be using the entire vanilla bean in this batch of ice cream. The seeds go in, and the vanilla bean pod is cooked and steeped with the milk too. There’s so much flavor in the pod! If you can’t find a whole vanilla bean, you can use two tablespoons of vanilla paste instead.
Whole Milk – Milk is cooked with the egg yolks and sugar to create our custard base.
Salt – Just a bit of salt balances the sweetness and makes everything taste a bit brighter.
Heavy Cream – Making ice cream with both heavy cream and whole milk is what gives us the best creamy texture.
Vanilla Extract – Vanilla is a must for almost all of our ice cream recipes, but it is especially important in this one. It elevates the simple flavors of milk, sugar, and cream, and takes the vanilla bean flavor over the top!
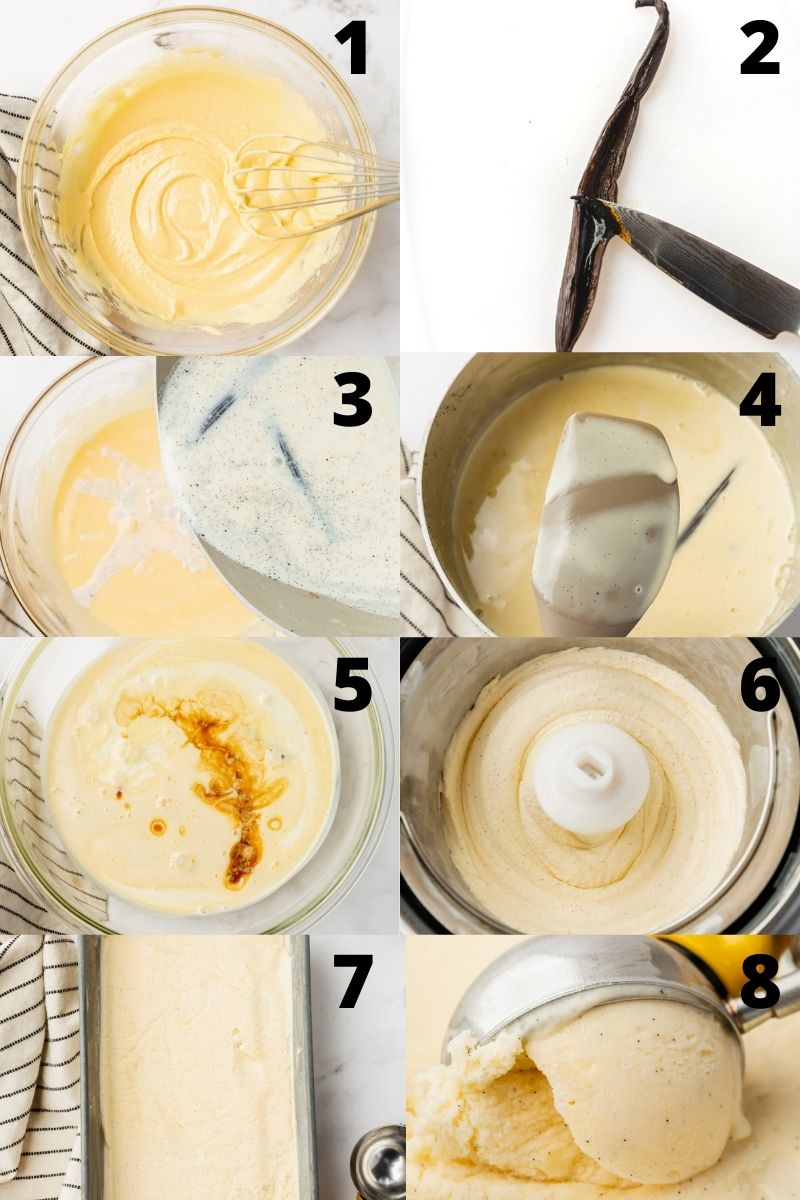
How to Make Vanilla Bean Ice Cream from Scratch
Start the day before by making sure that the bowl for your ice cream maker has at least 24 hours to freeze solid.
- In a medium bowl, whisk together the egg yolks and granulated sugar until smooth and pale yellow in color.
- Split the vanilla bean in half and scrape the seeds from the vanilla bean. You’ll be using both the seeds and the pod, so don’t throw anything away!
- Add the milk, salt, vanilla bean seeds, and vanilla bean pod to a saucepan over medium heat. Bring the milk to a simmer and then remove from the heat. Be sure not to boil. Add about 1/2 cup of the hot milk to the egg and sugar mixture and whisk constantly until combined.
- Then, add the tempered egg mixture back into the saucepan with the remaining hot milk. Heat the saucepan on low. Stirring constantly, heat until the base has thickened enough to coat the back of a spoon. This should take a few minutes.
- Strain the mixture into a bowl to remove any pieces of egg that may have cooked. Add back the vanilla bean pod to the mixture. Then, add the heavy cream and vanilla extract and stir to combine. Cover the bowl with plastic wrap making sure to have the plastic wrap touching the surface of the ice cream base. This will help keep it from forming a skin while chilling. Refrigerate for at least 3 hours.
- Discard the vanilla bean pod. Churn the ice cream mixture in the bowl of your ice cream machine according to your manufacturer’s instructions (mine took about 25 minutes), until it is thick and the consistency of soft-serve ice cream.
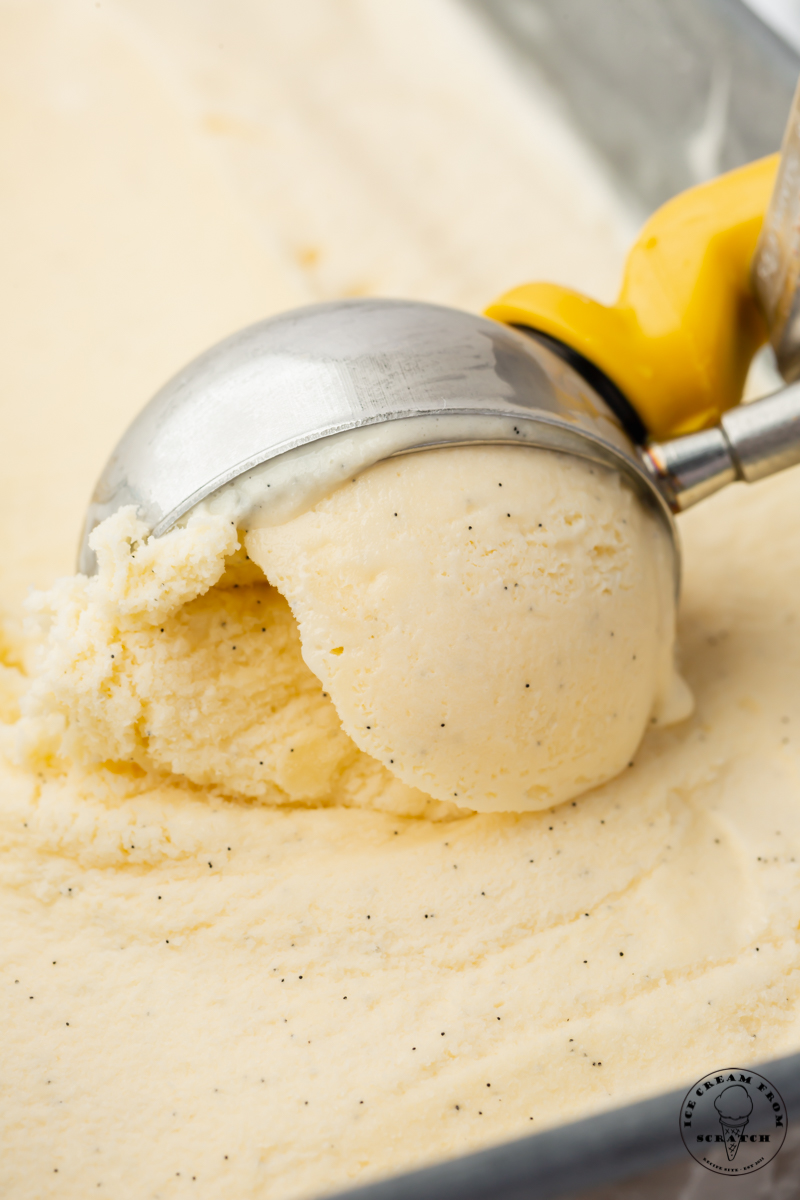
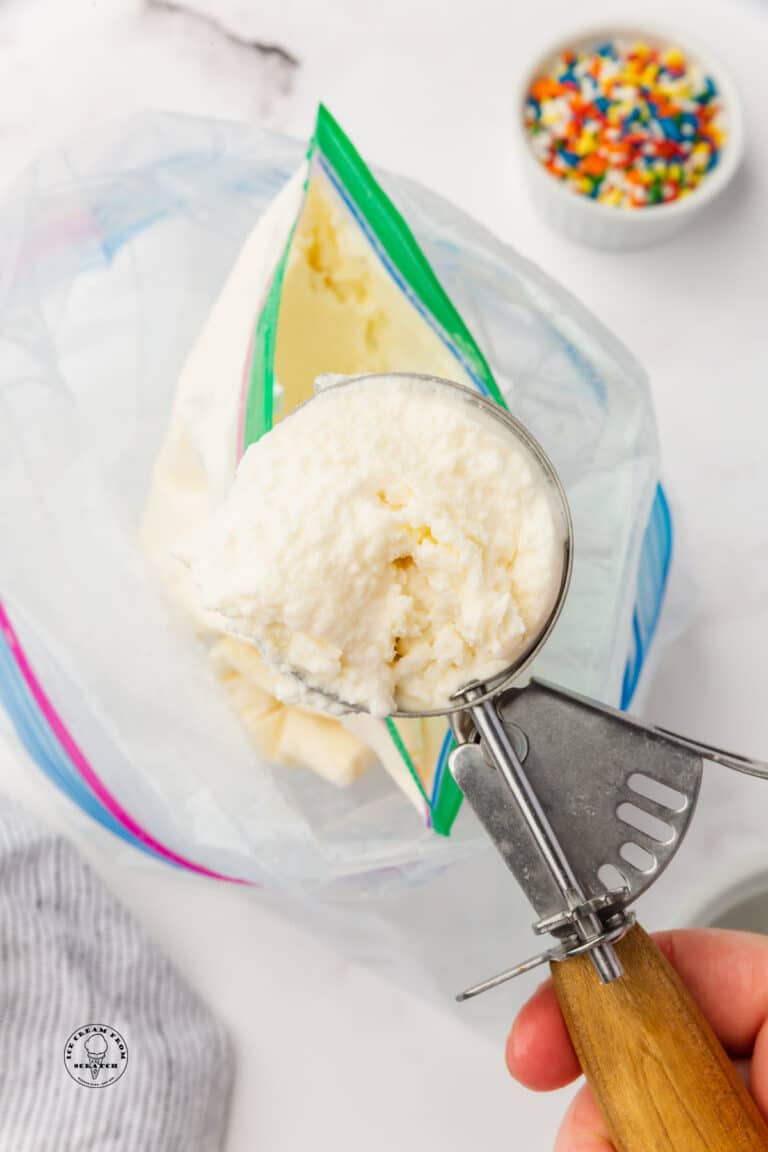
- Spoon the ice cream into a shallow container or a loaf pan. Press plastic wrap or wax paper to the surface of the ice cream. Freeze for at least 4 hours, or until solid.
- Let sit at room temperature for about 5 minutes before serving.
These numbered steps match the numbered photos above and are for illustration purposes. For the complete list of ingredients and instructions, please see the recipe below.
How to Store Vanilla Ice Cream
Store this homemade Vanilla Bean Ice Cream in the freezer in an airtight container with a piece of parchment paper or wax paper pressed on top for up to one month.
Vanilla Bean Ice Cream Recipe Tips
Use quality ingredients – When making homemade ice cream, you’ll want to make sure you are using high-quality ingredients for the best outcome.
Leave the Pod – It’s important to include the vanilla bean pod when you’re heating the milk, and to leave it in while the mixture is chilling too. That time is what will bring out all of the flavor. You can remove the pod just before churning your ice cream.
Chill out – If possible, always start with chilled ingredients. This is important for homemade no-churn ice cream recipes and ice cream maker recipes.
Don’t skimp on the fat – High-fat milk and cream are essential when making homemade ice cream. Opting for a low-fat option often leads to icy ice creams and inconsistency in the texture.
Don’t go crazy with the add-ins – If you’re adding in additional ingredients, pick one or two and make sure they are chopped into pieces no larger than a blueberry or pea.
Don’t skimp on the sugar – Sugar not only adds sweetness to homemade ice creams, it also helps with the texture. Sugar is essential for the creamy texture of ice cream.
What is the Difference Between Vanilla Bean and Vanilla Ice Cream?
Both of these flavors of ice cream taste like vanilla, but the main difference is that vanilla bean ice cream is made using the whole vanilla bean, and will have a stronger vanilla flavor than ice cream made using just vanilla extract.
Is Vanilla Bean Ice Cream the Same as French Vanilla Ice Cream?
Generally, no. Vanilla bean ice cream is called such because it’s made with vanilla beans, while french vanilla refers to the french custard method used to make ice cream, regardless of where the vanilla flavor comes from.
Don’t worry though, this vanilla bean ice cream recipe is BOTH a french vanilla ice cream and a vanilla bean ice cream. French vanilla bean ice cream is the best of both worlds.
No Churn Vanilla Bean Ice Cream Directions
Chill a shallow container or a loaf pan in the freezer while you mix the ice cream ingredients.
Pour the ice cream mixture into the prepared pan and freeze for 3-4 hours. Stir the ice cream every 30 minutes for the first 2 hours to help add air. This will help create a creamy, smooth texture.
You can also try my No Churn Vanilla Ice Cream Recipe instead! It’s egg-free and very simple to make.
Vanilla Bean Ice Cream Add-Ins
Vanilla Ice Cream is the perfect blank canvas for any and all ice cream add-ins! Literally, anything you can think of will taste amazing stirred into this vanilla bean ice cream base.
Start with these ideas, and feel free to come up with your own amazing ice cream flavor ideas.
- Miniature chocolate chips, or chopped chocolate bars
- Chopped candy bars
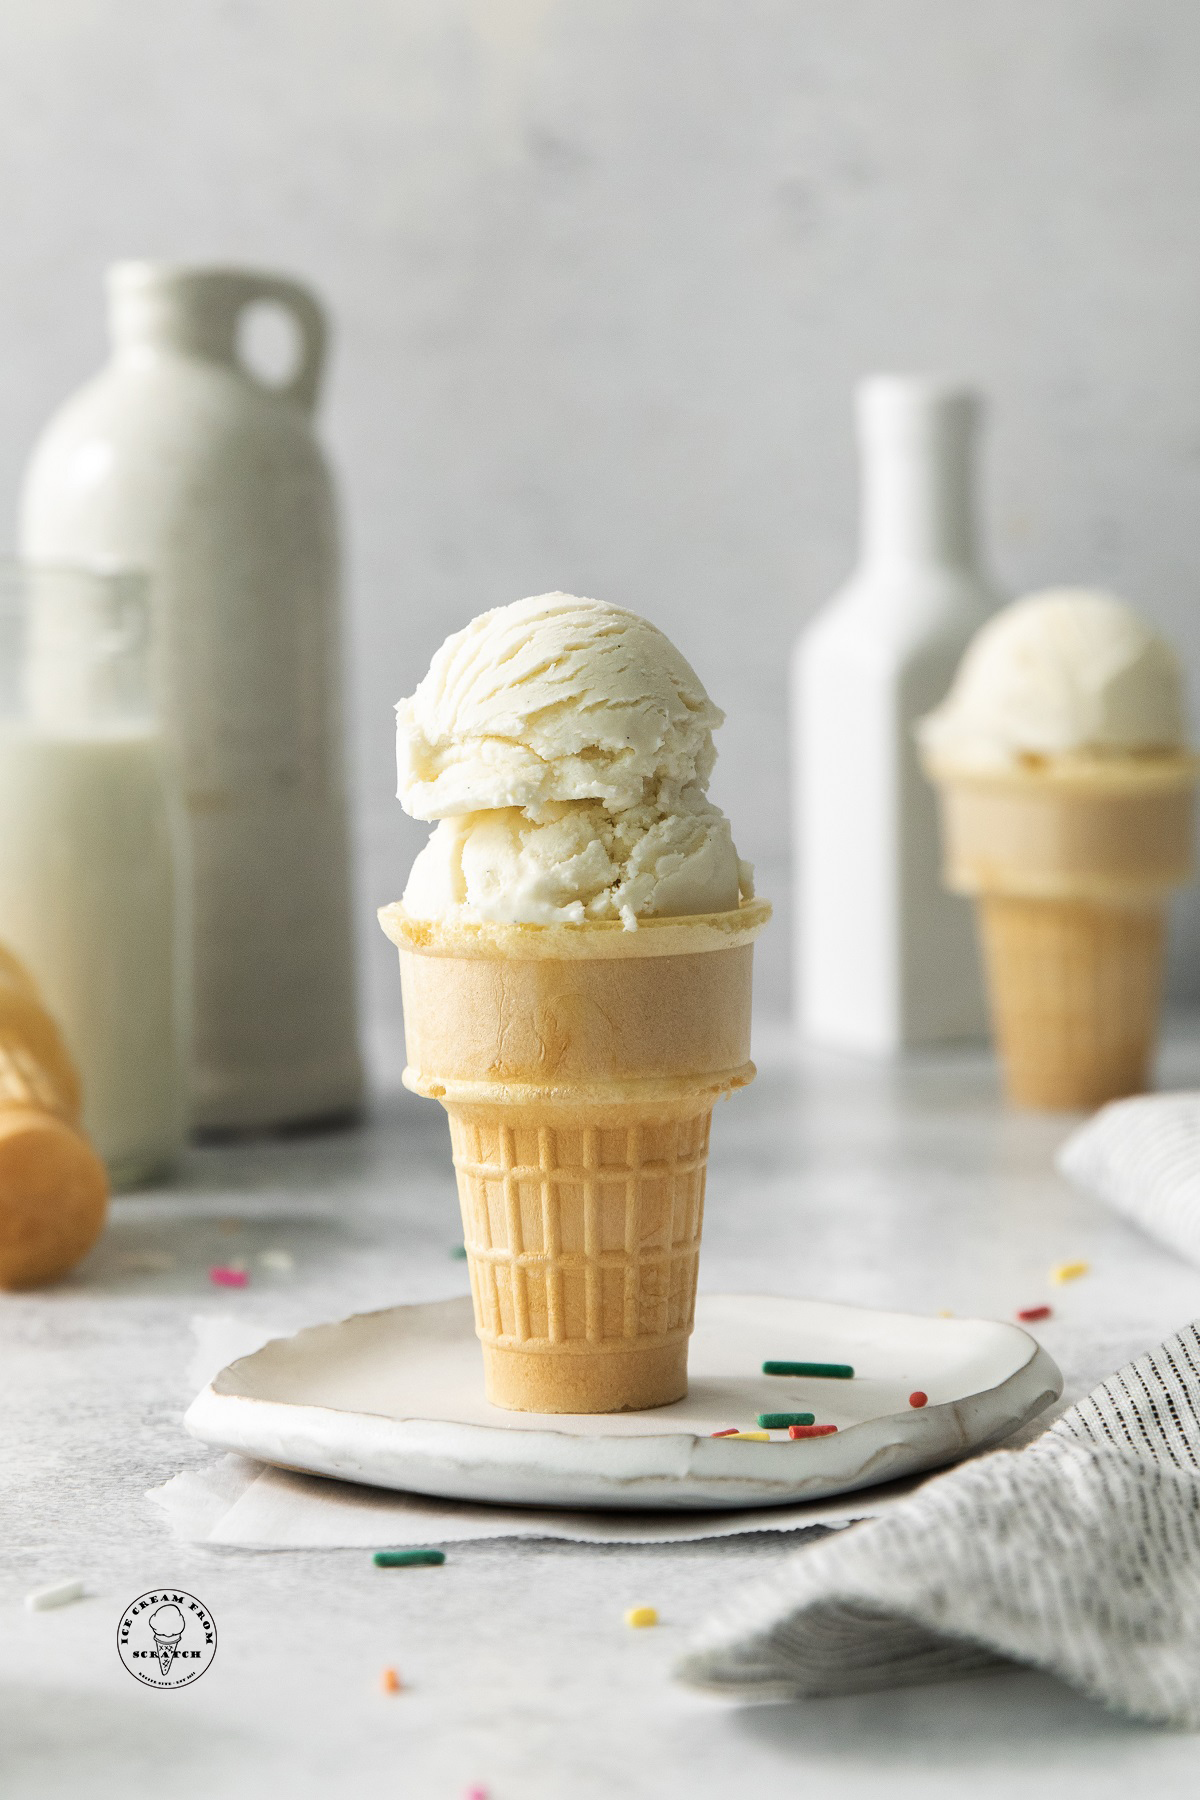
- Sprinkles or Jimmies
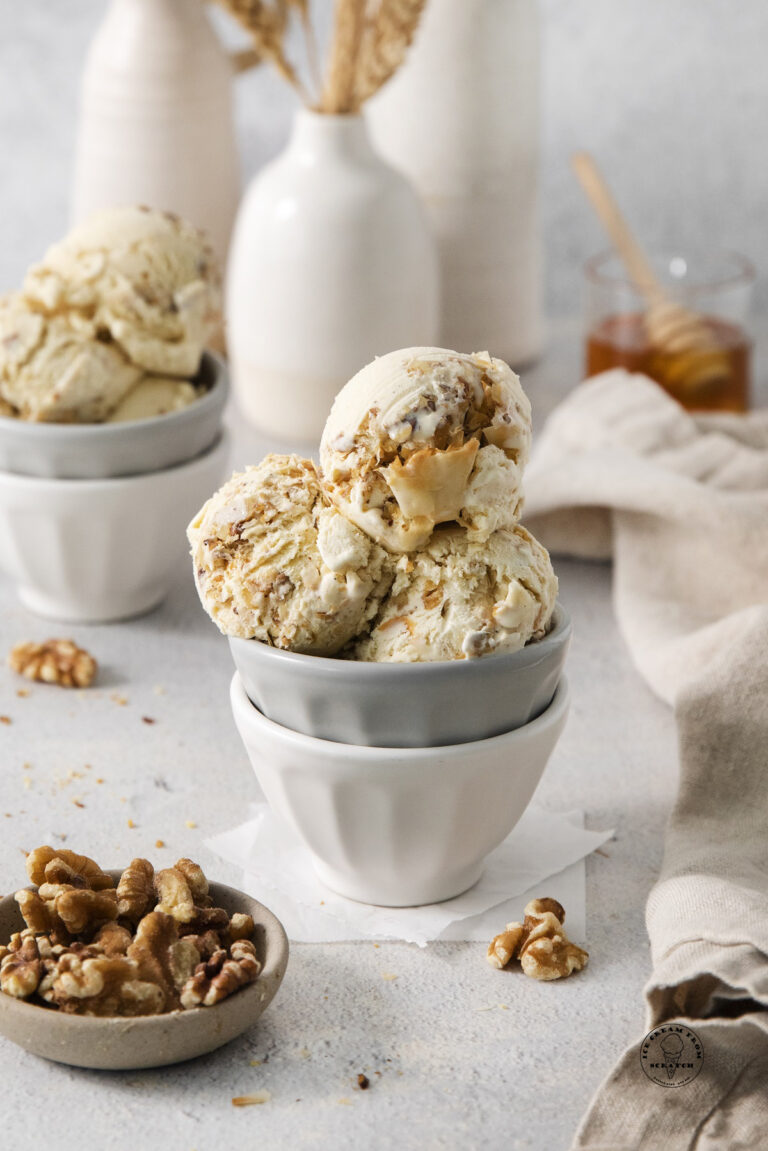
- Shredded Coconut or chopped nuts
- A swirl of fudge, caramel, or strawberry sauce
- Use this homemade ice cream in Ice Cream Sandwiches or to make Fried Ice Cream.
- Or you could make Hokey Pokey Ice Cream.
When do you add the extra ingredients to the ice cream maker?
When churning ice cream, you should add any add-ins to the mix about two minutes before it’s done. It only takes that long for the extra ingredients to mix in fully, and if you add them too early you risk them being broken up too much, and the ice cream base not setting properly.
More Homemade Ice Cream Recipes
You are going to love these simple and delicious ice cream flavors!
- Sweet Cream Ice Cream
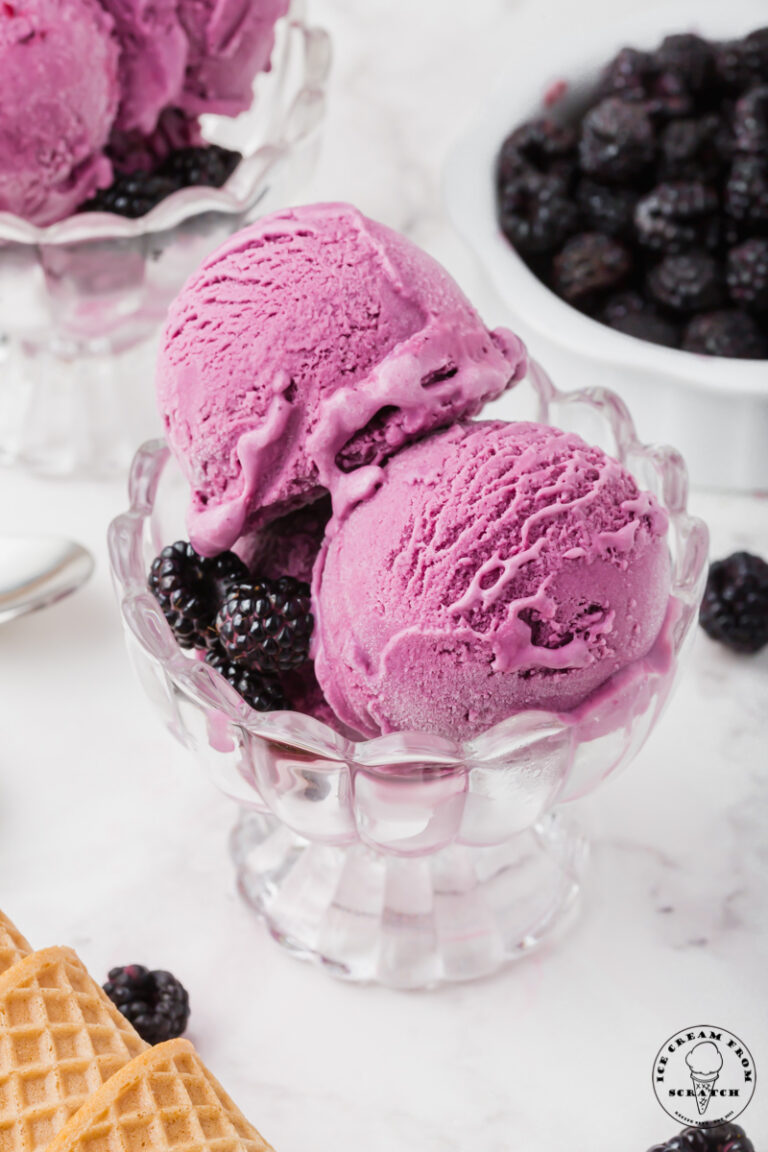
- Blueberry Ice Cream
- Avocado Ice Cream
- Chocolate Ice Cream
- Strawberry Ice Cream
Looking for an ice cream recipe that’s a little more exciting? Try making Cookie Monster Ice Cream or Turtle Ice Cream.
LET’S GET SOCIAL, you can follow us on Pinterest or leave a comment below if you have any questions.
Did you make this Homemade Vanilla Bean Ice Cream Recipe? Leave a Comment Below letting us know what you thought and if you added any additional add-ins.
Vanilla Bean Ice Cream
A rich and creamy, decadent homemade Vanilla Bean Ice Cream is easy to make at home with a few simple, fresh ingredients.
Ingredients
- 4 large egg yolks
- 3/4 cup granulated sugar
- 1 vanilla bean
- 1 1/2 cups whole milk
- 1/2 tsp salt
- 1 1/2 cups heavy cream
- 1/2 teaspoon vanilla extract
Instructions
- Chill the ice cream bowl for at least 24 hours or until solid. You should not hear any water sloshing around when you shake the bowl. In a medium bowl, whisk together the egg yolks and granulated sugar until smooth and pale yellow in color.
- Split the vanilla bean in half and scrape the seeds from the vanilla bean.
- Add the milk, salt, vanilla bean seeds, and vanilla bean pod to a saucepan over medium heat. Bring the milk to a simmer and then remove it from the heat. Be sure not to boil. Add about 1/2 cup of the hot milk to the egg and sugar mixture and whisk constantly until combined.
- Then, add the tempered egg mixture back into the saucepan with the remaining hot milk. Heat the saucepan on low. Stirring constantly, heat until the base has thickened enough to coat the back of a spoon. This should take a few minutes.
- Strain the mixture into a bowl to remove any pieces of egg that may have cooked. Add back the vanilla bean pod to the mixture. Then, add the heavy cream and vanilla extract and stir to combine. Cover the bowl with plastic wrap making sure to have the plastic wrap touching the surface of the ice cream base. This will help keep it from forming a skin while chilling. Refrigerate for at least 3 hours.
- Discard the vanilla bean pod. Churn the ice cream mixture in the bowl of your ice cream machine according to your manufacturer’s instructions (mine took about 25 minutes), until it is thick and the consistency of soft-serve ice cream.
- Spoon the ice cream into a shallow container or a loaf pan. Press plastic wrap or wax paper to the surface of the ice cream. Freeze for at least 4 hours, or until solid.
- Let sit at room temperature for about 5 minutes before serving.
Notes
- If you do not have vanilla beans, you can use 2 teaspoons of vanilla paste instead.
- If using vanilla beans, it is important to be sure to include the pod in the saucepan, and leave it in the ice cream base while it's chilling too. The time it spends in the milk will bring out all of the vanilla bean's amazing flavor.
- Plan ahead by making sure that your ice cream maker bowl is in the freezer at least 24 hours before you're going to make ice cream.
- Homemade ice cream can be stored in the freezer for up to one month. Keep it in an airtight container with a piece of plastic wrap or wax paper pressed to the surface of the ice cream to keep ice crystals from developing.
- Homemade ice cream should be easy to scoop if you let it soften at room temperature for 5 minutes after removing it from the freezer.
Nutrition Information:
Yield: 6 Serving Size: 1Amount Per Serving: Calories: 394Total Fat: 27gSaturated Fat: 16gTrans Fat: 1gUnsaturated Fat: 9gCholesterol: 228mgSodium: 285mgCarbohydrates: 30gFiber: 0gSugar: 30gProtein: 8g
Hello and thank you for the recipe. I’ll be pairing this with w homemade apple pie, this Thanksgiving.
Do you have any thoughts on the addition of dark rum? Will this enhance the flavor? Any suggestions on how much to add?
Hi Brit,
We have a rum ice cream recipe coming out next month, but until then, yes, you can add dark rum. It will enhance the flavor. If you like a light rum flavor, we suggest adding 2-3 tablespoons. If you like a heavy/prominent rum flavor, add 4-5 tablespoons. You’ll want to add it in when you add the heavy cream, and vanilla back into the custard mixture (before churning). Enjoy!
The Ice Cream From Scratch Team
This is my go to Vanilla Bean Ice Cream!!! I substitute vanilla bean paste instead of the vanilla bean pos, just because that’s typically what I have on hand…but, so thankful you posted this recipe!! I have had much success and I’m a newbie to the tempered egg method versus– is it referred to as the “Philadelphia style” or “eggless” versions-this is SO much better…made with a little extra time and love!
We’re so glad you liked it. Thank you for taking the time to stop back by and let us know.
Happy Holidays,
The Ice Cream From Scratch Team
(I mean *vanilla bean POD) sorry
I don’t have vanilla beans or paste, only vanilla extract. How much should I use?
Hi Peggy,
You can use 2 teaspoons of vanilla extract, 3 if you like it super vanilla-y.
The Ice Cream From Scratch Team
Please change the background music on this site. I find it difficult to concentrate while reading the recipe with the overly excited music playing.
Hi Pat,
We don’t have any background music on the site. If you’re on a page that has a video that is playing, you can use the mute button to mute the music. We hope that helps.
The Ice Cream From Scratch Team
HI there! How long can you chill with the vanilla bean in? Would you chill overnight as well or will that be too strong?
Thanks!
Hi Michelle,
That might be a touch too strong.
The Ice Cream From Scratch Team
How much ice cream does this make? Is it 1.5 quarts?
Hi Cheryl,
Yes, 1.5QTs 🙂
The Ice Cream From Scratch Team
Finally, someone has come up with a collection of recipes I can use in my Cuisinart countertop ice cream maker! I made the vanilla bean ice cream today for the family Fourth of July cookout, and while it turned out great, everyone thought it was a little too eggy, though still delicious. Next time I’ll try one or two fewer yolks and see how it goes. I used to make a country style vanilla ice cream that used four egg yolks but that was for a gallon batch in the full-size machine, so I’m thinking a reduced amount of egg yolk won’t hurt this smaller batch. Really appreciate your efforts in developing a variety of different ice cream flavors for those of us who enjoy homemade ice cream but don’t need a full-size machine. Thank you!
AWESOME RECIPE, THANKS SO MUCH!!
Just made this today, no vanilla beans on hand so I used the 2 tsp’s of extract as stated. It’s chilling in the freezer at the moment but tasted a bit during transfer and cleanup. WOW, great vanilla flavor!!!
THIS IS A WINNER!
Hi Tom,
We’re glad you love it. Thank you for stopping back by to let us know.
The Ice Cream From Scratch Team
I have made this vanilla bean ice cream many times. It is enjoyed very much. So much better than bought.
Hi Marie,
Thank you for taking the time to stop back by and let us know that you like it. We appreciate it.
The Ice Cream From Scratch Team
Just got my cuisinart ice cream maker and I’m wondering if it’s possible to make ice cream without the stove top cooking part?
Hi Sandy,
Yes, we have a collection of Philadelphia style ice cream recipes, that require no cooking. https://icecreamfromscratch.com/category/ice-cream-recipes/philadelphia-style/
The Ice Cream From Scratch Team