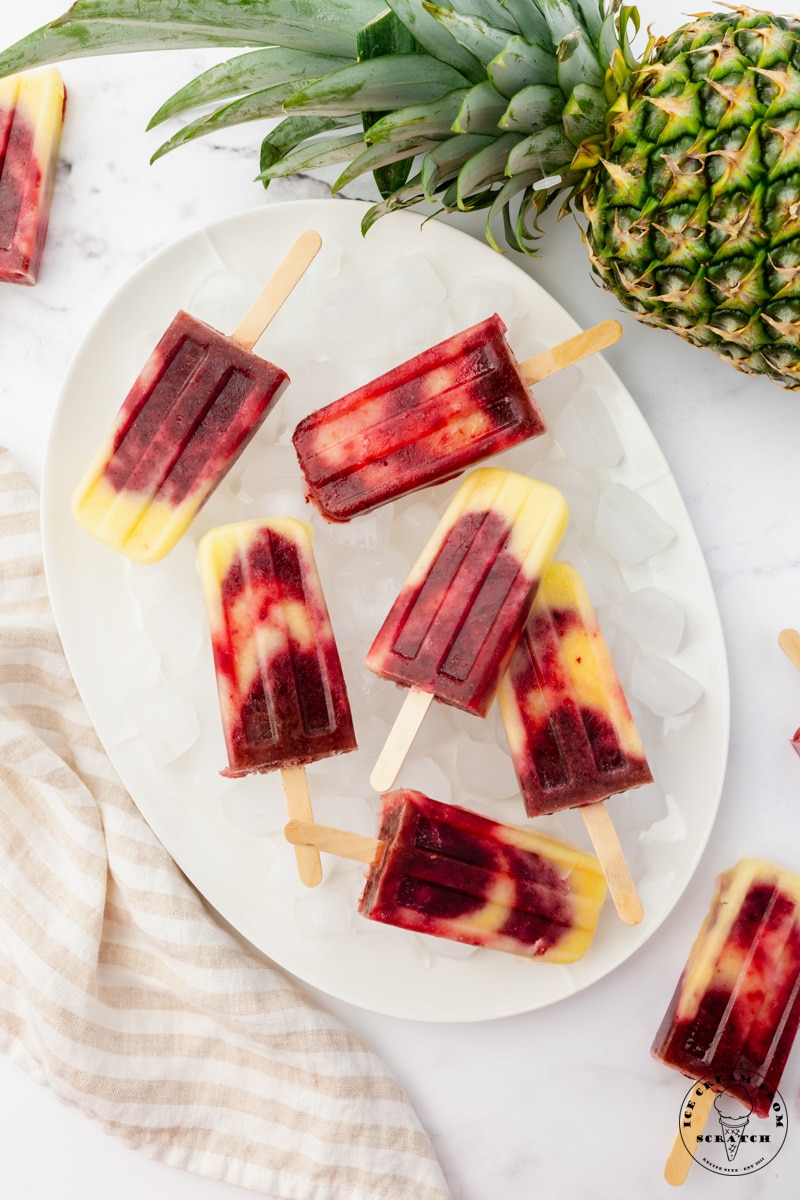
Cherry Pineapple Popsicles
Cherry Pineapple Popsicles are a fun, frozen dessert made from frozen fruit.
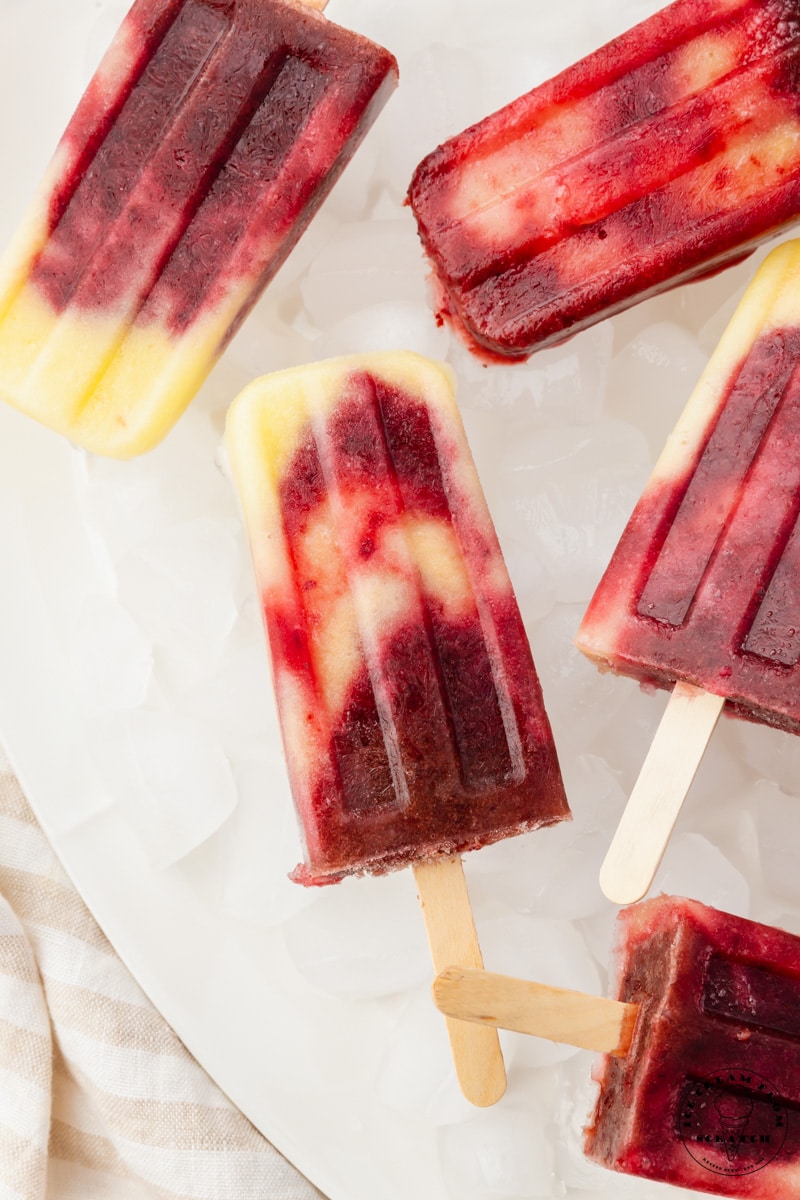
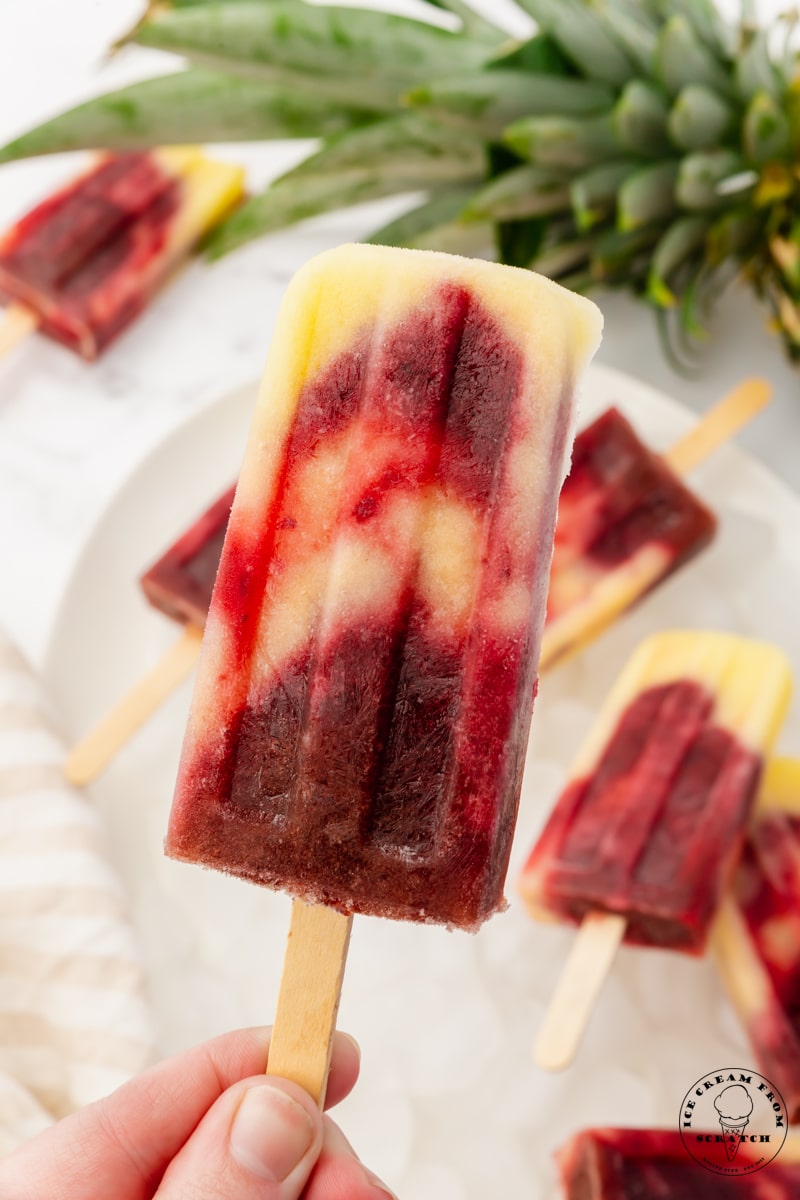
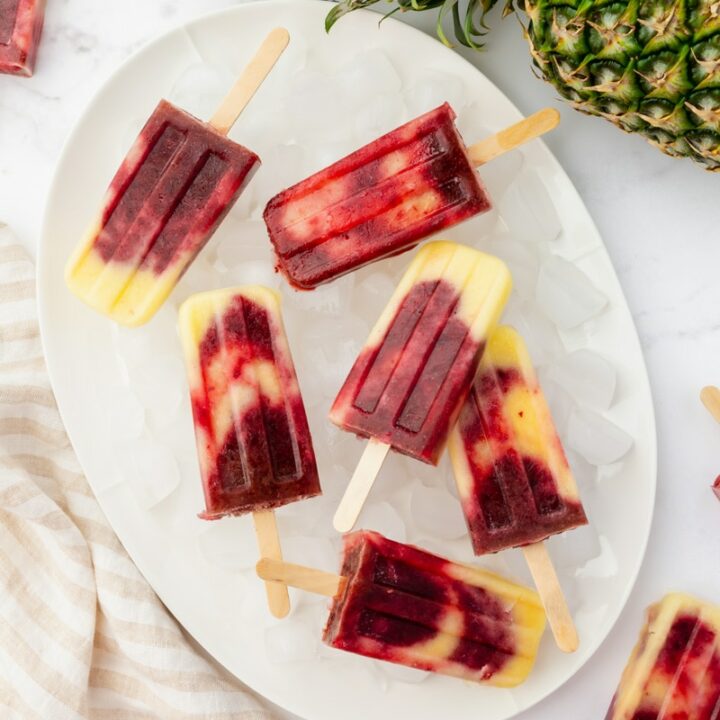
You’ll love the swirled layered look of these homemade popsicles, and you’ll also love how easy they are to make with the help of your blender and a simple popsicle mold.
These pineapple cherry popsicles are lower in sugar than store-bought popsicles, gluten-free, nut-free, and dairy-free.
Popsicles made with fresh fruit are such a fun way to enjoy a treat!
These cherry pineapple popsicles are made with frozen fruit, which means that they’re easy to make any time of the year.
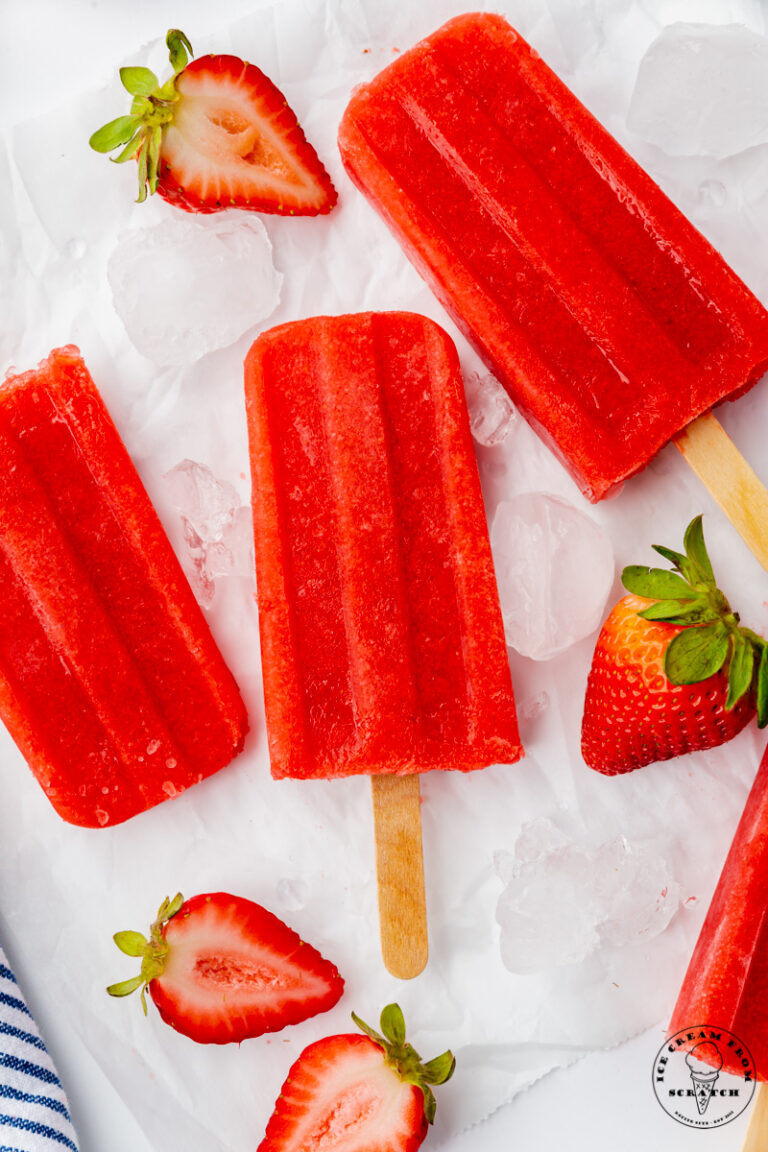
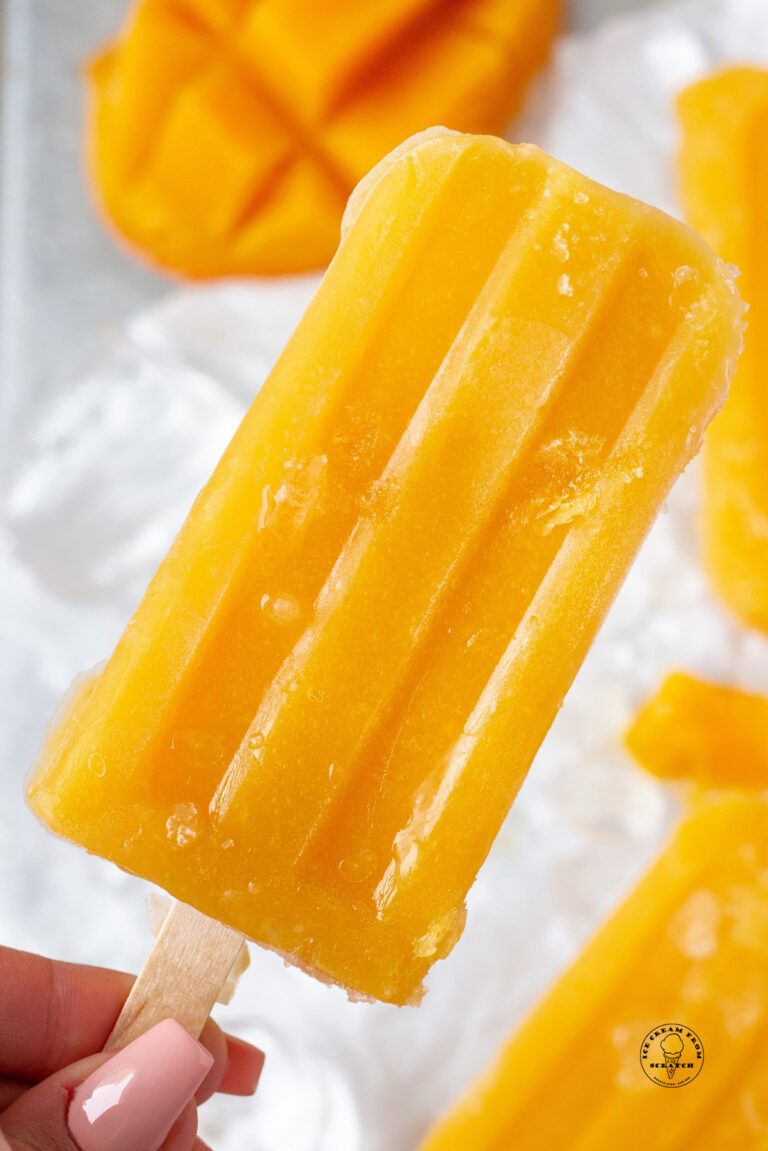
I like to keep bags of frozen fruit in my freezer to that I’m always ready to whip up a batch of mango popsicles, or strawberry popsicles too.
Why You’re Going to Love this Cherry Pineapple Popsicle Recipe
Cherry Pineapple Popsicles are a delicious treat! Coming in at around 100 calories each, you can feel good about choosing to enjoy a popsicle made from real fruit. The combination of cherries and pineapple mixes sweet, and tart in a very tasty way.
Make Popsicles with your Kids. Involve the whole family in this recipe! Since making these popsicles doesn’t require the stove, they may be able to make popsicles on their own too.
Your kids might also enjoy making Ice Cream in a Bag!
An Easy Recipe. Making homemade popsicles is nearly fool-proof. You don’t need to be super exact with the measurements or complete any tricky prep work to make cherry pineapple popsicles. Just blend up the ingredients and pop them in the freezer.
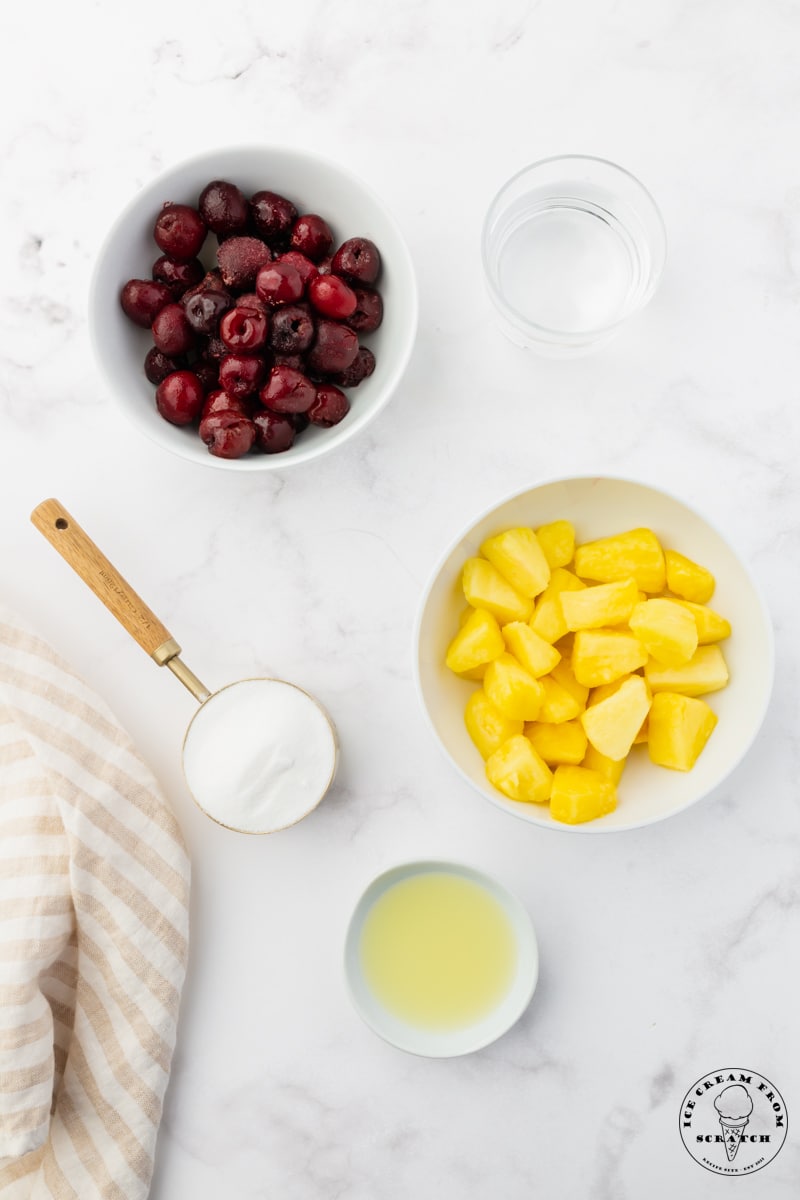
Ingredients in Homemade Cherry Pineapple Popsicles
Frozen Pineapple – Frozen pineapple chunks or fresh ripe pineapple can be used here. Let frozen pineapple thaw before blending it.
Frozen Cherries – Sweet cherries are at their best when you buy them frozen, or you can use fresh ones if they are in season. Just like the pineapple, let them thaw first.
Granulated Sugar – Just a half cup of sugar is enough to make these fruit popsicles perfectly sweet. Feel free to use more or less sugar, or honey if you prefer.
Water – You’ll need water to make the frozen fruit puree thin enough to pour.
Lemon Juice – Use fresh lemon juice to brighten up the flavor. Please don’t use bottled lemon juice to make these, it’s not the same.
Note that the water, sugar, and lemon juice are divided so that half is blended with the pineapple chunks and half is blended with the cherries.
If you have any questions about making cherry pineapple popsicles, please leave a comment below and I will get back to you!
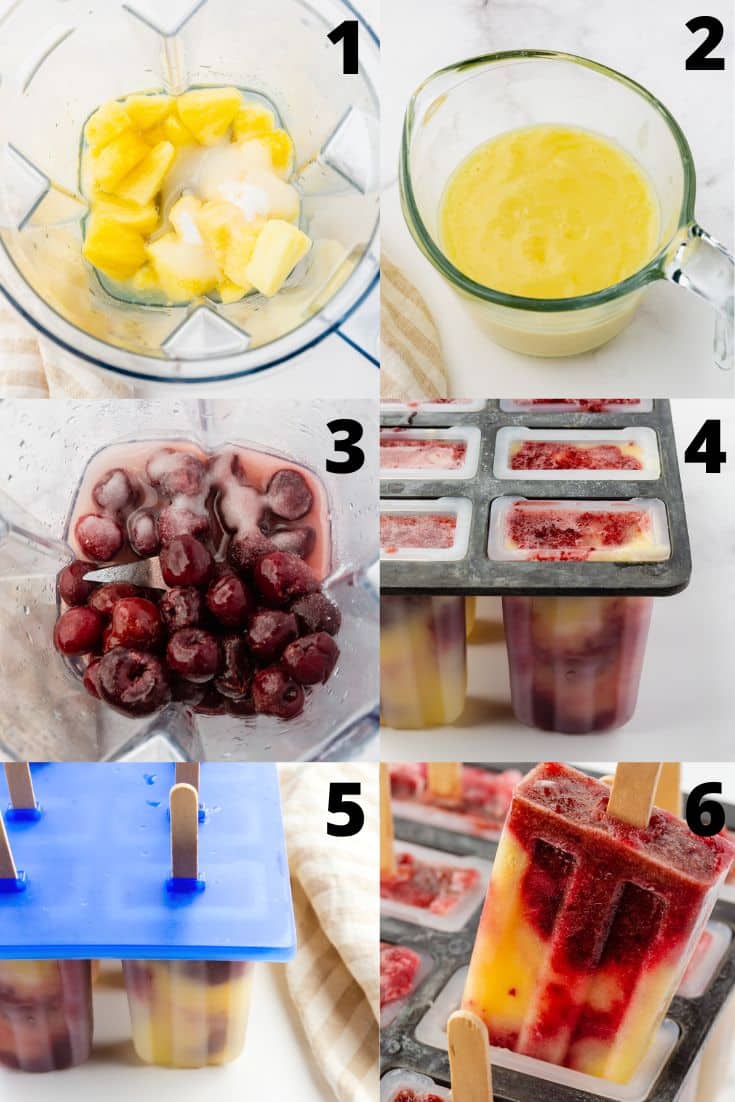
How to Make Cherry Pineapple Popsicles from Scratch
- Blend the Pineapple: Add the thawed frozen pineapple chunks with 1/4 cup water, 1/4 cup granulated sugar, and 1 tablespoon of lemon juice to a blender or food processor. Blend until smooth.
- Pour the pineapple mixture into a measuring cup with a spout so that it’s easy to pour, and then rinse out the blender.
- Blend the Cherries: Add the cherries to the blender with the remaining water, granulated sugar, and lemon juice. Process until smooth.
- Fill the Popsicle Molds: Alternate pouring the pineapple mixture and the cherry mixture into the molds to create an alternating pattern.
- Freeze: Add the lid to your mold, and insert popsicle sticks. Let freeze for 4-6 hours, or until solid.
- Remove the popsicles from the mold using one of the easy methods explained below.
These numbered steps match the numbered photos above and are for illustration purposes. For the complete list of ingredients and instructions, please see the recipe below.
How to Store Homemade Popsicles
Store Pineapple Cherry Popsicles in the freezer, in their mold until ready to enjoy.
If you decide to remove them from the mold, wrap each popsicle individually with plastic wrap before storing them in a freezer-safe, airtight container.
I find that homemade popsicles are best if enjoyed within 2-3 weeks, but often will stay fresh for much longer than that, up to 3 months.
Tips for Making The Best Cherry Pineapple Popsicles
Use quality ingredients – When making homemade popsicles, you’ll want to make sure you are using high-quality ingredients for the best outcome.
Don’t skimp on the sugar – Sugar not only adds sweetness to popsicles, but it also helps with the texture. Popsicles without enough sugar in them will be hard and icy.
Adjust the consistency if needed – The mixture should be pourable after you blend it. You can add additional water or liquid if it’s too thick.
Cherry Pineapple Popsicle Variations
The great thing about homemade popsicle recipes is that they are very forgiving! You can add or adjust ingredients without too much worry that you’ll mess anything up!
Try a different fruit combination. Instead of cherries, try raspberries, strawberries, or blueberries. Instead of pineapple, use frozen mango chunks.
You can make creamy fruit popsicles by mixing in a small amount of plain or vanilla-flavored yogurt.
These homemade popsicles are and easy treat option, especially compared to ice cream or store-bought popsicles.
There is much less sugar in homemade fruit popsicles than in traditional popsicles too, so you can feel good about eating these and serving them to your family.
Can I Make Popsicles with Frozen Tart Cherries?
This recipe calls for sweet cherries, usually sold as “dark sweet cherries” in the freezer section.
You might also see sour cherries or tart cherries in the freezer. Frozen tart cherries can be used to make popsicles, but the flavor will not be as sweet. You will probably want to add more sugar (about 1/4 cup) to tart cherries if using them to make popsicles.
More Homemade Frozen Treats
You can also check out our post on fruit popsicles, which we will update when new recipes come out.
LET’S GET SOCIAL, you can follow us on Pinterest or leave a comment below if you have any questions.
Did you make this Homemade Cherry Pineapple Popsicle Recipe? Leave a Comment Below letting us know what you thought!
Cherry Pineapple Popsicles
Cherry Pineapple Popsicles are a fun, healthy frozen dessert made from frozen fruit. They're so easy to make, and are a low sugar treat everyone will love.
Ingredients
- 2 1/2 cups frozen pineapple, thawed (10 oz)
- 1/2 cup water, divided
- 1/2 cup granulated sugar, divided
- 2 tbsp lemon juice, divided
- 2 1/2 cups frozen pitted sweet cherries, thawed (10 oz)
Instructions
- Add the frozen pineapple chunks with 1/4 cup water, 1/4 cup granulated sugar, and 1 tablespoon of lemon juice to a blender or food processor. Blend until smooth.
- Pour the pineapple mixture into a measuring cup or glass with a spout for easy pouring. Set aside.
- Rinse the blender bowl and add the frozen cherries with the remaining water, granulated sugar, and lemon juice. Process until smooth.
- Alternate pouring the pineapple and cherry mixtures into the popsicle mold so that you get an alternating pattern.
- Place the top on the popsicle molds and insert popsicle sticks into the center of each mold. Let freezer for 4-6 hours, until firm.
- To remove the popsicles from the mold, run the outside of the mold under warm water for about 10 seconds, being sure not to get any water into the inside of the mold.
Notes
Nutrition Information:
Yield: 10 Serving Size: 1Amount Per Serving: Calories: 101Total Fat: 0gSaturated Fat: 0gTrans Fat: 0gUnsaturated Fat: 0gCholesterol: 0mgSodium: 3mgCarbohydrates: 26gFiber: 1gSugar: 25gProtein: 0g