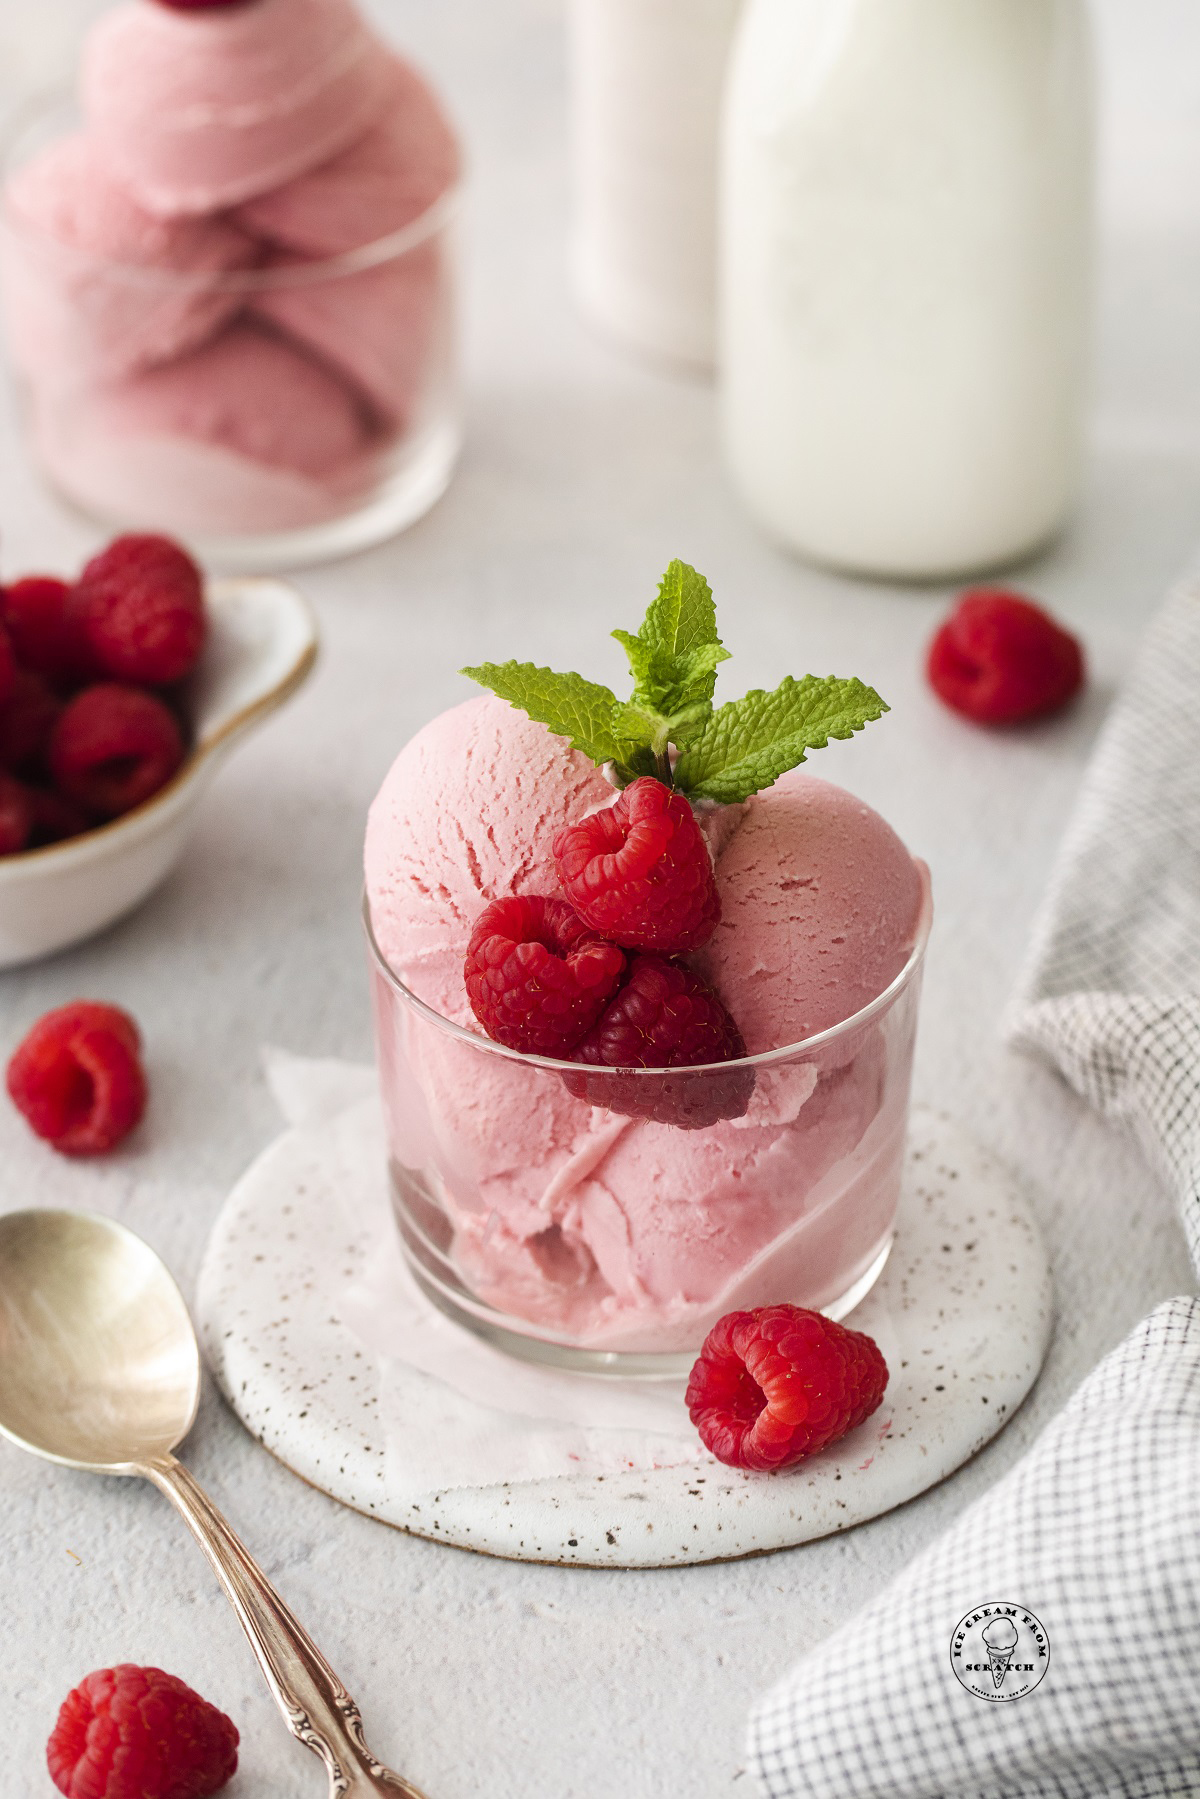
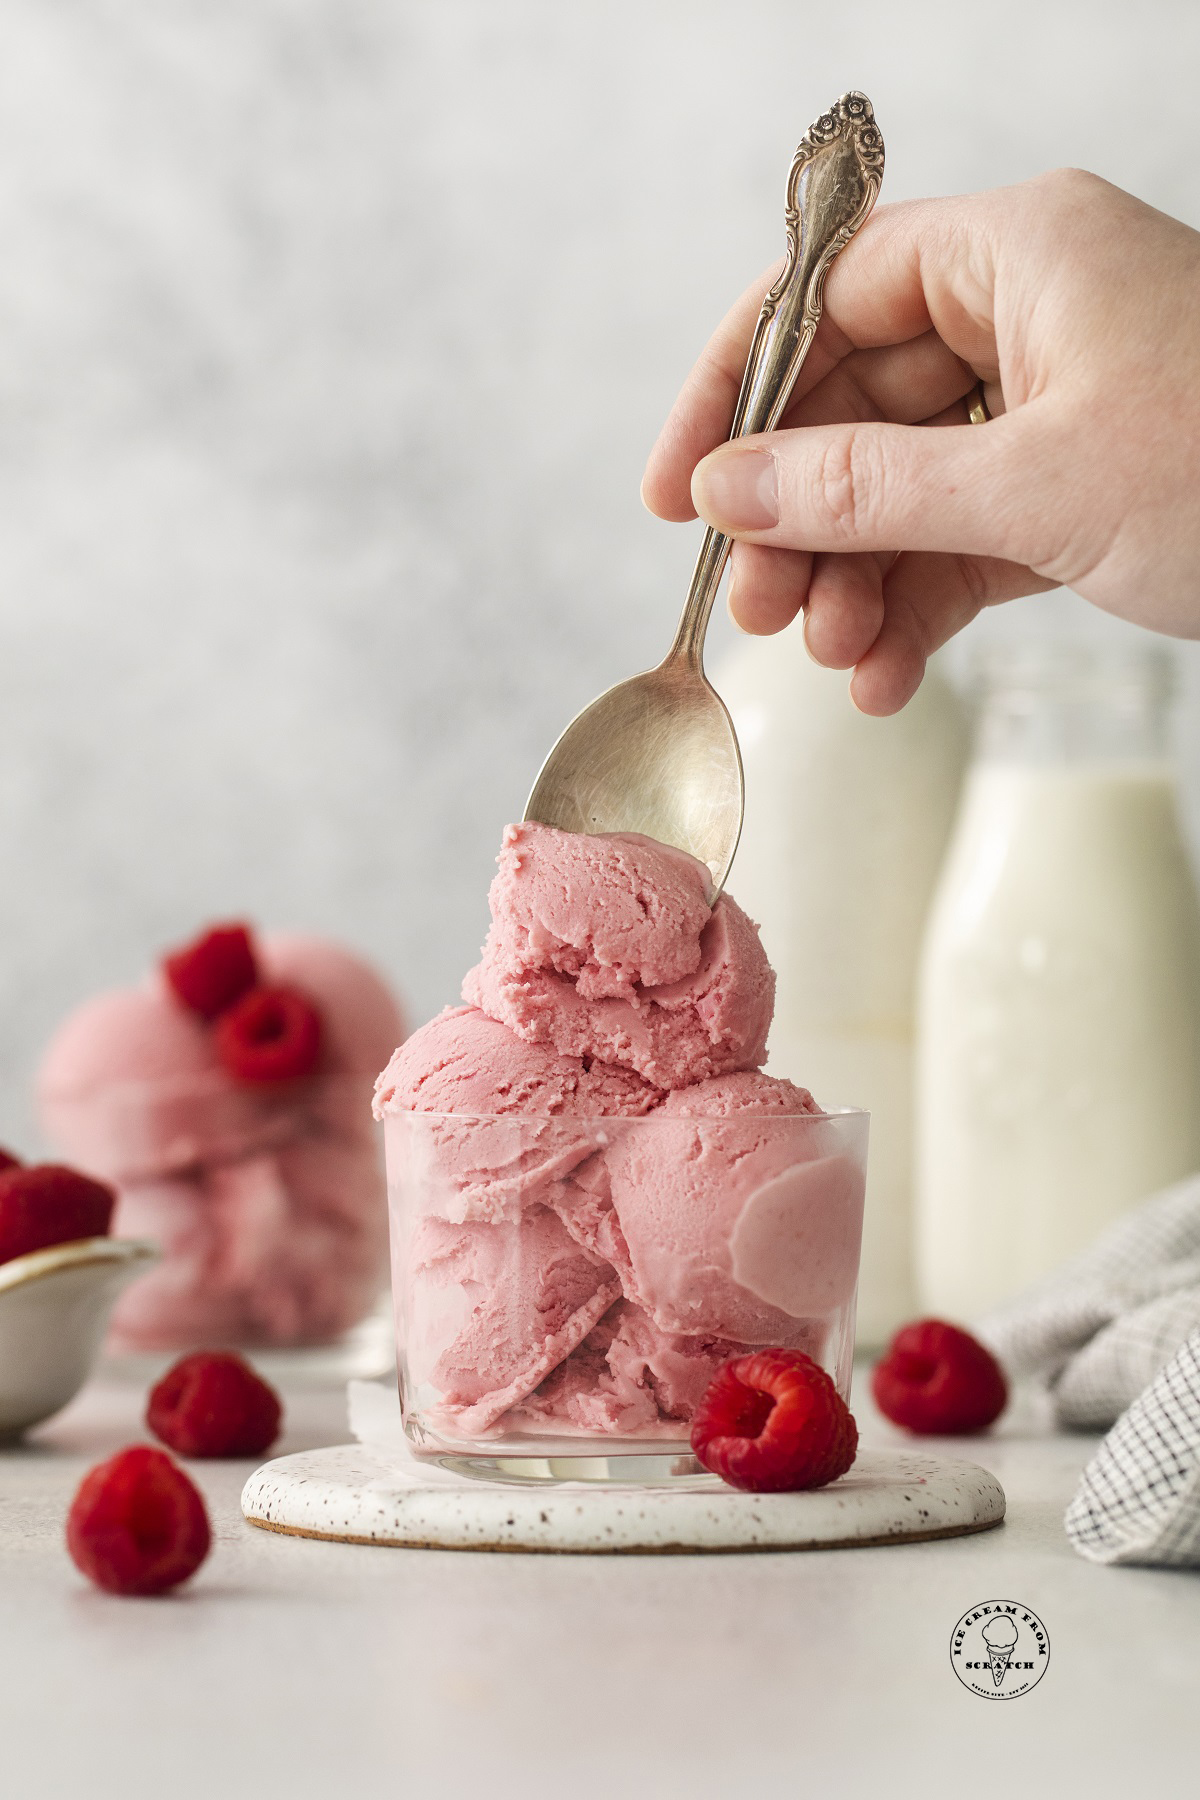
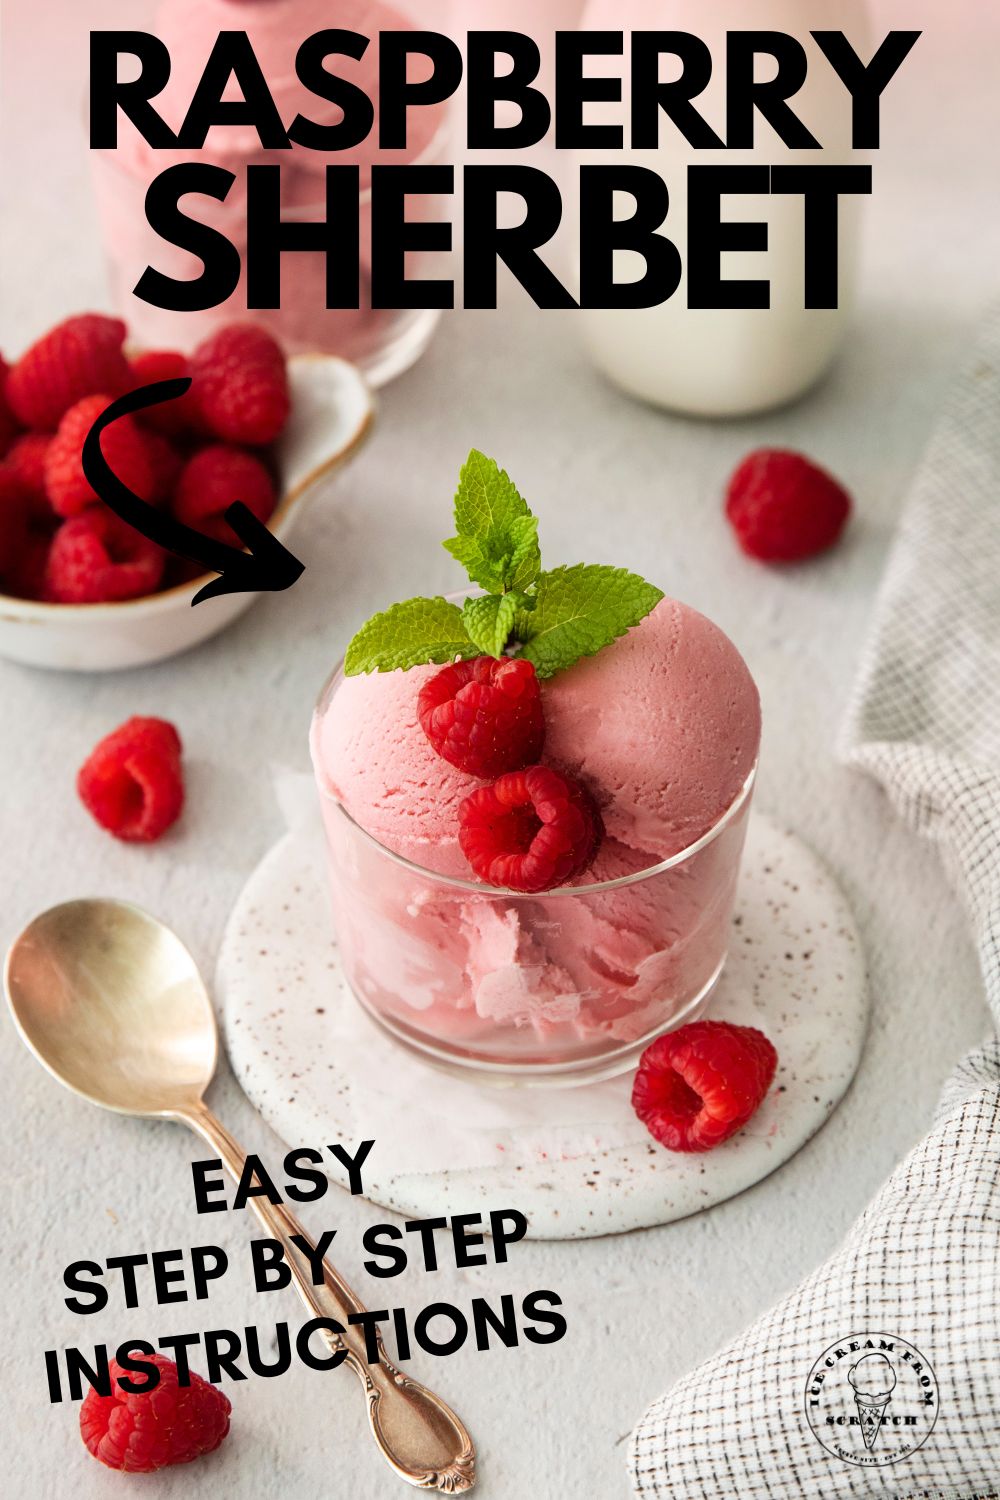
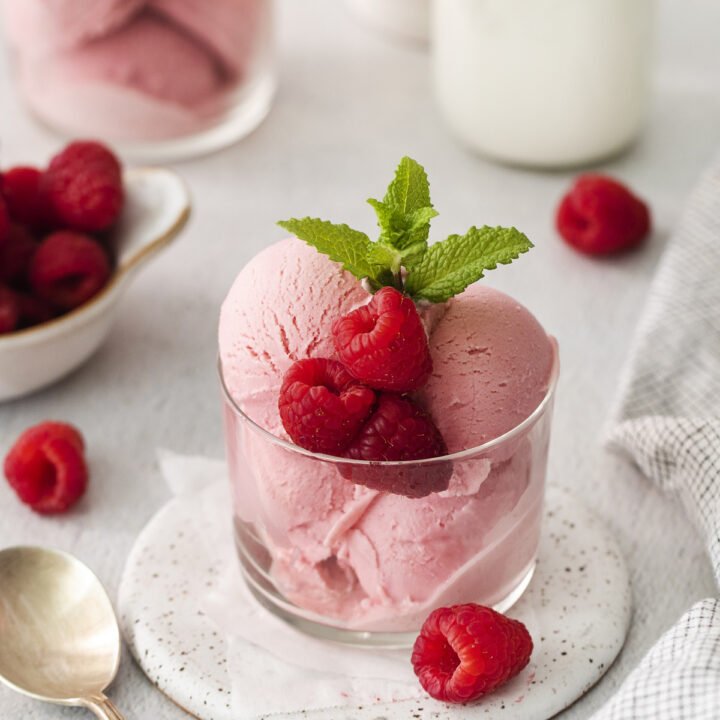
Easy Raspberry Sherbet Recipe
Brightly flavored, perfectly sweet, and wonderfully creamy, this homemade Raspberry Sherbet recipe is also very simple to make with just a few all-natural ingredients.
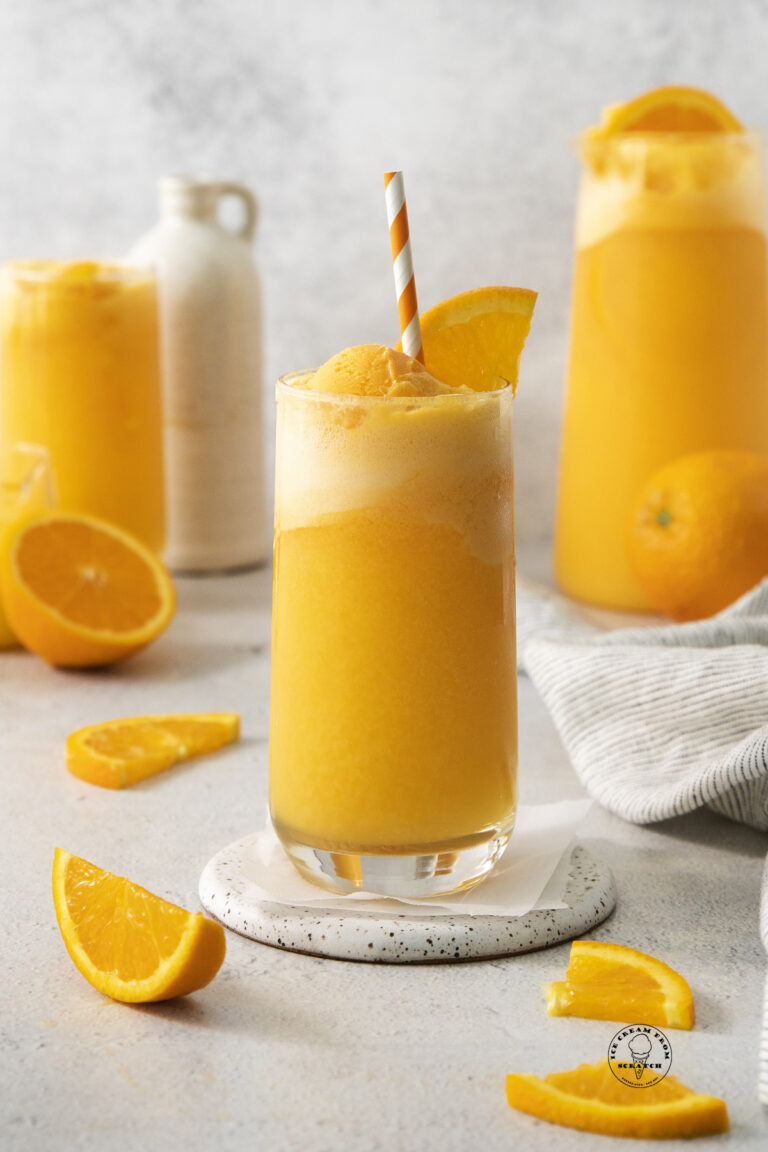
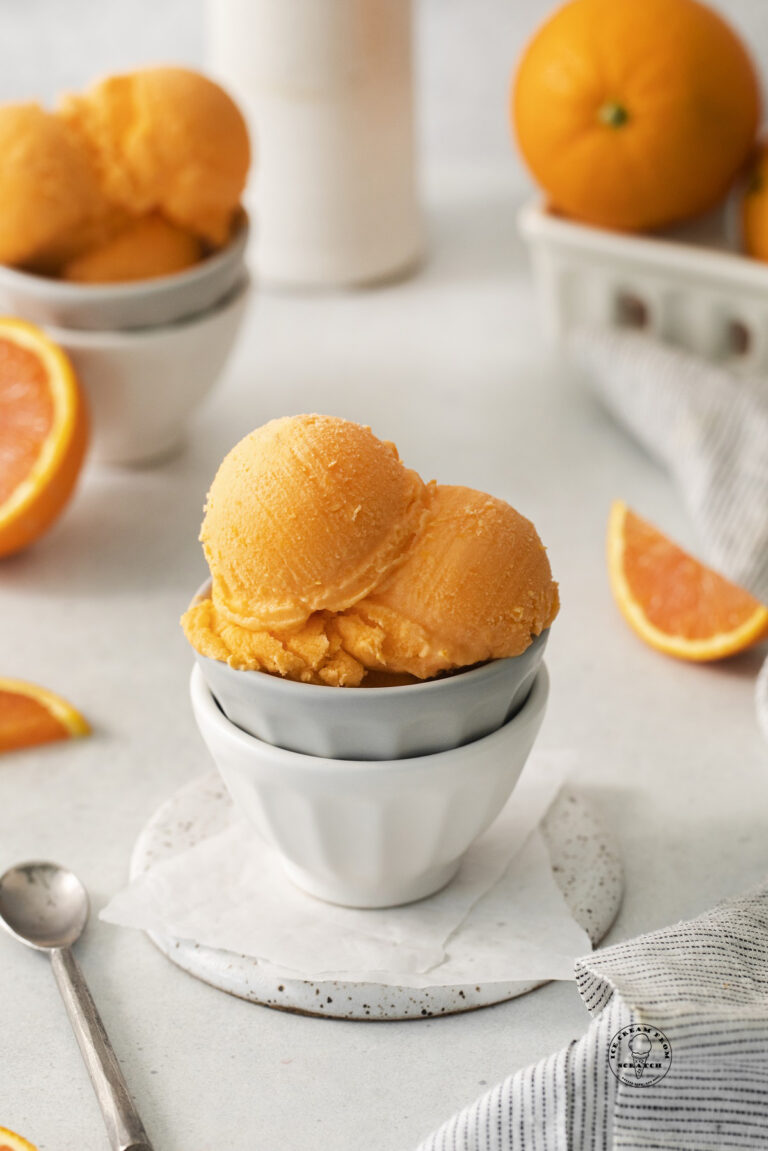
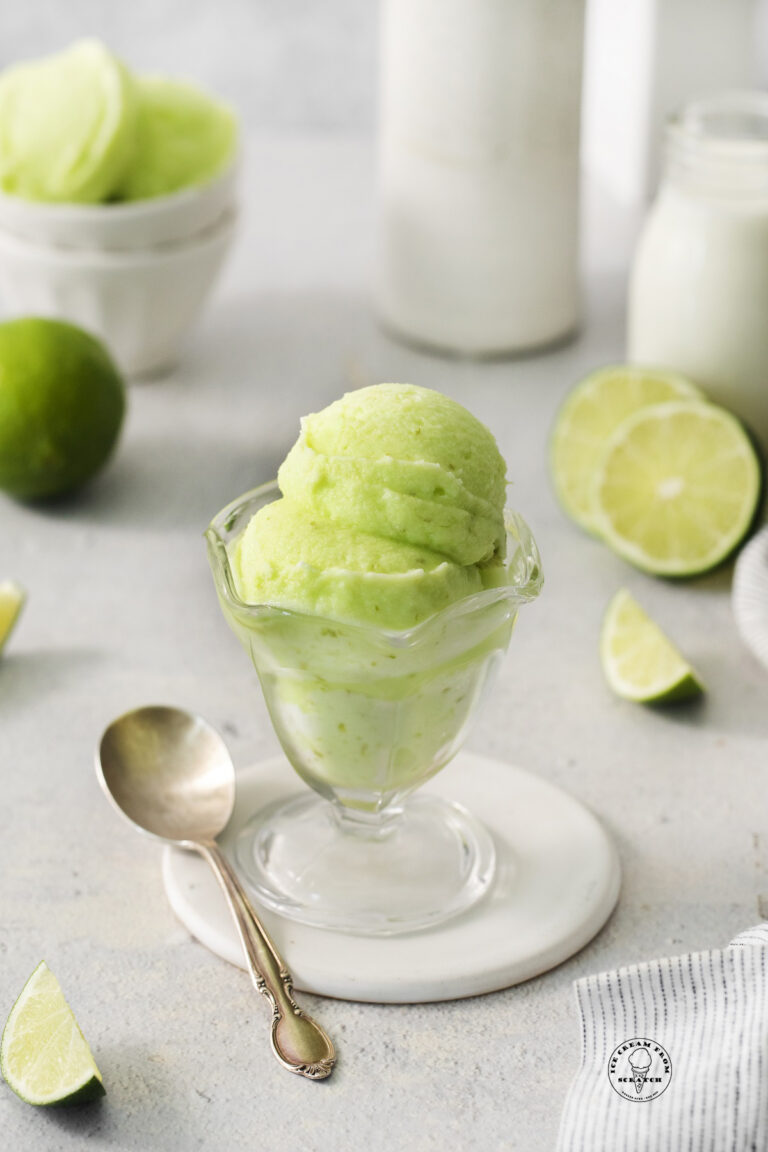
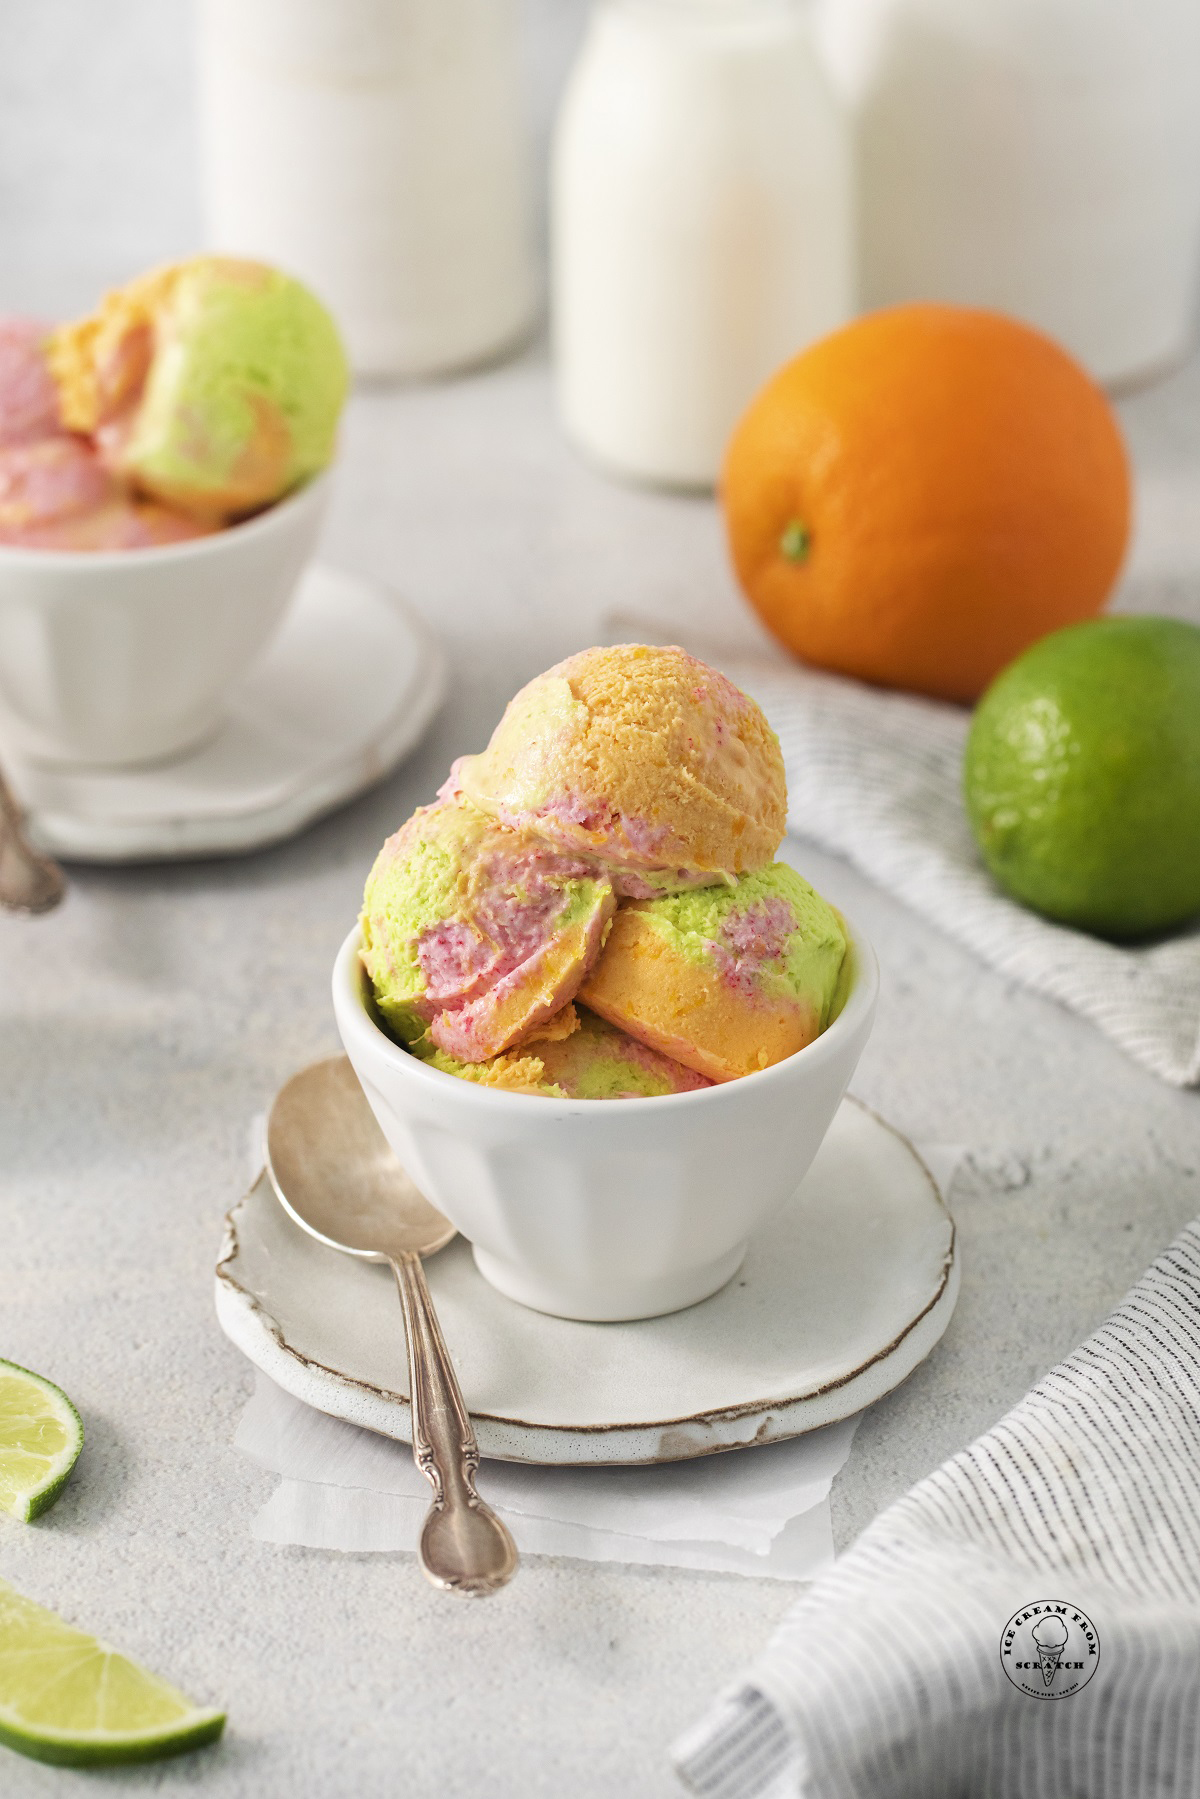
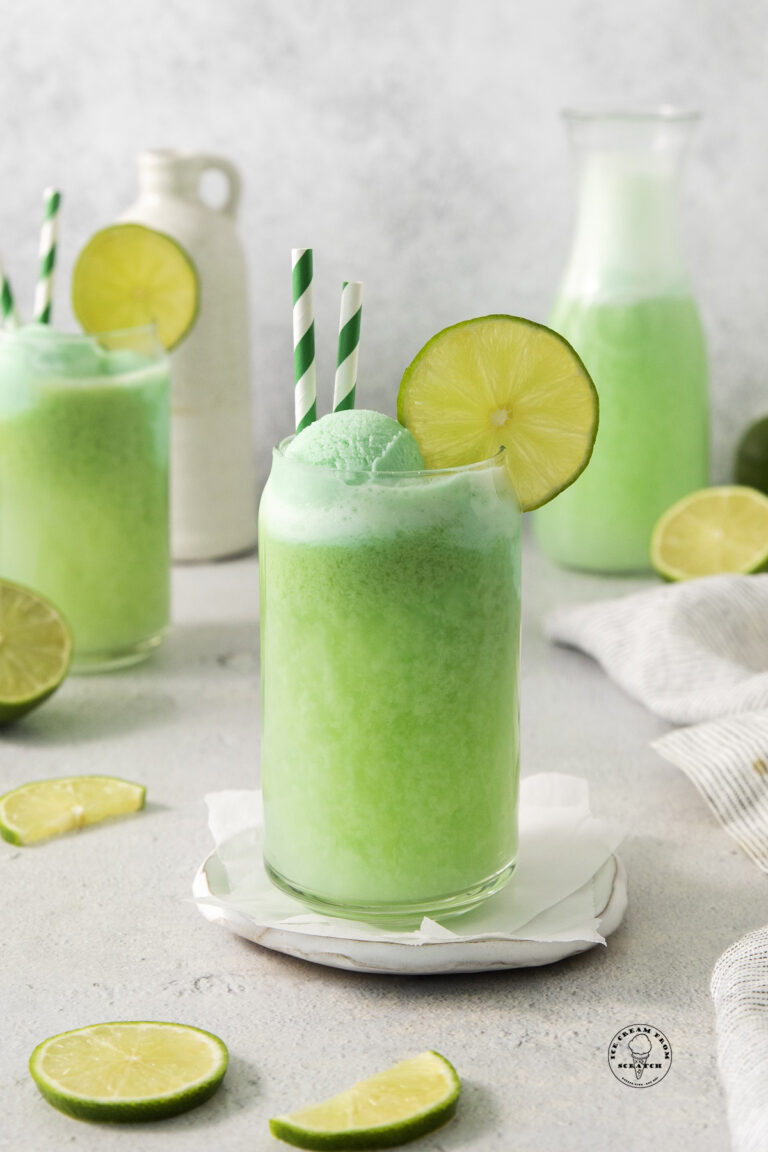
Once you make this sherbet recipe, you’re going to want to try all of our easy fruit sherbet recipes. Orange Sherbet, Lime Sherbet, and super simple no-churn Rainbow Sherbet are all totally tasty and fun to make.
Why You’re Going to Love This Raspberry Sherbet Recipe
- Only 4 ingredients needed!
- There’s only a little bit of cooking needed to make this recipe with fresh raspberries, and after that, you just need to mix everything up in your ice cream maker.
- Raspberry Sherbet is also a healthier dessert option than raspberry ice cream, since in this recipe the main ingredient is fresh fruit, and there is much less dairy included.
- Finally, you are going to love the fresh, bright flavor of homemade raspberry sherbet! It’s much, much better than the overly sweet sherbet you’ll find at the store, and you can control all of the ingredients added.
If you’re looking for a dairy-free berry dessert, try our Strawberry Sorbet instead.
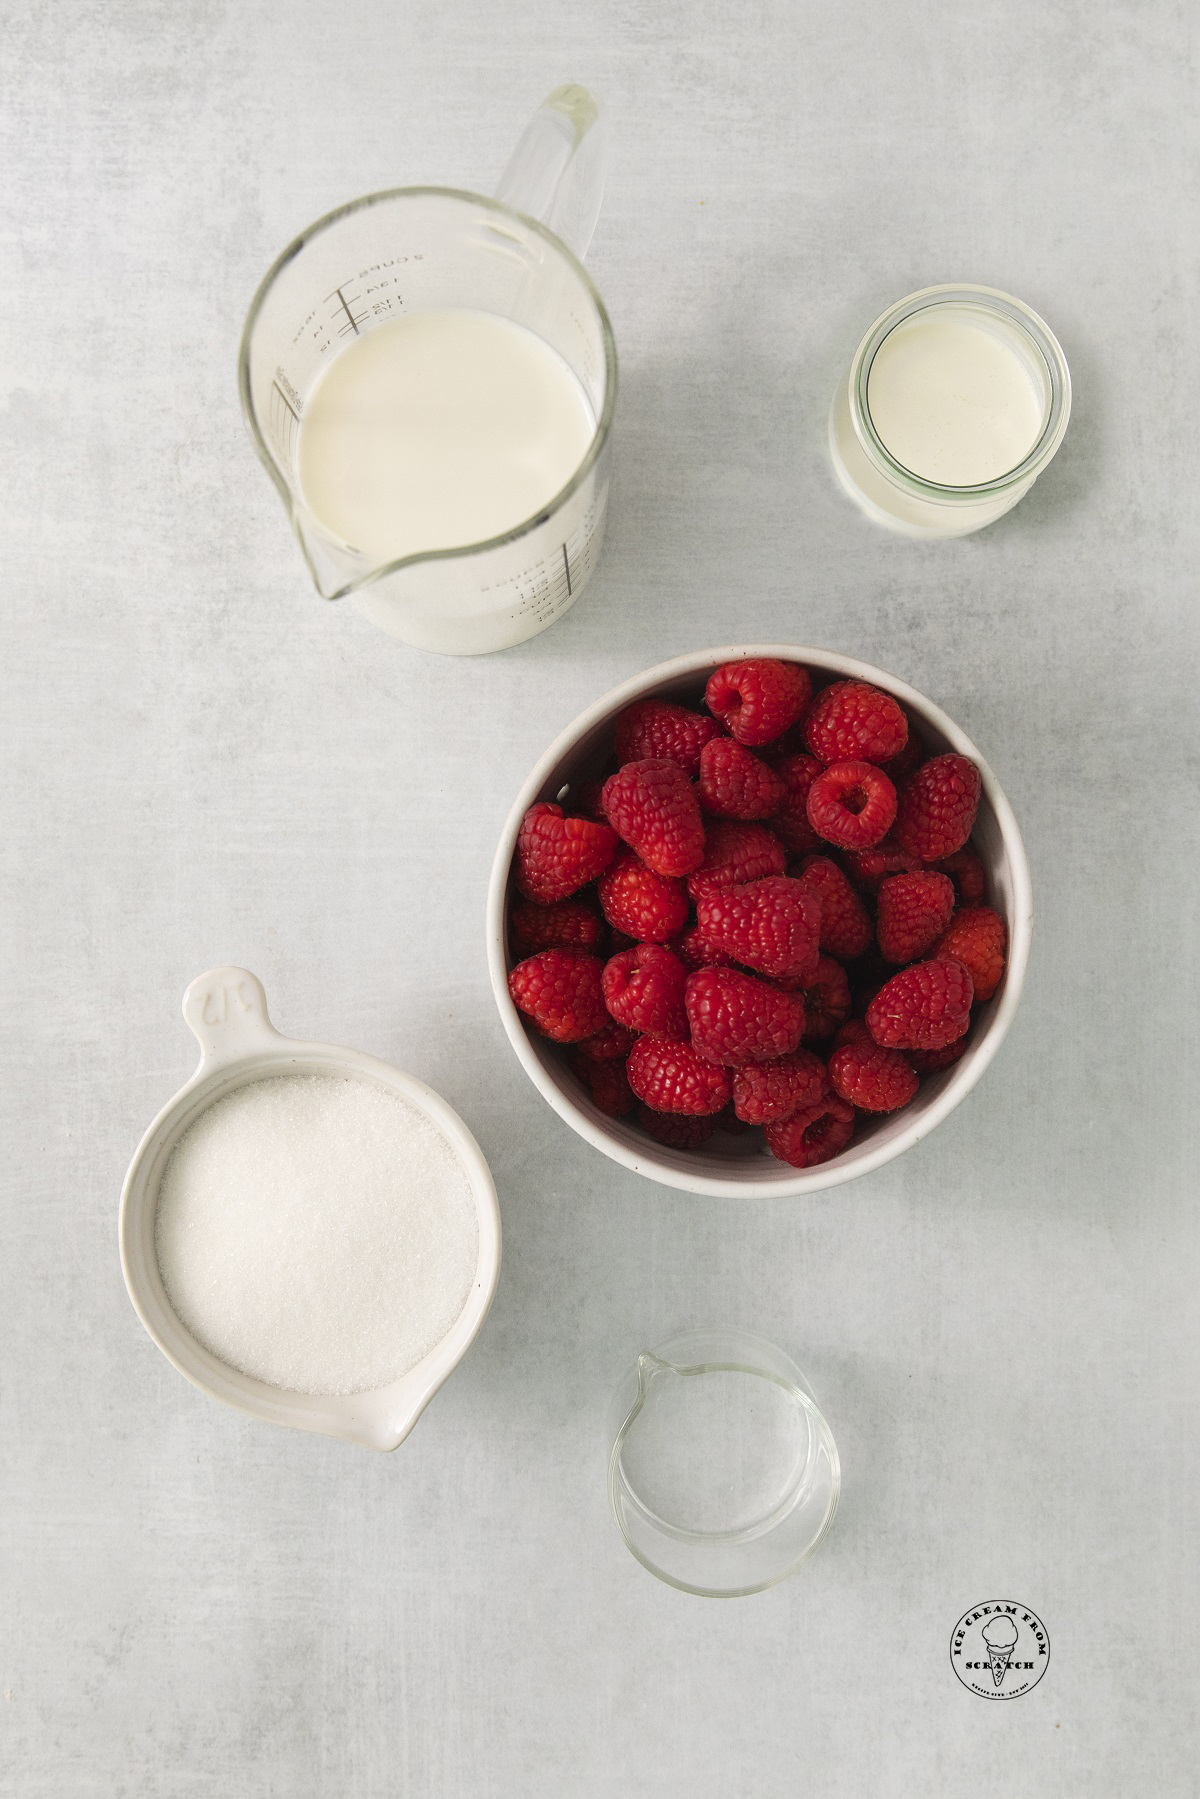
Ingredients in Homemade Raspberry Sherbet
- Fresh Raspberries – Choose berries that are ripe and sweet. I love making this recipe with local raspberries when they’re in season! You can make this recipe with frozen, thawed raspberries as well.
- Sugar – This is our sweetener, and adds just enough to make the flavor of the raspberries pop.
- Whole Milk and Heavy Cream – The combination of milk and cream in the sherbet makes for a perfectly smooth and creamy texture without making the sherbet too rich. You can make this recipe with just milk, but I highly recommend using both.
For the complete list of ingredients and instructions for making raspberry sherbet, please see the recipe below.
How to Store Raspberry Sherbet
Store this homemade sherbet in the freezer in an airtight container with a piece of parchment paper or wax paper pressed on top for up to one month. The paper helps to protect the sherbet from freezer burn and keeps it fresher for longer.
Is it Sherbet or Sherbert?
I had to look this one up! Technically, it seems that the word sherbet is the correct spelling for this frozen treat, although sherbert (with an added r) is now also considered correct, according to Merriam-Webster. Both variants of the word have been around since the word entered the English language. For the sake of simplicity, we’ll stick with “sherbet” for now.
No Churn Raspberry Sherbet Directions
Chill a shallow container or a loaf pan in the freezer while you mix the sherbet ingredients.
Pour the mixture into the prepared pan and freeze for 3-4 hours. Stir the sherbet every 30 minutes for the first 2 hours to help add air. This will help create a creamy, smooth texture.
How to Make Raspberry Sherbet Pops
Churn the sherbet until it is the consistency of soft-serve ice cream, then spoon the mixture into your favorite popsicle molds. Freeze for at least 8 hours before enjoying!
We have lots of easy fruit popsicle recipes that you’ll love!
More Homemade Ice Cream:
- Peaches and Cream Ice Cream
- Mango Gelato
- Lime Sherbet
- Lemon Custard Ice Cream
- Strawberry Ice Cream
- Watermelon Sorbet
LET’S GET SOCIAL, you can follow us on Pinterest or leave a comment below if you have any questions.
Did you make this Homemade Raspberry Sherbet Recipe? Leave a Comment Below letting us know what you thought and if you added any additional add-ins.
Raspberry Sherbet
Brightly flavored, sweet, and wonderfully creamy, this homemade Raspberry Sorbet recipe is also very simple to make with just a few all-natural ingredients.
Ingredients
- 2 pints (20 ounces) fresh raspberries
- ½ cup granulated sugar
- 2 tablespoons water
- ¾ cup whole milk
- ⅓ cup heavy cream
Instructions
- Freeze your ice cream maker insert according to the manufacturer’s instructions.
- Add the raspberries, granulated sugar, and water to a small saucepan set over medium heat. Cook for 3-4 minutes, or until the sugar has dissolved and the raspberries have broken down.
- Remove the raspberry mixture from the heat and pour it through a fine mesh sieve, making sure to press out as much liquid as possible. Discard the solids. Transfer the raspberry sauce to the fridge and chill until it is very cold– at least 1 hour, but up to overnight.
- Whisk the milk and cream with the chilled raspberry sauce and then transfer the mixture to your ice cream maker. Churn until frozen– in my Kitchenaid Ice Cream Attachment this took about 15 minutes.
- Transfer the sherbet to a loaf pan and wrap it tightly with plastic wrap. Freeze until solid– about 4 hours. Then scoop and enjoy.
Notes
- This recipe can be made with fresh raspberries or frozen and thawed raspberries.
Nutrition Information:
Yield: 8 Serving Size: 1Amount Per Serving: Calories: 96Total Fat: 4gSaturated Fat: 3gTrans Fat: 0gUnsaturated Fat: 1gCholesterol: 13mgSodium: 13mgCarbohydrates: 14gFiber: 0gSugar: 14gProtein: 1g