Huckleberry Ice Cream
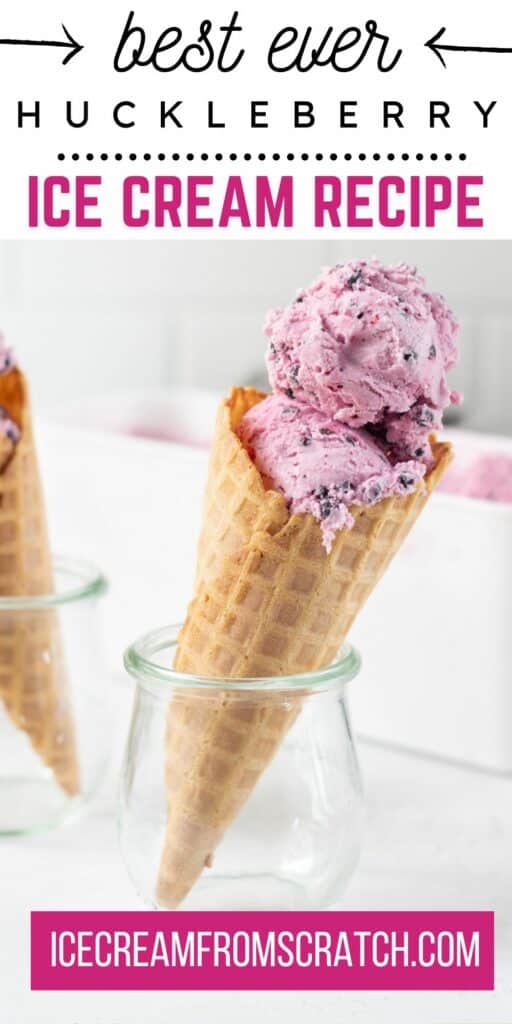
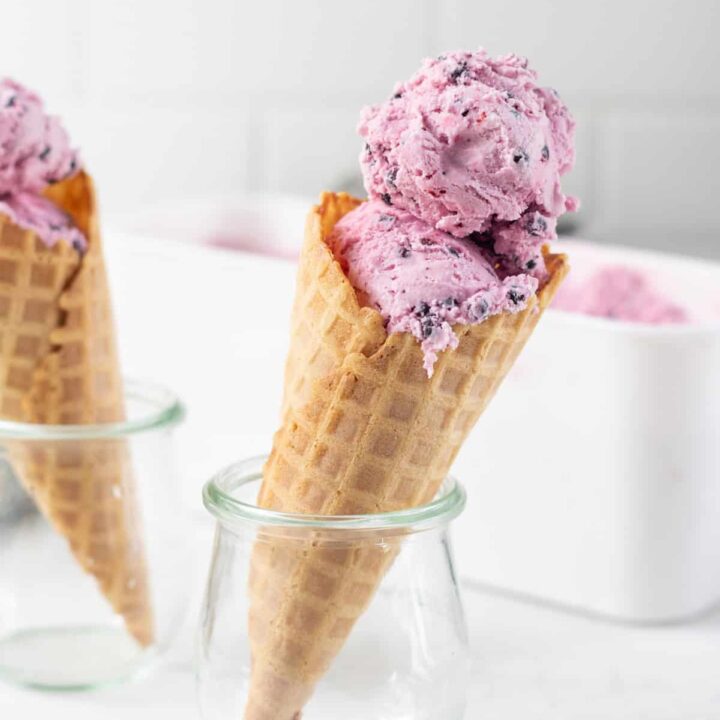
Homemade Huckleberry Ice Cream is a special treat, made with tart wild berries and fresh milk and cream.
To simplify things, this recipe is made in the Philadelphia style, which means that flavorings are mixed with sugar, milk, and cream before heading into the ice cream maker.
This recipe is egg free, nut free, and gets this gorgeous color naturally, from fresh or frozen huckleberries.
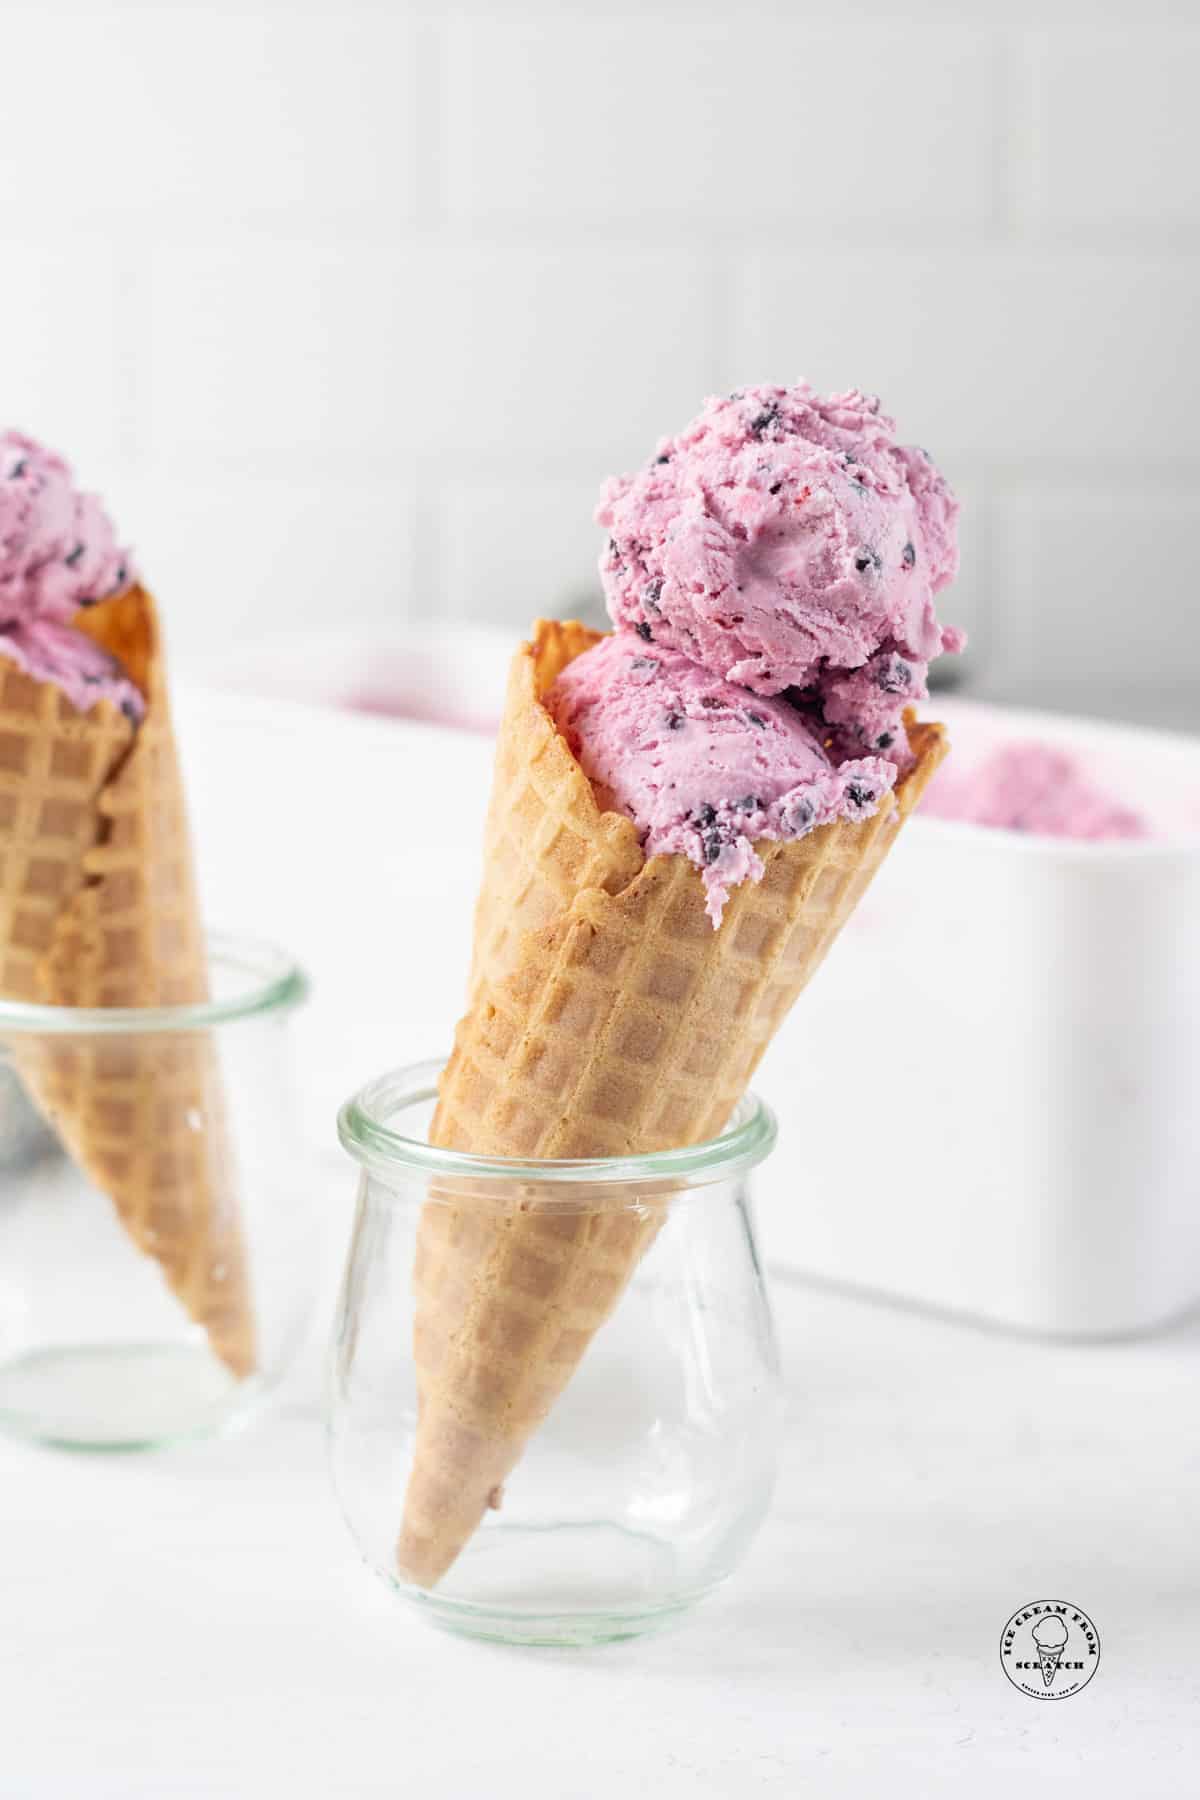
Have you ever tasted huckleberry ice cream? It’s a well-loved delicacy in some areas!
Huckleberry desserts are popular in states such as Montana, Idaho, and Oregon, where these sweet-tart berries grow wild and are cultivated.
If you’ve ever traveled through these mountain states, I hope you stopped at one of the local eateries serving homemade huckleberry ice cream, huckleberry milkshakes, or huckleberry pies! It’s really a treat!
If you have access to fresh huckleberries, use them to make this ice cream! If you don’t, I have some tips and tricks for getting your hands on some, and a substitution using huckleberry jam instead of berries.
Why You’re Going to Love this Huckleberry Ice Cream Recipe
Huckleberries! These wild berries cooked into a delicious syrup and blended in with creamy vanilla ice cream are so delicious, and unlike anything you’ve had before.
Easy Ice Cream Recipe. This is a Philadelphia-style ice cream recipe, which means that there are no eggs in it, so the ice cream base comes together much more easily than a French-style ice cream recipe would.
Unique Flavor. One of the best reasons to buy an ice cream maker and make your own homemade ice cream is that you can create unique and hard-to-find flavors! You won’t find huckleberry ice cream easily at the grocery store, so you’ll be glad you found this recipe. You might also enjoy Matcha Ice Cream or Avocado Ice Cream if you like ice cream flavor adventures!
Black Walnuts are another regionally wild-grown ingredient that can be foraged to make delicious ice cream! If you have access to a black walnut tree, grab our recipe for Black Walnut Ice Cream.
For a milkshake idea, try this blueberry milkshake.
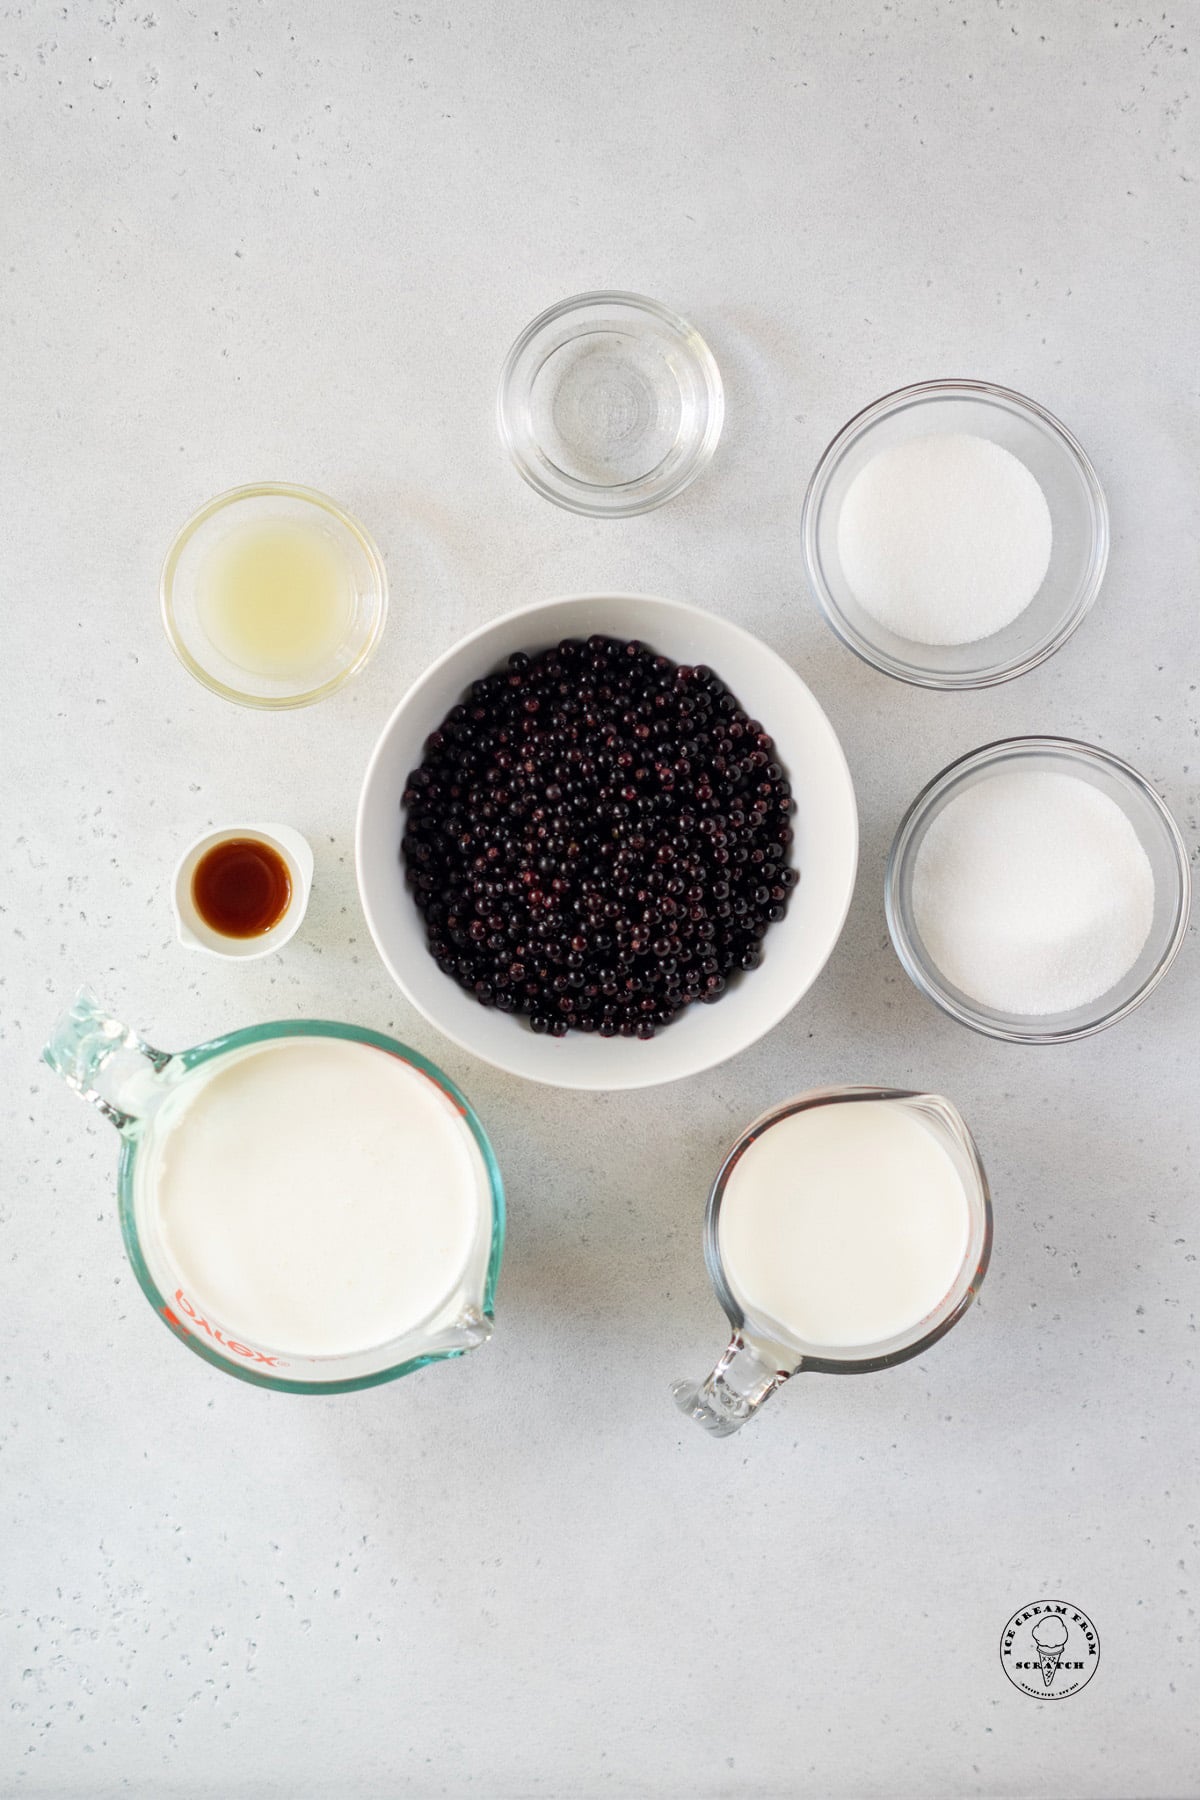
Ingredients in Homemade Huckleberry Ice Cream
Huckleberries – Use fresh berries or frozen ones. You need about 2 cups, and it doesn’t matter what size they are. Sometimes you’ll find tiny huckleberries, and other times they are as big as blueberries.
Sugar – Granulated sugar is cooked with the berries, and also mixed into the ice cream base. Sugar helps to create a creamy texture in our ice cream recipes.
Water and Lemon Juice– To extract the flavor from the huckleberries we’ll cook them on the stove with water, lemon juice, and sugar to create a sweet sauce.
Heavy Cream – Heavy cream is what makes our ice cream base rich and creamy!
Whole Milk – Making ice cream with both heavy cream and whole milk is what gives us the best texture.
Vanilla Extract – Vanilla is a must for almost all of our ice cream recipes. It elevates the simple flavors or milk, sugar, and cream, and helps to mellow out the tartness of the huckleberries.
How to Make Huckleberry Ice Cream from Scratch
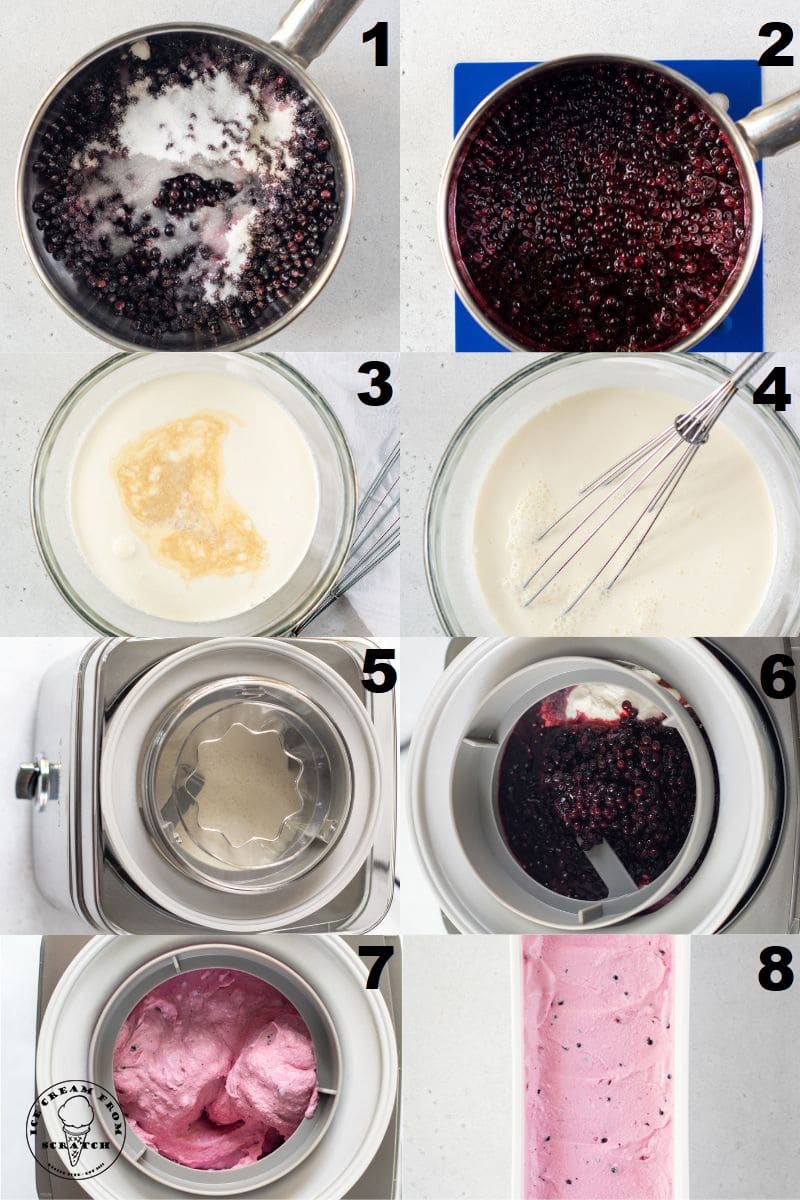
Start the day before by making sure that the bowl for your ice cream maker has at least 24 hours to freeze solid. When you shake it, you shouldn’t hear any liquid sloshing around.
- Start by cooking a huckleberry sauce. In a small saucepan, add the huckleberries, ¼ cup of granulated sugar, water, and lemon juice.
- Cook over medium heat, until the sauce thickens and the juices are released, about 6-8 minutes; set aside to cool for 10 minutes, then place in the refrigerator or freezer on a towel, to cool to (at least) room temperature.
- Then mix the ice cream base. In a large bowl, combine the remaining granulated sugar, heavy cream, whole milk, and vanilla extract.
- Whisk for 2-3 minutes, until the sugar is dissolved into the mixture. You should not feel any grit if you rub the mixture together between two fingers.
- Churn the ice cream mixture in the bowl of your ice cream machine according to your manufacturer’s instructions (about 20 minutes), until it starts to thicken.
- Add in the huckleberry sauce and churn for an additional 3-5 minutes.
- Spoon the huckleberry ice cream into a shallow container or a loaf pan. Press plastic wrap or wax paper to the surface of the ice cream. Freeze for at least 4 hours, or until solid.
These numbered steps match the numbered photos above and are for illustration purposes. For the complete list of ingredients and instructions, please see the recipe below.
How to Store Huckleberry Ice Cream
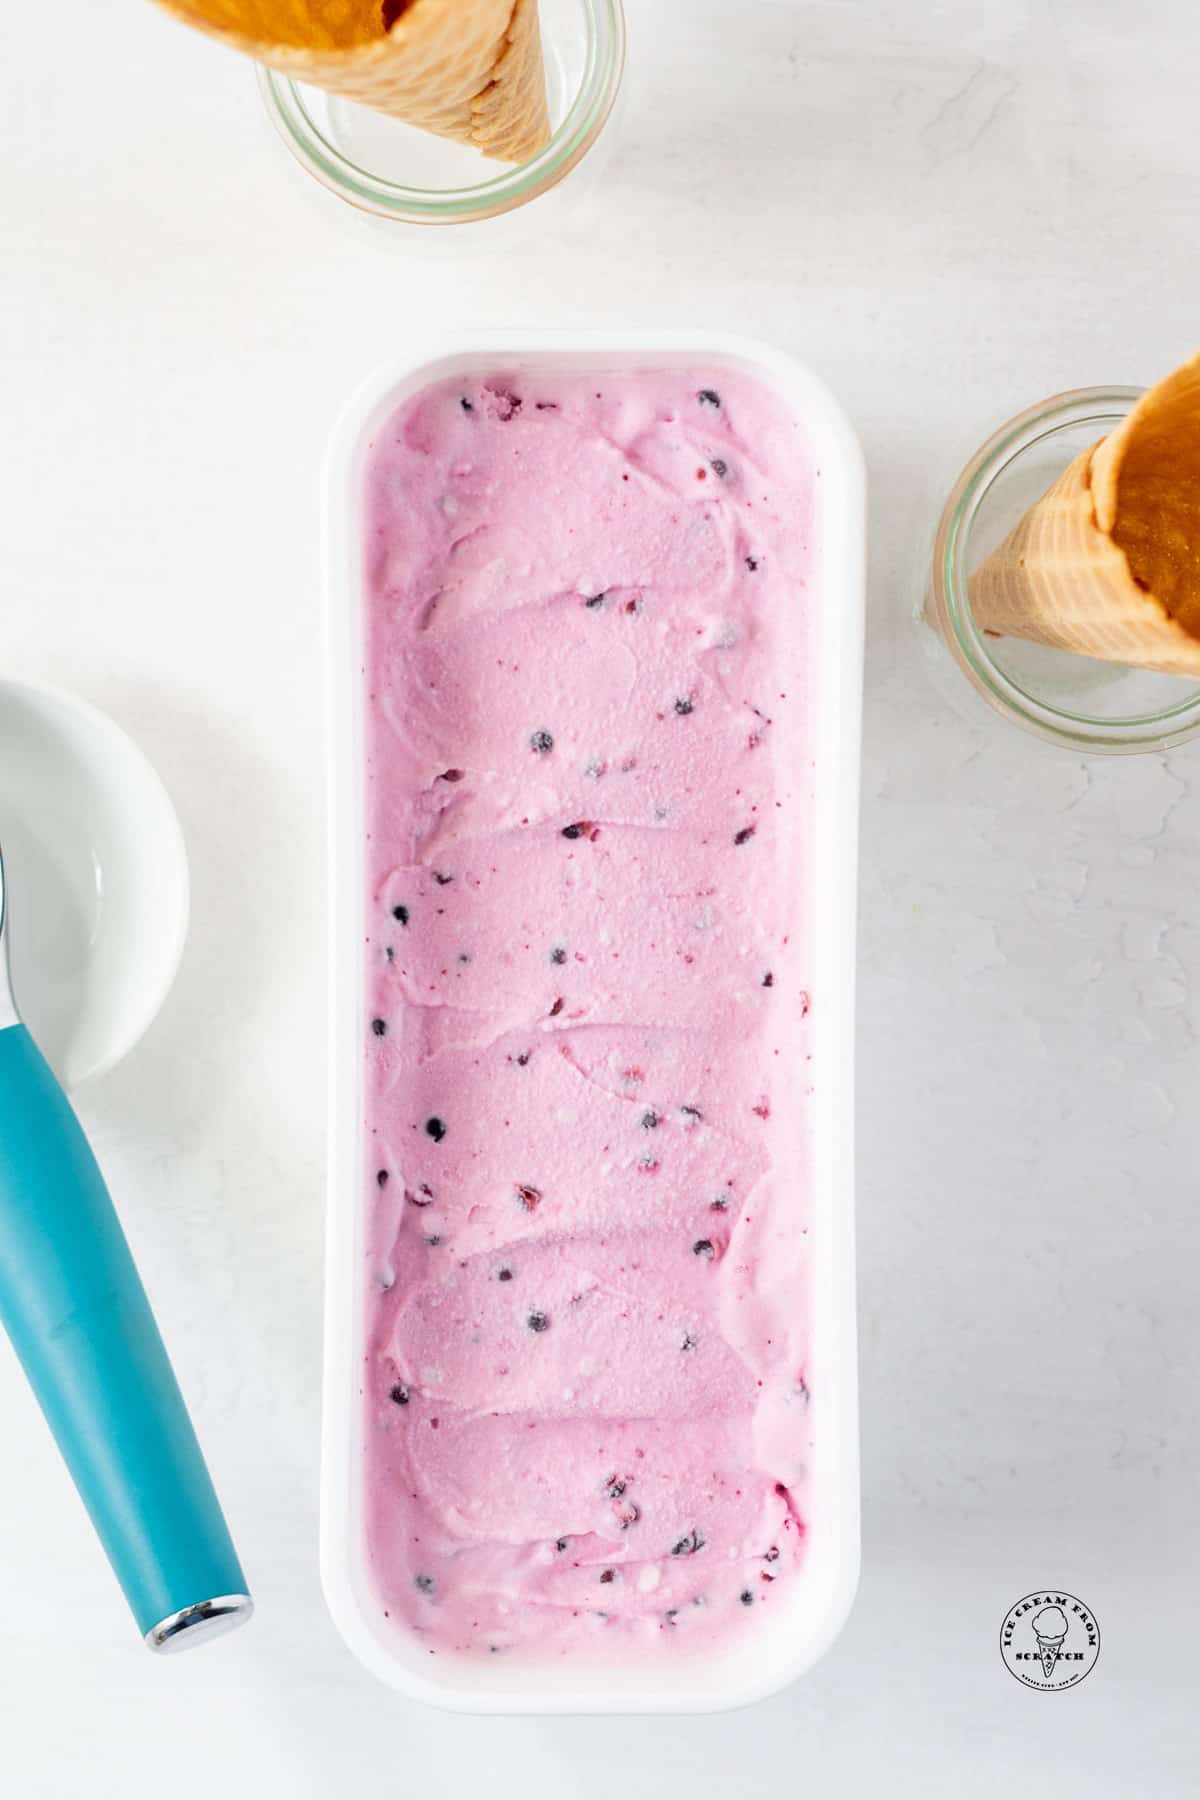
Store this homemade Huckleberry Ice Cream in the freezer in an airtight container with a piece of parchment paper or wax paper pressed on top for up to one month.
Homemade ice cream doesn’t last as long as store-bought varieties will because it’s made without preservatives.
Ice cream made with fruit will be most delicious if enjoyed within a few weeks of making it, before any ice crystals have time to form.
Tips for Making This Huckleberry Ice Cream Recipe
Use quality ingredients – When making homemade ice cream, you’ll want to make sure you are using high-quality ingredients for the best outcome.
Chill out – If possible, always start with chilled ingredients. This is important for homemade no-churn ice cream recipes and ice cream maker recipes. Be sure that you cool the huckleberry mixture fully before churning, and that your milk and cream mixture is cold as well.
Don’t skimp on the fat – High-fat milk and cream are essential when making homemade ice cream. Don’t try to make ice cream with low-fat dairy products, or you’ll find yourself with icy ice cream and issues with texture.
Don’t go crazy with the add-ins – If you’re adding in additional ingredients, pick one or two and make sure they are chopped into pieces no larger than a blueberry or pea.
Don’t skimp on the sugar – Sugar not only adds sweetness to homemade ice creams, but it also helps with the texture. Sugar is essential for the creamy texture of ice cream.
Where Can I Buy Huckleberries?
Best case scenario, you live in an area where Huckleberries are sold in local supermarkets or farmer’s markets.
The next best option, is that you have the time and availability to hike up some mountains to pick them yourself.
If you don’t live where huckleberries grow, you can order them online, to be shipped to you frozen. This option is quite expensive, but might be totally worth it!
Can I Make Huckleberry Ice Cream with Huckleberry Jam?
You can! The mixture we’re cooking with the fresh berries and sugar ends up as a product very similar to a jam.
If you want to use jam to make this ice cream recipe, replace the huckleberries, lemon juice, and 1/4 cup of sugar with 1 cup of huckleberry jam. Follow the rest of the recipe as written.
What States do Huckleberries Grow In?
These berries grow wild in the Pacific Northwest and Rocky Mountain Regions of the United States.
What Does Huckleberry Ice Cream Taste Like?
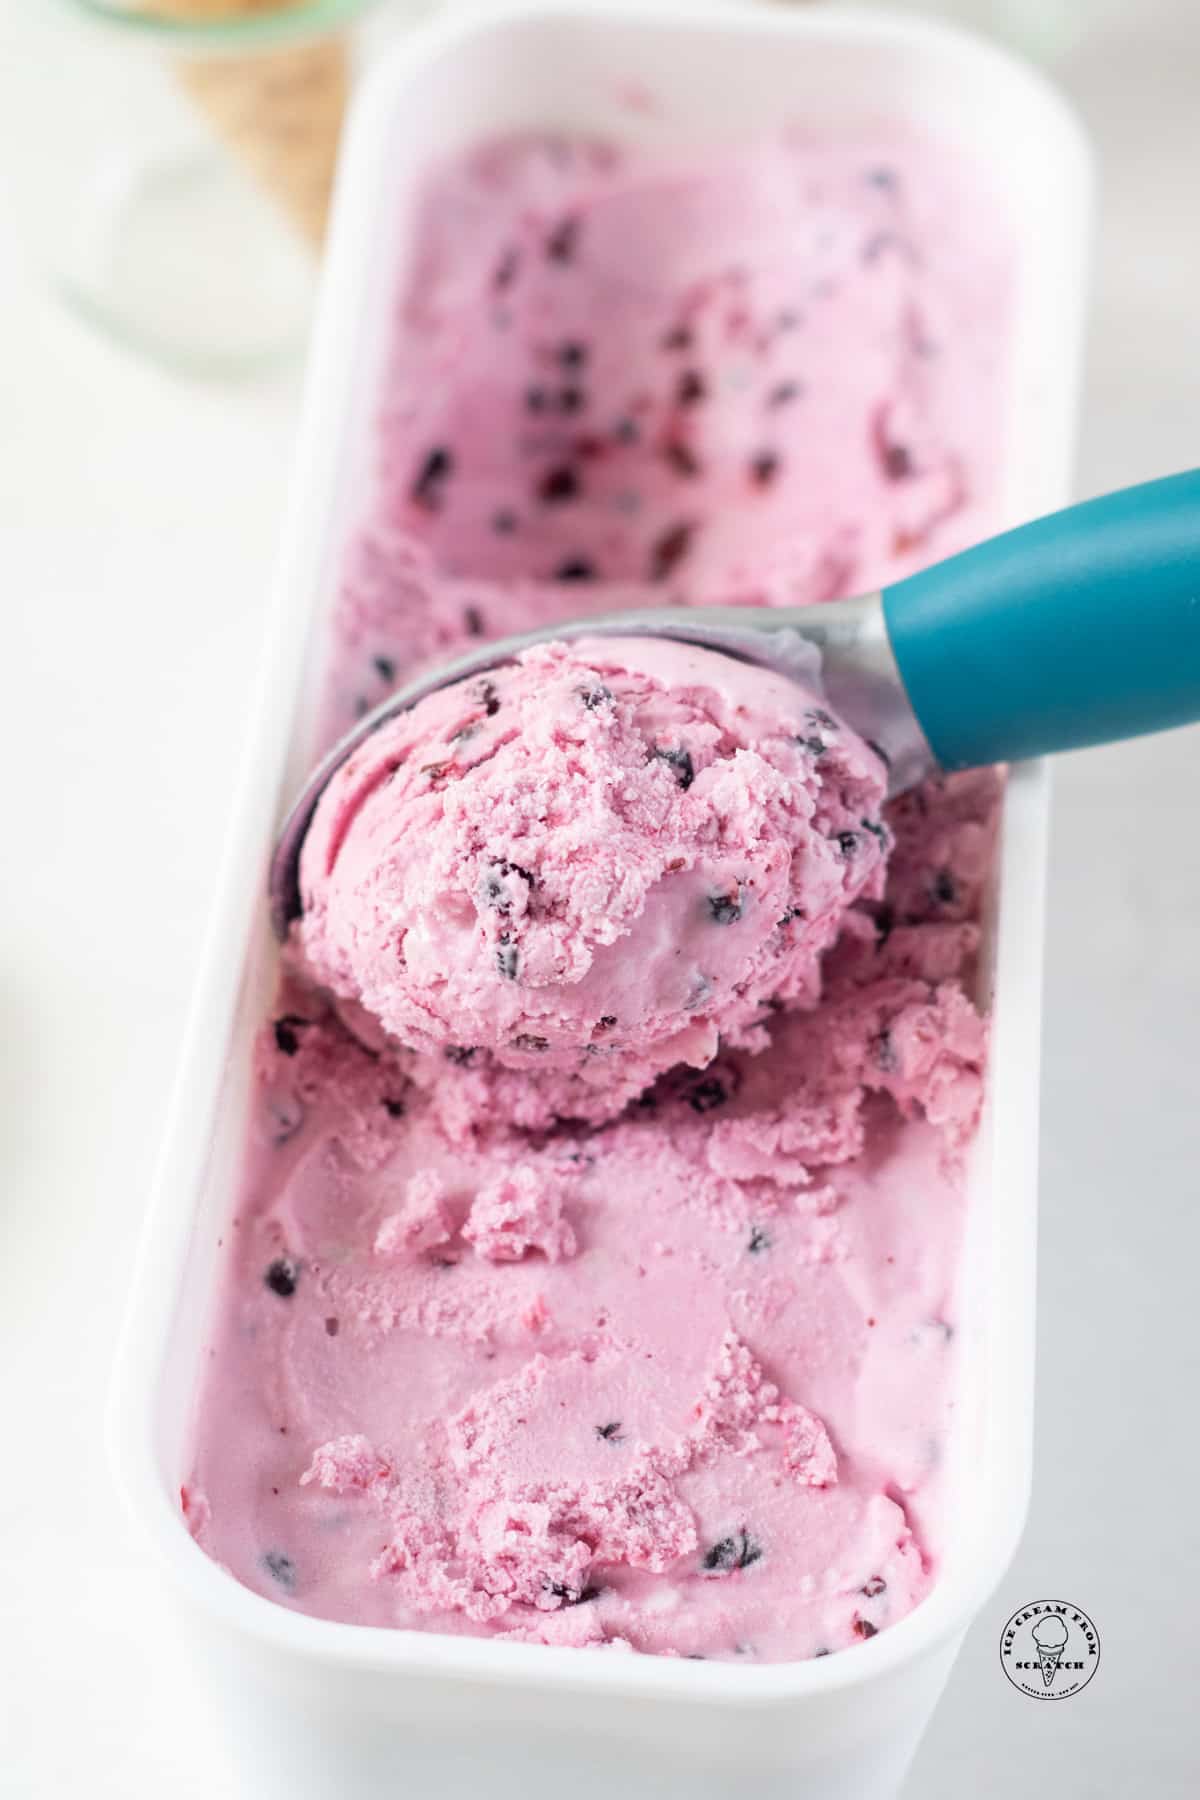
These berries are more tart than sweet, and when mixed with sugar and cream to make huckleberry ice cream, the result is creamy, tangy, and delicious!
Huckleberries taste sort of similar to blueberries, so if you can’t get your hands on huckleberries, try making blueberry ice cream instead.
No Churn Huckleberry Ice Cream Directions
Chill a shallow container or a loaf pan in the freezer while you mix the ice cream ingredients.
Pour the ice cream mixture into the prepared pan and freeze for 3-4 hours. Stir the ice cream every 30 minutes for the first 2 hours to help add air. This will help create a creamy, smooth texture.
Huckleberry Ice Cream Add-Ins
I like this fruity ice cream recipe exactly as it’s written, but I won’t stop you from adding your own spin to it with extra ingredients!
Try some shaved white or dark chocolate, crushed vanilla sandwich cookies, or chopped fresh strawberries mixed in during the last two minutes of churning.
More Fun Homemade Ice Cream Recipes
LET’S GET SOCIAL, you can follow us on Pinterest or leave a comment below if you have any questions.
Did you make this Homemade Huckleberry Ice Cream Recipe? Leave a Comment Below letting us know what you thought and if you added any additional add-ins.
Huckleberry Ice Cream
Homemade Huckleberry Ice Cream is a special treat, made with tart wild berries and fresh milk and cream. To simplify things, this recipe is made in the Philadelphia style, which means that flavorings are mixed with sugar, milk, and cream before heading into the ice cream maker.
Ingredients
- 12 oz. huckleberries (roughly 2 cups)
- ¾ cup granulated sugar, divided
- 1 tablespoon water
- 2 tablespoons lemon juice
- 2 cups heavy cream
- 1 cup whole milk
- 1 teaspoon vanilla extract
Instructions
- Chill the ice cream bowl for at least 24 hours or until solid. You should not hear any water sloshing around when you shake the bowl.
- In a small saucepan, add the huckleberries, ¼ cup of granulated sugar, water, and lemon juice.
- Heat over medium heat, until the sauce thickens and the juices are released, about 6-8 minutes; set aside to cool for 10 minutes, then place in the refrigerator or freezer on a towel, to cool to room temperature.
- In a large bowl, combine the remaining granulated sugar, heavy cream, whole milk, and vanilla extract.
- Whisk for 2-3 minutes, until the sugar is dissolved into the mixture. You should not feel any grit if you rub the mixture together between two fingers.
- Churn the ice cream mixture in the bowl of your ice cream machine according to your manufacturer’s instructions (about 20 minutes), until it starts to thicken.
- Add in the huckleberry sauce and churn for an additional 3-5 minutes.
- Spoon the huckleberry ice cream into a shallow container or a loaf pan.
- Press plastic wrap or wax paper to the surface of the ice cream. Freeze for at least 4 hours, or until solid. Let sit at room temperature for about 5 minutes before serving.
Notes
- Huckleberries come in different sizes - you may find them as large as blueberries or tiny like little beads. Any size of huckleberries will work!
- You may have trouble finding Huckleberries if you live somewhere where they aren't grown. Try making fresh raspberry ice cream or blueberry ice cream instead!
- As you're cooking the huckleberries, the mixture will thicken and the berries may stick together. Once that happens, remove the sauce from the heat and stir to break them up before letting the sauce cool.
Nutrition Information:
Yield: 6 Serving Size: 1Amount Per Serving: Calories: 427Total Fat: 30gSaturated Fat: 19gTrans Fat: 1gUnsaturated Fat: 9gCholesterol: 94mgSodium: 41mgCarbohydrates: 38gFiber: 1gSugar: 35gProtein: 4g

My favorite seasonal ice cream recipe!
We’re so glad you love it.
The Ice Cream From Scratch Team