Cotton Candy Ice Cream Recipe
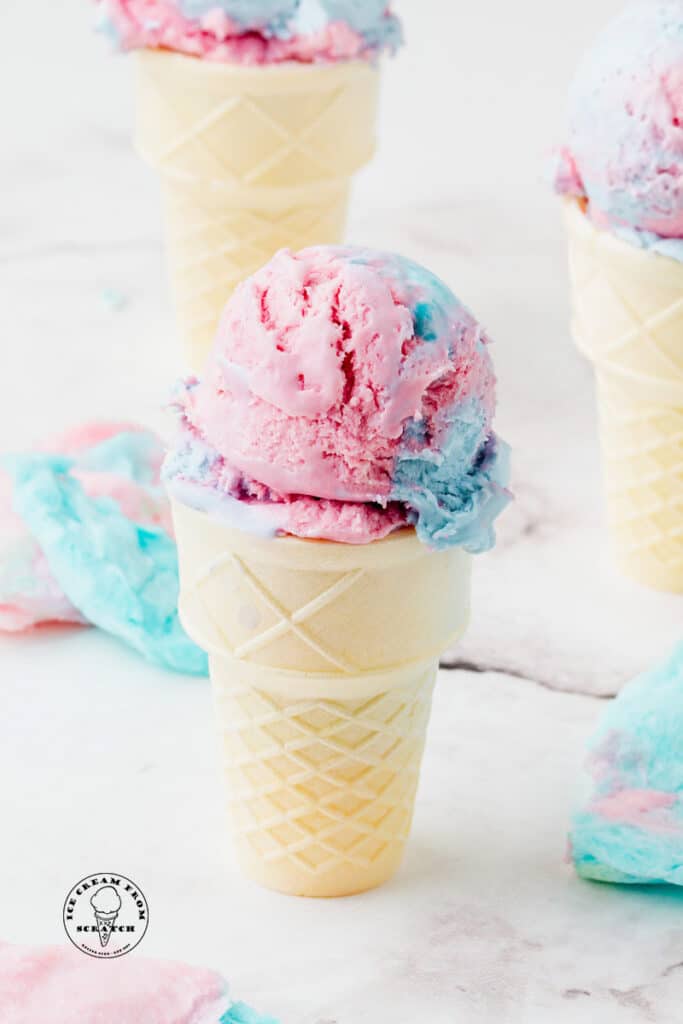
Cotton candy ice cream is sweet, creamy, colorful and super fun to make! This no-churn cotton candy ice cream recipe will be a summer favorite.
We’ve included a note on making cotton candy ice cream in an ice cream maker. You’re going to love learning how to make ice cream.
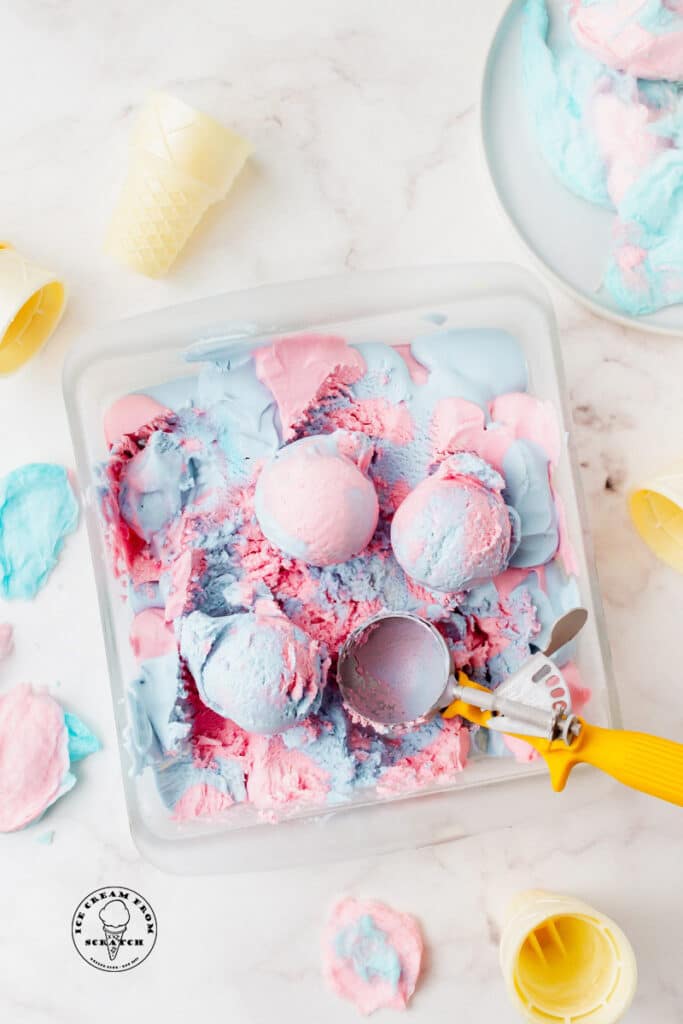
The key ingredient in this cotton candy ice cream is cotton candy flavoring, which you can find in most craft stores in the cake/candy section, and in some grocery stores too.
Blended with vanilla, this creates the perfect creamy, sweet ice cream flavor.
Love homemade ice cream? Try Sprinkles Ice Cream next. You might also like this Sweet Cream Ice Cream Recipe.
Or this Ice Cream Cake, which is excellent with cotton candy ice cream.
For another colorful homemade ice cream recipe, try this Superman Ice Cream.
COTTON CANDY ICE CREAM RECIPE
Some cotton candy ice cream recipes call for cotton candy, but we’re keeping it simple and using cotton candy flavoring.
Melting cotton candy is an extra steps that we don’t personally want to add, but you’re welcome to if you like.
Enjoy your cotton candy ice cream in a cone or a dish, or turn it into a beautiful milkshake.
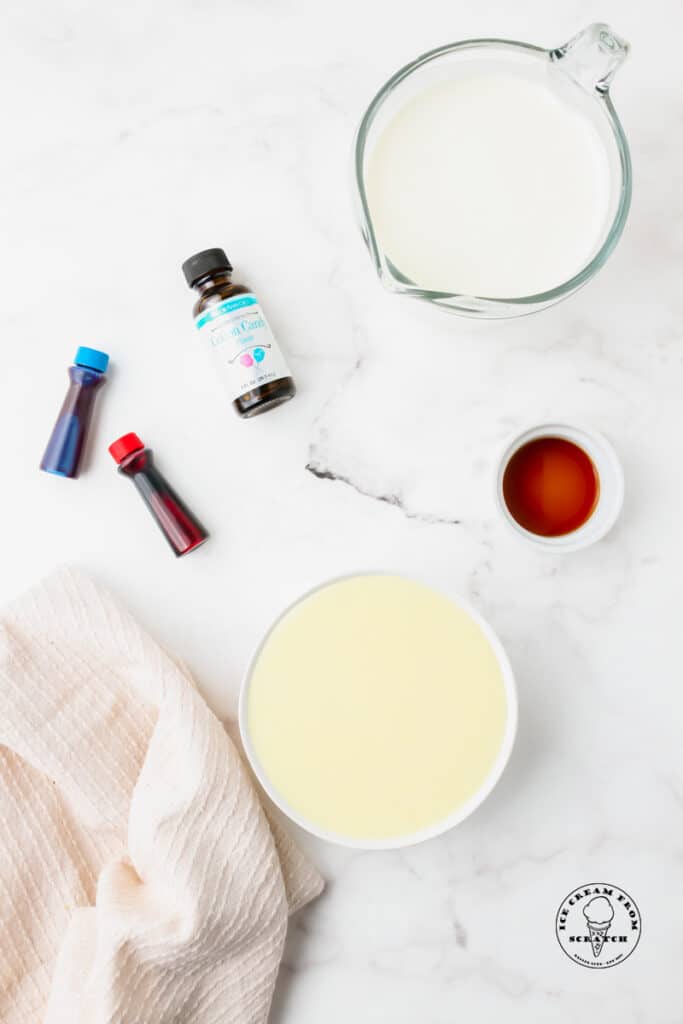
COTTON CANDY ICE CREAM INGREDIENTS
Heavy Whipping Cream – This is the base of our ice cream, and what makes ice cream creamy!
Sweetened Condensed Milk – This addition adds bulk, sweetness, and creates the perfect texture for no-churn ice cream.
Vanilla Extract – Use the best quality pure vanilla extract you can afford. Since this recipe isn’t cooked, the vanilla flavor will really shine.
Cotton Candy Flavoring – I’m not really sure what flavor cotton candy is, but it certainly has its own distinct taste. This flavoring is generally used in candy making and can be ordered online or found in the cake/candy making sections of most craft stores.
Food Coloring – I am using red and blue food coloring for a traditional cotton candy look, but you can feel free to use other colors.
Purple, green, or yellow would be beautiful too. Get fancy and use three colors if you like. Gel food coloring works best.
If you have any questions about cotton candy ice cream, please leave a comment below and I will get back to you.
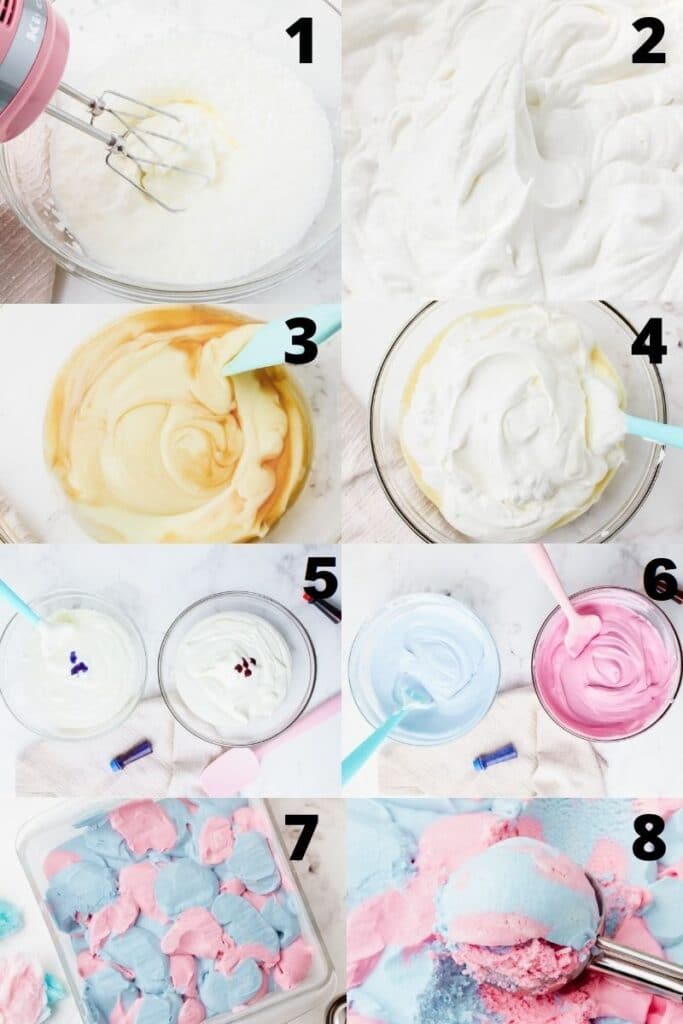
HOW TO MAKE COTTON CANDY ICE CREAM
- Add the heavy whipping cream to a large bowl.
- Use a hand mixer or a stand mixer to whip the heavy cream until stiff peaks form. This should only take a few minutes.
- In another large bowl, add sweetened condensed milk, vanilla extract. Whisk until combined.
- Carefully fold the whipped cream into the condensed milk mixture. Try to keep the mixture light and fluffy.
- Divide into two medium bowls. Add blue food coloring to one bowl, and red food coloring to the other.
- Stir each bowl until combined and add more food coloring if needed until desired colors are achieved.
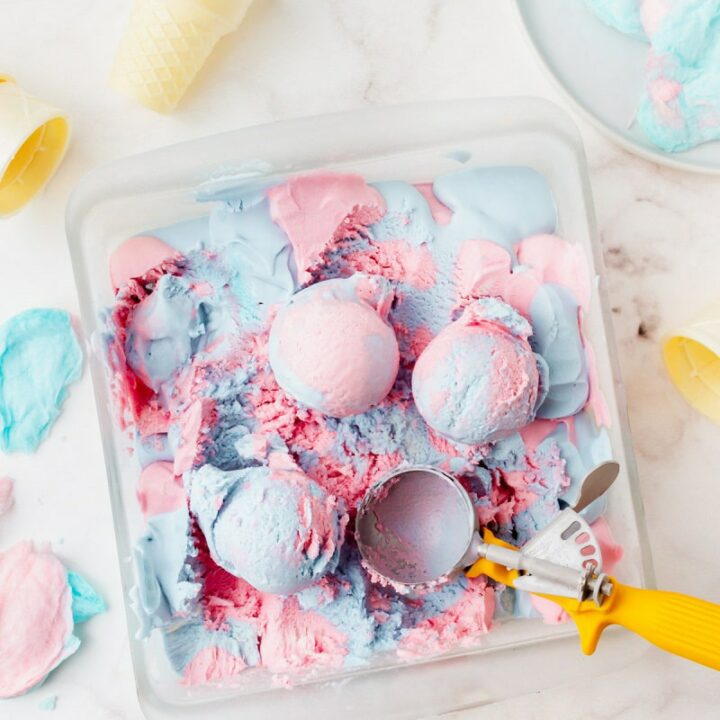
- Dollop the colors into a shallow, freezer-safe dish, alternating colors. For best results, do not stir them together.
- Freeze for 3-4 hours or until firm.
These numbered steps match the numbered photos above and are for illustration purposes.
For the complete list of ingredients and instructions in this cotton candy ice cream recipe, please see the recipe below.
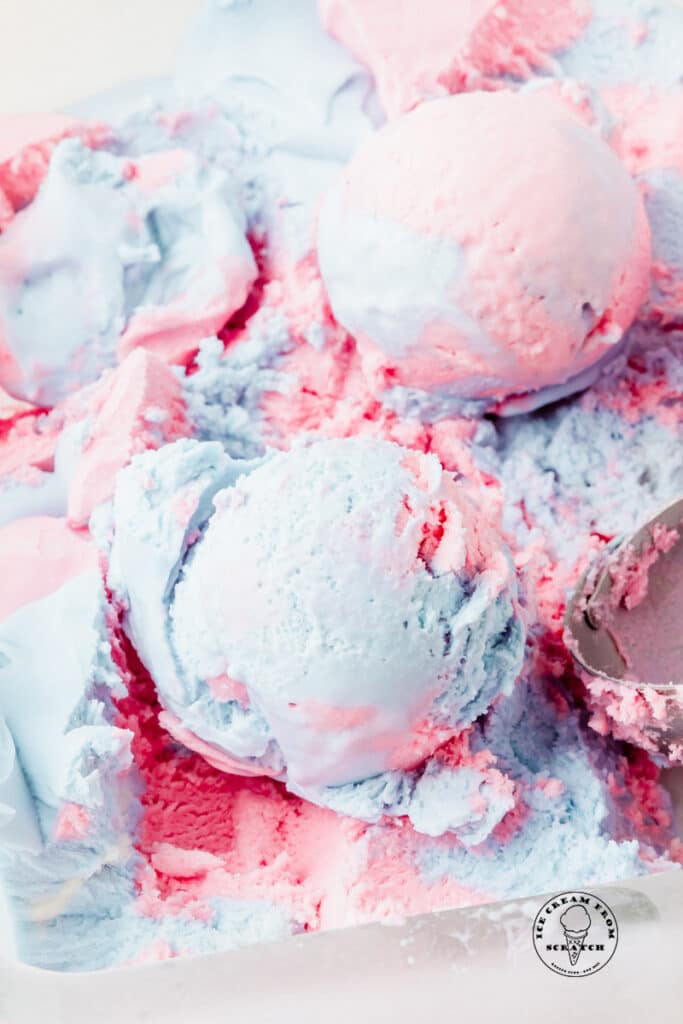
NOTE ABOUT MAKING COTTON CANDY ICE CREAM IN AN ICE CREAM MAKER
If you’re okay with one color for your cotton candy ice cream, you can certainly use an ice cream maker. Follow the manufacturers instructions for making it in an ice cream maker.
TIPS FOR MAKING PERFECT COTTON CANDY ICE CREAM
Since this is a no churn cotton candy ice cream recipe, whipping the cream is a very important step. If you don’t whip the cream you won’t get a airy final product. If you overwhip the cream it will curdle.
The whipped cream should stand up straight when you pull the beater out of the bowl.
Gel food coloring works best in this recipe. I like it because it doesn’t add any unnecessary liquid to the ice cream base and the colors are bright and strong without needing to use a lot.
I don’t currently have a dairy-free options for this cotton candy ice cream recipe but I will update the post if I do. If you try this recipe with full fat coconut cream, please stop back by and let me know how it turned out.
Store this ice cream in the freezer in an airtight container with a piece of parchment paper or waxed paper pressed on top for up to one month.
More Ice Cream Recipes You Might Like:
Don’t see a flavor you’re looking for? Use the search box at the top.
LET’S GET SOCIAL, you can follow us on Pinterest or leave a comment below if you have any questions.
Did you make this Cotton Candy Ice Cream recipe? Please leave a comment below letting me know what you thought.
Cotton Candy Ice Cream Recipe
Cotton candy ice cream is sweet, creamy, colorful and super fun to make! This no-churn cotton candy ice cream recipe will be a summer favorite.
Ingredients
- 2 cups heavy whipping cream
- 14 ounces sweetened condensed milk
- 1 teaspoon vanilla extract
- 2 teaspoons cotton candy flavoring
- blue food coloring
- red food coloring
Instructions
- Add the heavy whipping cream to a large bowl.
- Use a hand mixer or a stand mixer to whip the heavy cream until stiff peaks form. This should only take a few minutes.
- In another large bowl, add the sweetened condensed milk, vanilla extract, and cotton candy flavoring. Whisk until combined.
- Carefully fold the whipped cream into the sweetened condensed milk mixture.
- Try to keep the mixture light and fluffy.
- Divide into two medium bowls. Add blue food coloring to one bowl, stirring until combined. Add red food coloring to the other bowl, adding just enough until you get a light pink color. Stir until combined.
- Dollop the colors into a shallow freezer-safe dish, alternating colors. Be sure not to stir them together for best results.
- Freeze for 3-4 hours, until firm.
Notes
- Be sure not to over whip your heavy cream otherwise it will curdle. You want the whipped cream to stand up straight when you pull the beater out of it. If the peaks of the whipped cream fold over, then you need to keep going a little while longer.
- The amount of food coloring you need will depend on what type of food coloring you are using. If you use gel food coloring, you will need much less food coloring to get your desired colors. Water-based coloring will require more food coloring.
Nutrition Information:
Yield: 6 Serving Size: 3/4 cupAmount Per Serving: Calories: 558Total Fat: 36gSaturated Fat: 23gTrans Fat: 1gUnsaturated Fat: 11gCholesterol: 120mgSodium: 135mgCarbohydrates: 51gFiber: 0gSugar: 51gProtein: 9g

Can I use my Cuisinart icecream maker.
Hi Sujata,
Because of the different colors, it’s best to not use an ice cream maker with this recipe.
Best,
Ice Cream From Scratch Team
So when do you add the cotton candy flavoring?
Hi Pauline,
You add it in with the vanilla extract.
Ice Cream From Scratch Team
We plan to use only blue food coloring. What would happen if we used the Cuisinart to churn the ice cream?
There is a chance the whipped heavy cream will loose some of its air that you whipped into it.
The Ice Cream From Scratch Team
What type/brand of cotton candy flavoring did you use for yours? What do you recommend?
Hi Laura,
We don’t recommend a particular brand but amazon has a great selection to choose from. Amazon’s overall choice is what I have purchased in the past.
Thanks,
Kimberly