Raspberry Ice Cream
Made with ripe, juicy berries, Raspberry Ice Cream is a flavorful and easy ice cream recipe to make at home.
This French style churned ice cream recipe uses an egg custard base blended with fresh raspberry puree to create a rich, luscious berry treat.
Raspberry Ice Cream is easy to make from scratch and is naturally gluten-free and nut free.
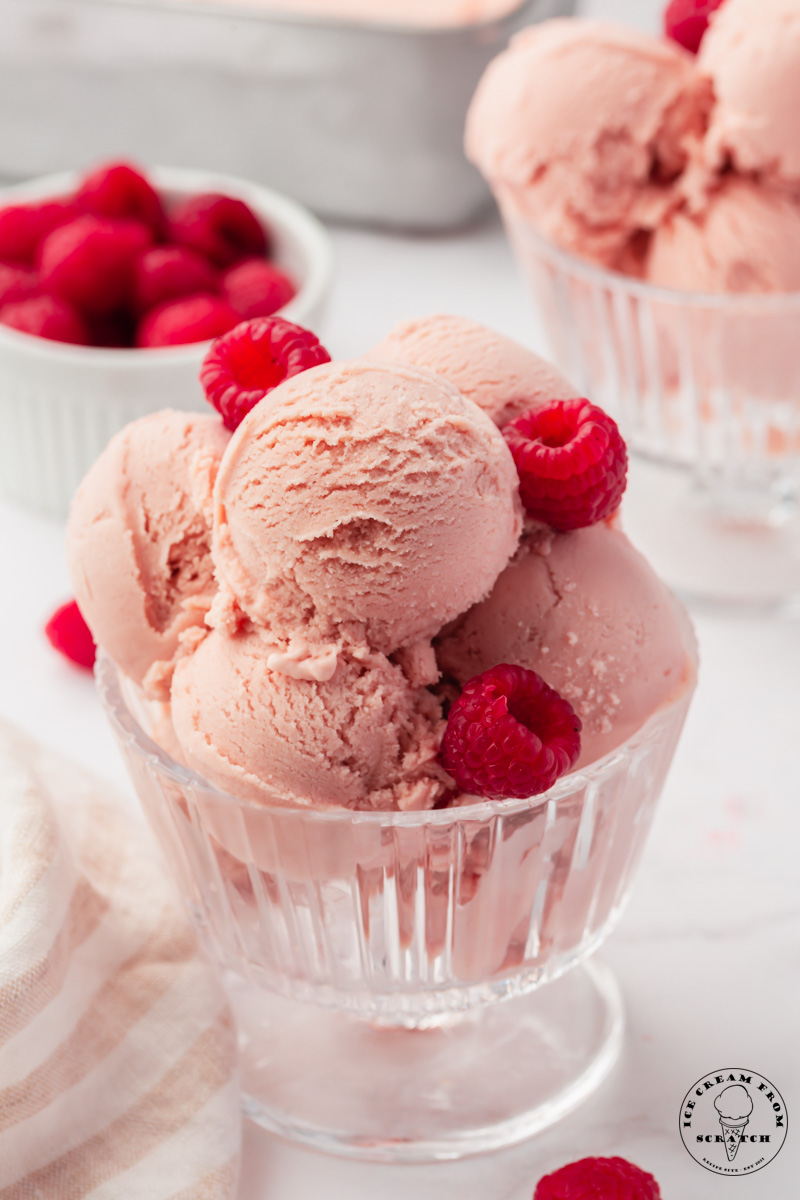
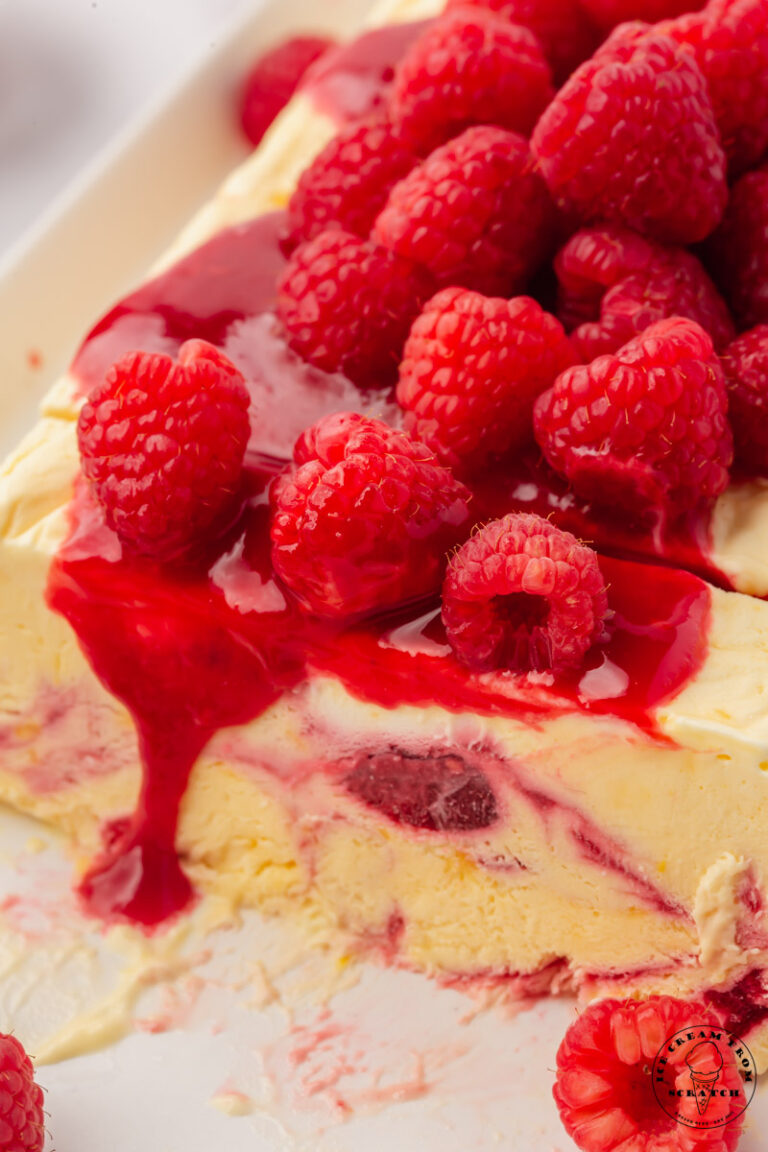
I like rich, chocolate ice cream as much as the next person, but there is something so special about fruit-flavored ice creams. Orange Ice Cream is another favorite of ours. If you love raspberry ice cream, try this Semifreddo next.
Readers also love this raspberry sherbet.
The slight tartness of fresh raspberries pairs so beautifully with a sweet, creamy ice cream base in this delicious ice cream recipe. Similar to Huckleberry Ice Cream.
If a sorbet sounds delicious to you right now, be sure to check out our Strawberry Sorbet recipe. It’s amazing made with fresh summer berries, just like this ice cream recipe is!
Why You’re Going to Love this Homemade Raspberry Ice Cream Recipe
There are just 7 simple ingredients in this homemade raspberry ice cream recipe. Nothing else is needed because the flavor that the ice cream gets from the fresh berries is simply amazing.
Raspberry Ice Cream is not really something you can buy at the store. You can usually find Black Raspberry Ice Cream, but it’s not quite the same as this red raspberry ice cream recipe.
The traditional, French-style custard base for this recipe makes it extra creamy, rich, and delicious.
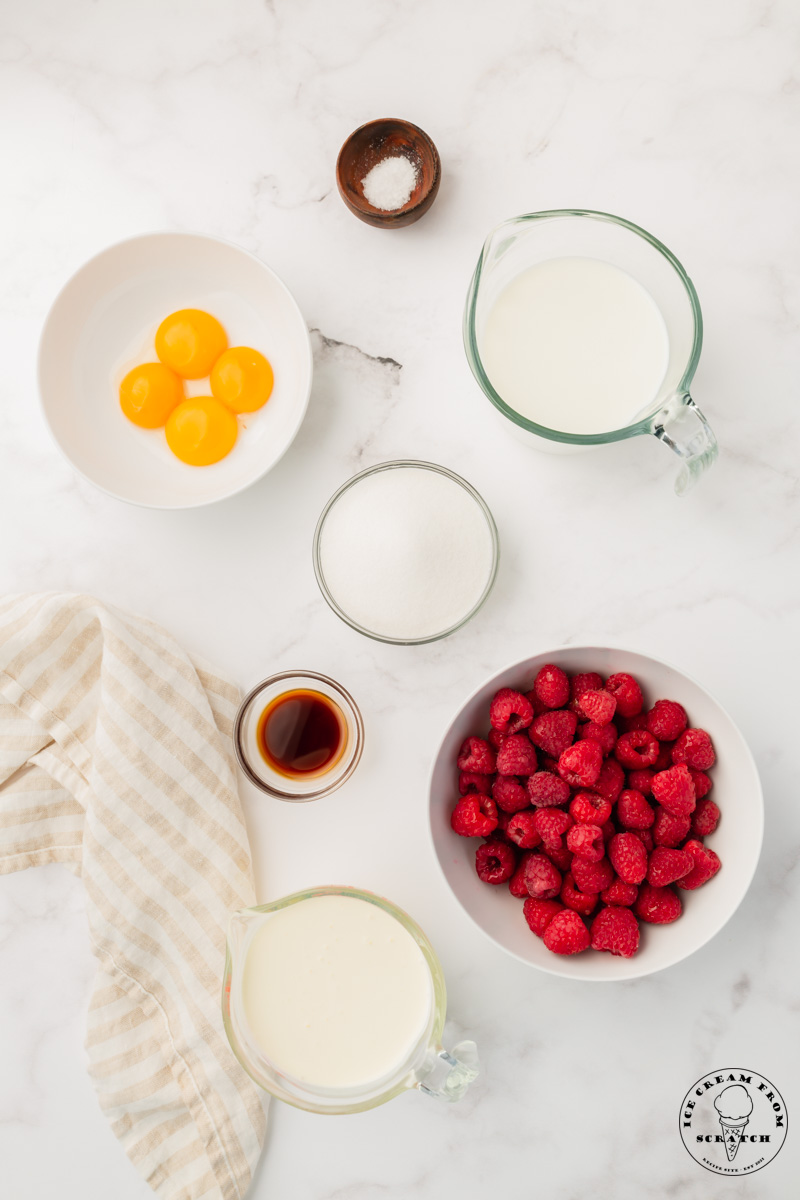
Ingredients in Homemade Raspberry Ice Cream
Raspberries – This ice cream gets tons of flavor from ripe red raspberries. Choose fresh berries that are sweet and juicy, or use frozen berries if it’s more convenient.
Egg Yolks – These create the base for our ice cream custard. We’ll gently heat the egg yolks to pasteurize them, but you can also purchase pasteurized eggs if you prefer.
Granulated Sugar – For sweetness and texture, plain, white, granulated sugar is the best choice.
Whole Milk – The first of our dairy items adds bulk and helps to incorporate the egg yolks into the base.
Heavy Cream – A mix of both heavy cream and whole milk is what gives us the perfect creamy texture.
Kosher Salt – A bit of salt enhances the flavor of the berries and vanilla.
Vanilla Extract – a nice, high-quality, pure vanilla extract will give tons of warm vanilla flavor that pairs beautifully with raspberries.
If you have any questions on how to make this raspberry ice cream, please leave a comment below.
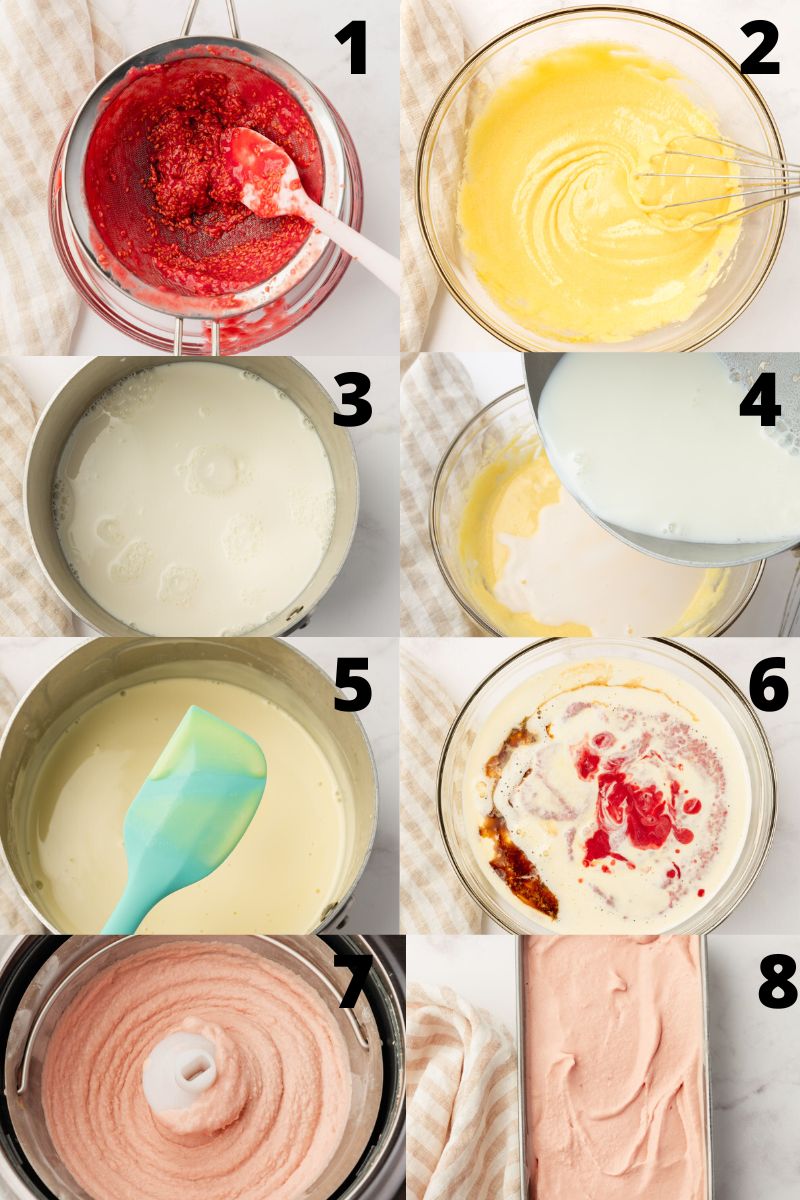
How to Make Raspberry Ice Cream from Scratch
Start the day before by making sure that the bowl for your ice cream maker has at least 24 hours to freeze solid.
- Add the raspberries to a food processor. Blend until smooth. Strain the seeds out of the raspberries with a sieve, pressing down with the back of a spatula or spoon to press out as much juice as possible. Set aside.
- In a medium bowl, whisk together the egg yolks and granulated sugar until smooth and pale yellow in color.
- Add the milk to a saucepan over medium heat. Bring the milk to a simmer and then remove from the heat. Be sure not to boil. Add about 1/2 cup of the hot milk to the egg and sugar mixture and whisk constantly until combined.
- Then, add the tempered egg mixture back into the saucepan with the remaining hot milk. Heat the saucepan on low.
- Stirring constantly, heat until the base has thickened enough to coat the back of a spoon. This should take a few minutes. Strain the mixture into a bowl to remove any pieces of egg that may have cooked.
- Add the heavy cream, vanilla extract, and raspberry puree to the custard and stir until incorporated. Cover the bowl with plastic wrap making sure to have the plastic wrap touching the surface of the ice cream base. This will help keep it from forming a skin while chilling. Refrigerate for at least 3 hours, or until cold.
- Churn the ice cream mixture in the bowl of your ice cream machine according to your manufacturer’s instructions, until it is thick and the consistency of soft-serve ice cream.
- Spoon the ice cream into a shallow container or a loaf pan. Press plastic wrap or wax paper to the surface of the ice cream. Freeze for at least 4 hours, or until solid. Let sit at room temperature for about 5 minutes before serving.
These numbered steps match the numbered photos above and are for illustration purposes. For the complete list of ingredients and instructions, please see the recipe below.
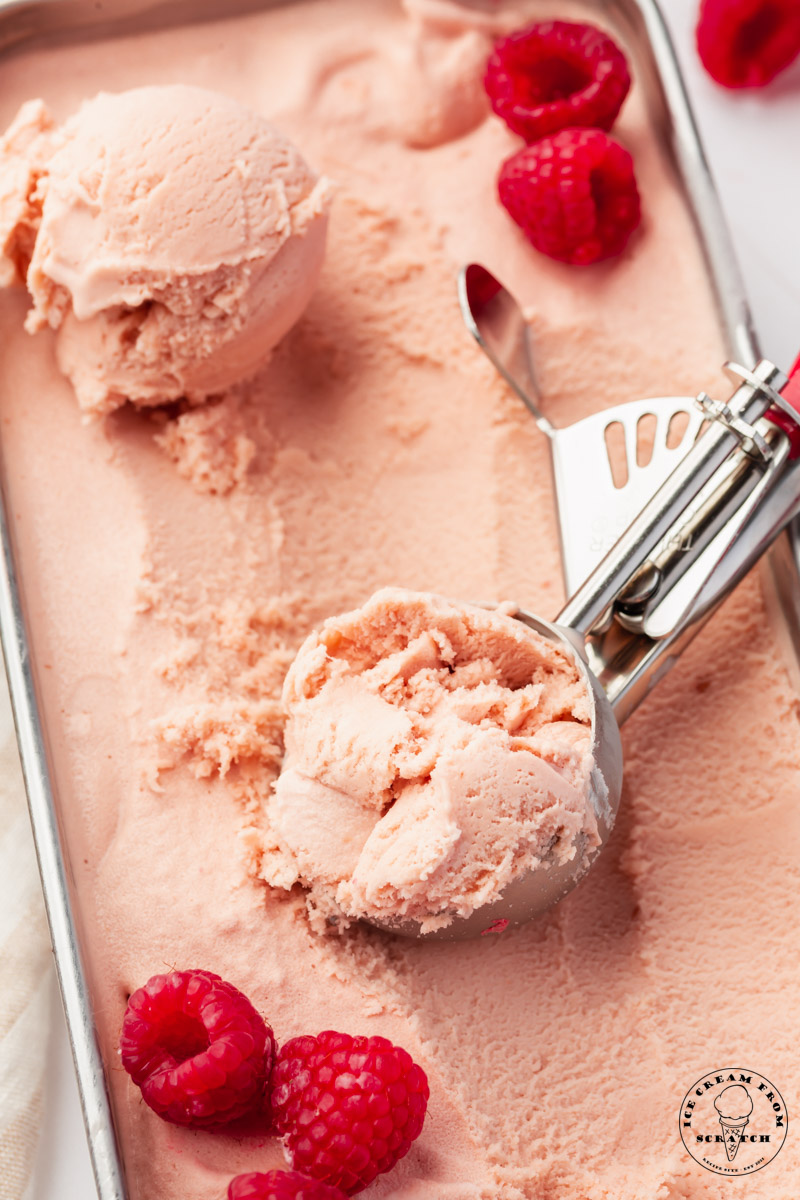
How to Store Raspberry Ice Cream
Store this homemade Raspberry ice cream in the freezer in an airtight container with a piece of parchment paper or wax paper pressed on top for up to one month.
Note that homemade ice cream doesn’t last as long as store-bought ice cream will, but I’m sure you’ll eat it up right away so you don’t need to worry too much about that!
Tips for Making This Easy Raspberry Ice Cream Recipe
Use quality ingredients – When making homemade ice cream, you’ll want to make sure you are using high-quality ingredients for the best outcome.
Chill out – If possible, always start with chilled ingredients. This is important for homemade no-churn ice cream recipes and ice cream maker recipes.
Don’t skimp on the fat – High-fat milk and cream are essential when making homemade ice cream. Opting for a low-fat option often leads to icy ice creams and inconsistency in the texture.
Take time to strain the berries, but don’t worry if some chunks or seeds make it into the final product. It’s small imperfections that make homemade ice cream the best.
Don’t go crazy with the add-ins – If you’re adding in additional ingredients, pick one or two and make sure they are chopped into pieces no larger than a blueberry or pea.
Don’t skimp on the sugar – Sugar not only adds sweetness to homemade ice creams, it also helps with the texture. Sugar is essential for the creamy texture of ice cream.
Should I Add Whole Berries to Raspberry Ice Cream?
Adding whole raspberries to this recipe is possible, but the berries will freeze very hard and make the ice cream difficult to scoop and to eat.
Pureeing the fresh raspberries gives this homemade ice cream a much more pleasing texture.
If you want to add pieces of raspberries, be sure to still make the raspberry puree to mix in with the ice cream base. Add your extra berries to the machine during the last two minutes of churning.
Can I make Ice Cream with Frozen Raspberries?
Frozen berries are a great option because they are always fresh and ready to go in your freezer.
To use frozen raspberries here, simply allow the berries to thaw before blending them up.
If you have some frozen strawberries, use them to make this tasty Strawberry Ice Cream instead!
What Can I Use Instead of A Food Processor?
You can use a blender to puree the raspberries if you don’t have a food processor. You may need to add a small amount of cold milk along with the berries to get the blender to blend them correctly.
No Churn Raspberry Ice Cream Directions
Chill a shallow container or a loaf pan in the freezer while you mix the ice cream ingredients.
Pour the ice cream mixture into the prepared pan and freeze for 3-4 hours. Stir the ice cream every 30 minutes for the first 2 hours to help add air. This will help create a creamy, smooth texture.
Raspberry Ice Cream Add-Ins
Enjoy your smooth and creamy homemade raspberry ice cream just like this, or mix in some extras.
- Shaved dark chocolate, or a chopped chocolate bar. Chocolate and raspberries is a decadent combination.
- Pieces of vanilla flavored cookies, prepared cheesecake, or pound cake.
- Shaved white chocolate or white chocolate chips
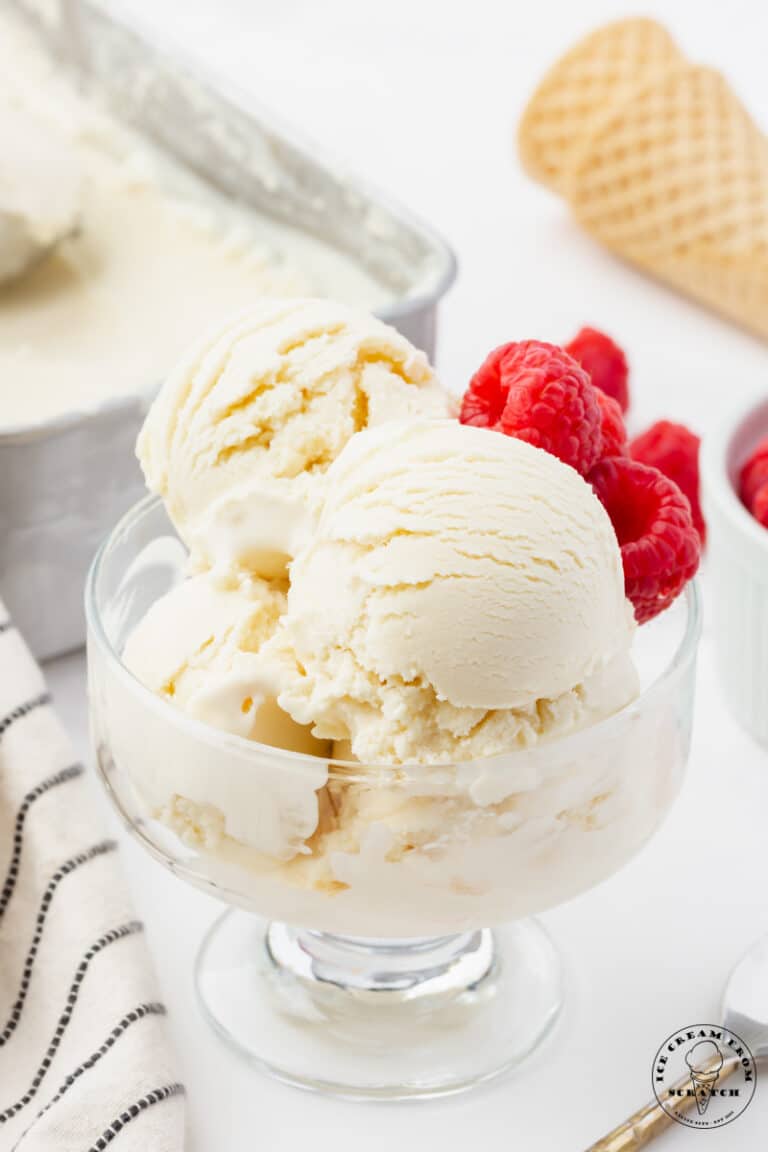
- Raspberry Ice Cream makes a delicious Ice Cream Sundae, topped with hot fudge, fresh berries, and whipped cream.
Why is Homemade Ice Cream So Hard to Scoop?
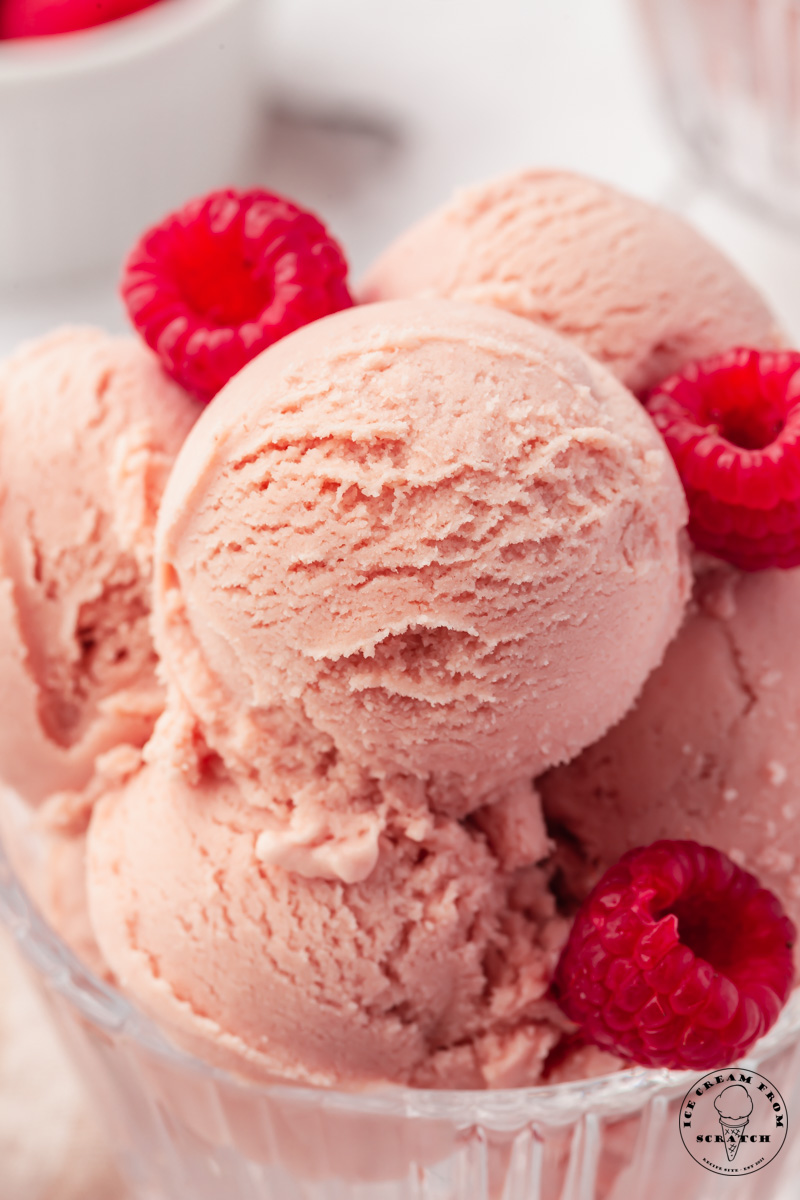
Commercial ice creams contain additives that keep them soft at freezer temperature. Because we aren’t adding anything like that, the ice cream will be solid right from the freezer.
No worries though, 5 minutes on the counter is enough time for the temperature of the homemade ice cream to rise just enough for it to scoop easily.
More Homemade Ice Cream Recipes You’ll Love
If you want more frozen treats made with berries, try our Strawberry Popsicles, or a Strawberry Banana Milkshake.
LET’S GET SOCIAL, you can follow us on Pinterest or leave a comment below if you have any questions.
Did you make this Homemade Raspberry Ice Cream Recipe? Leave a Comment Below letting us know what you thought and if you added any additional add-ins.
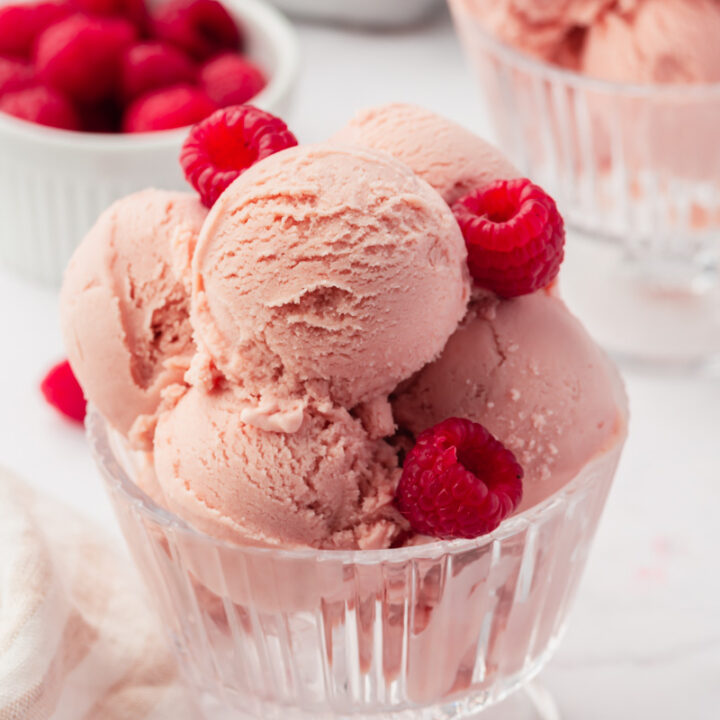
Raspberry Ice Cream
Made with ripe, juicy berries and a rich custard base, Raspberry Ice Cream is a flavorful and easy ice cream recipe to make at home.
Ingredients
- 2 cups (12oz/1 pint) raspberries
- 4 large egg yolks
- 3/4 cup granulated sugar
- 1 1/2 cups whole milk
- 1 1/2 cups heavy cream
- 1/2 teaspoon kosher salt
- 2 teaspoons vanilla extract
Instructions
- Chill the ice cream bowl for at least 24 hours or until solid. You should not hear any water sloshing around when you shake the bowl. Add the raspberries to a food processor. Blend until smooth. Strain the seeds out of the raspberries with a sieve, pressing down with the back of a spatula or spoon to press out as much juice as possible. Set aside.
- In a medium bowl, whisk together the egg yolks and granulated sugar until smooth and pale yellow in color.
- Add the milk to a saucepan over medium heat. Bring the milk to a simmer and then remove from the heat. Be sure not to boil. Add about 1/2 cup of the hot milk to the egg and sugar mixture and whisk constantly until combined.
- Then, add the tempered egg mixture back into the saucepan with the remaining hot milk. Heat the saucepan on low.
- Stirring constantly, heat until the base has thickened enough to coat the back of a spoon. This should take a few minutes. Strain the mixture into a bowl to remove any pieces of egg that may have cooked.
- Add the heavy cream, vanilla extract, and raspberry puree to the custard and stir until incorporated. Cover the bowl with plastic wrap making sure to have the plastic wrap touching the surface of the ice cream base. This will help keep it from forming a skin while chilling. Refrigerate for at least 3 hours, or until cold.
- Churn the ice cream mixture in the bowl of your ice cream machine according to your manufacturer’s instructions, until it is thick and the consistency of soft-serve ice cream.
- Spoon the ice cream into a shallow container or a loaf pan. Press plastic wrap or wax paper to the surface of the ice cream. Freeze for at least 4 hours, or until solid. Let sit at room temperature for about 5 minutes before serving.
Notes
Nutrition Information:
Yield: 6 Serving Size: 1Amount Per Serving: Calories: 397Total Fat: 27gSaturated Fat: 16gTrans Fat: 1gUnsaturated Fat: 9gCholesterol: 228mgSodium: 196mgCarbohydrates: 30gFiber: 0gSugar: 30gProtein: 8g

