Easy Protein Ice Cream Recipe
This high-protein ice cream recipe is so thick and creamy, made with just four ingredients, and boasting over 10 grams of protein per serving. A simple technique that’s just as easy as blending up a protein shake will result in an ice cream option that will save you money at the store and leave you completely satisfied.
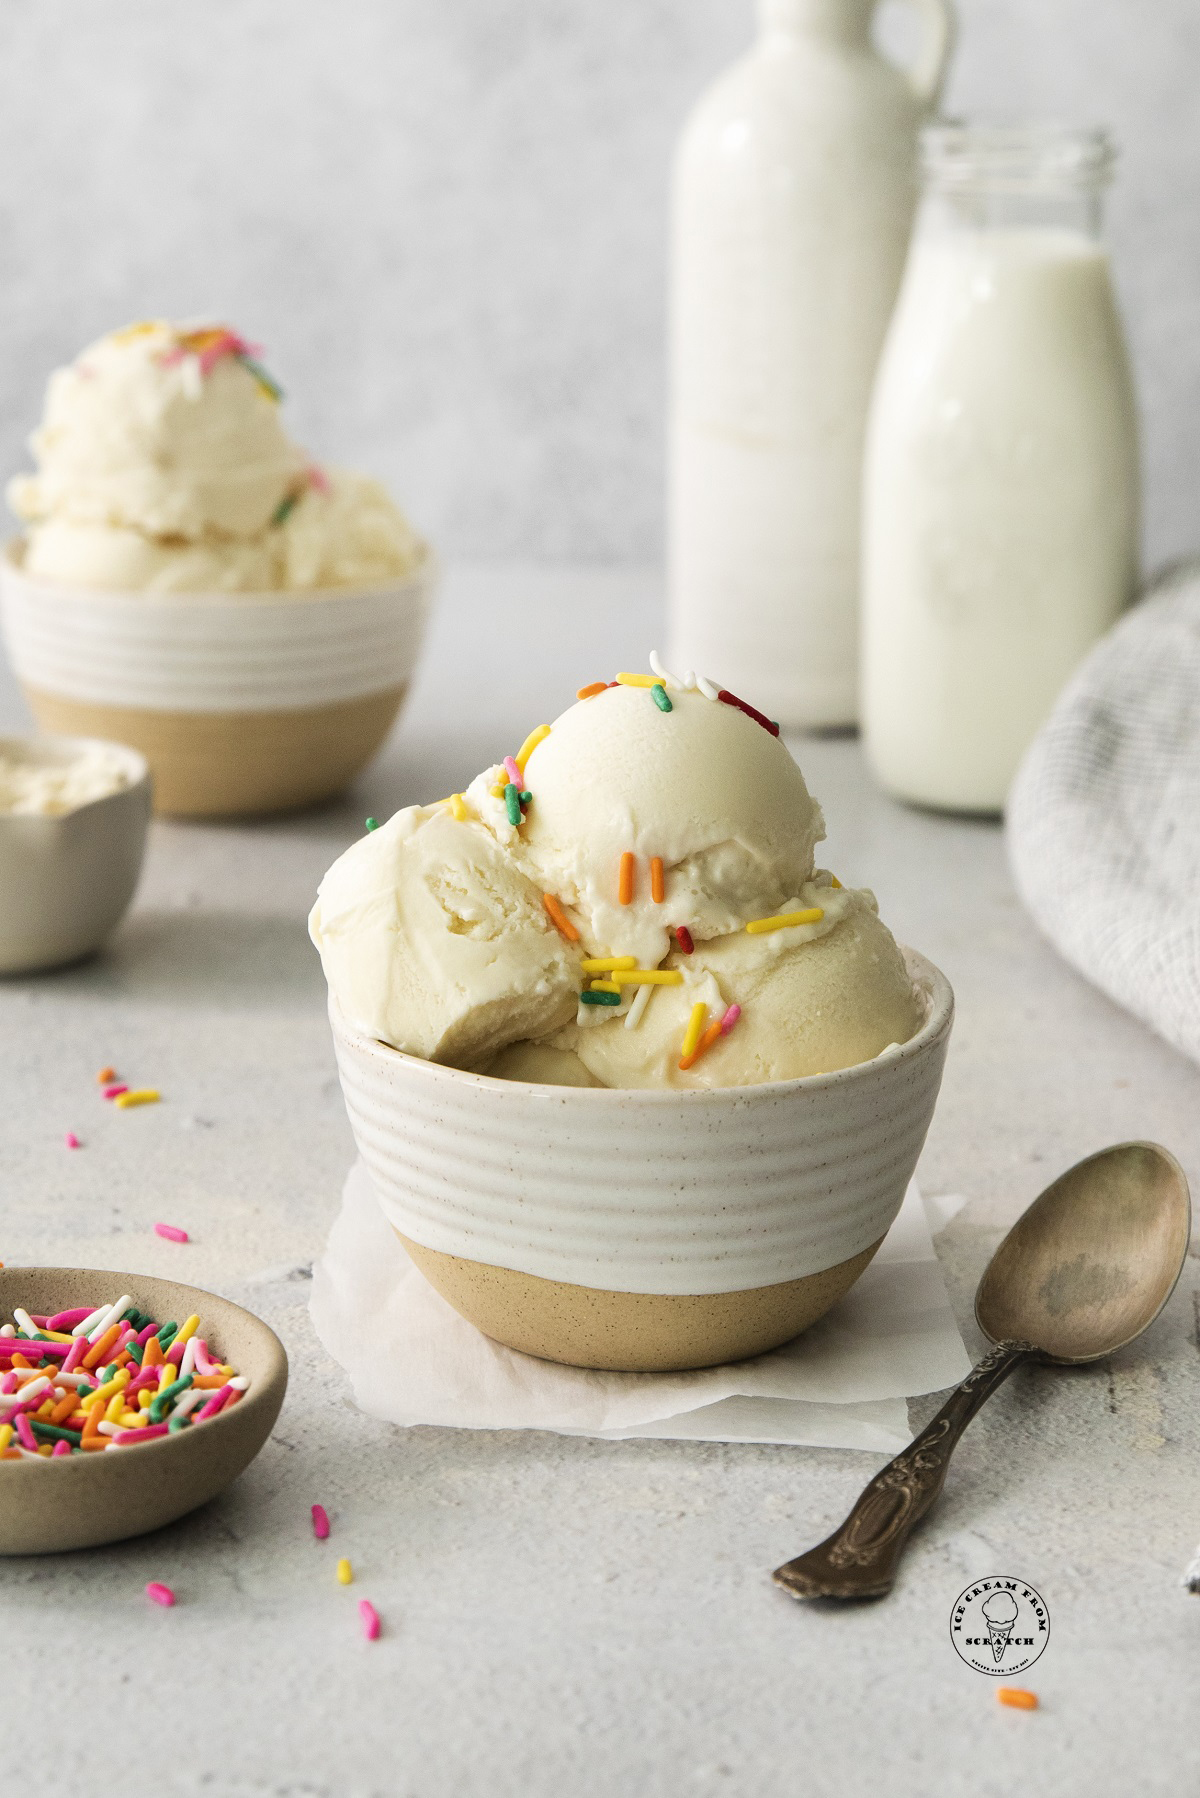
The grocery store freezer is full of pints of HaloTop, Arctic Zero, and other high protein ice cream flavors, and while that’s very convenient, they are also very expensive.
The actual amount of protein in this homemade ice cream recipe will be based on the type of protein powder you choose to mix into it, but no matter how you make it, this protein ice cream is thick, creamy, and delicious!
Homemade ice cream should be for everyone! You might also be interested in making Anabolic Ice Cream, which has even more protein in it or grab our recipe for Sugar Free Ice Cream, which isn’t super high in protein, but is free of added sugar.
It’s incredible on top of a protein mug cake.
Why You’re Going to Love this High Protein Ice Cream Recipe
- Easy to Make. This ice cream recipes only calls for 5 ingredients.
- Economical. You’ll save money making protein ice cream yourself, at home. This recipe makes enough ice cream to share and will cost much less than a pint of protein ice cream at the grocery store. Skip the markups, and make this homemade version instead.
- Easy to Customize. This recipe will show you how to make creamy vanilla protein ice cream, which is a perfect place to start! From here you can play with the base flavors, add mix-ins, or use this ice cream in milkshakes or ice cream desserts.
- Diet Friendly. This recipe for ice cream made with protein powder and sugar-free sweetener can be a delicious part of any low-carb, high-protein diet plan.
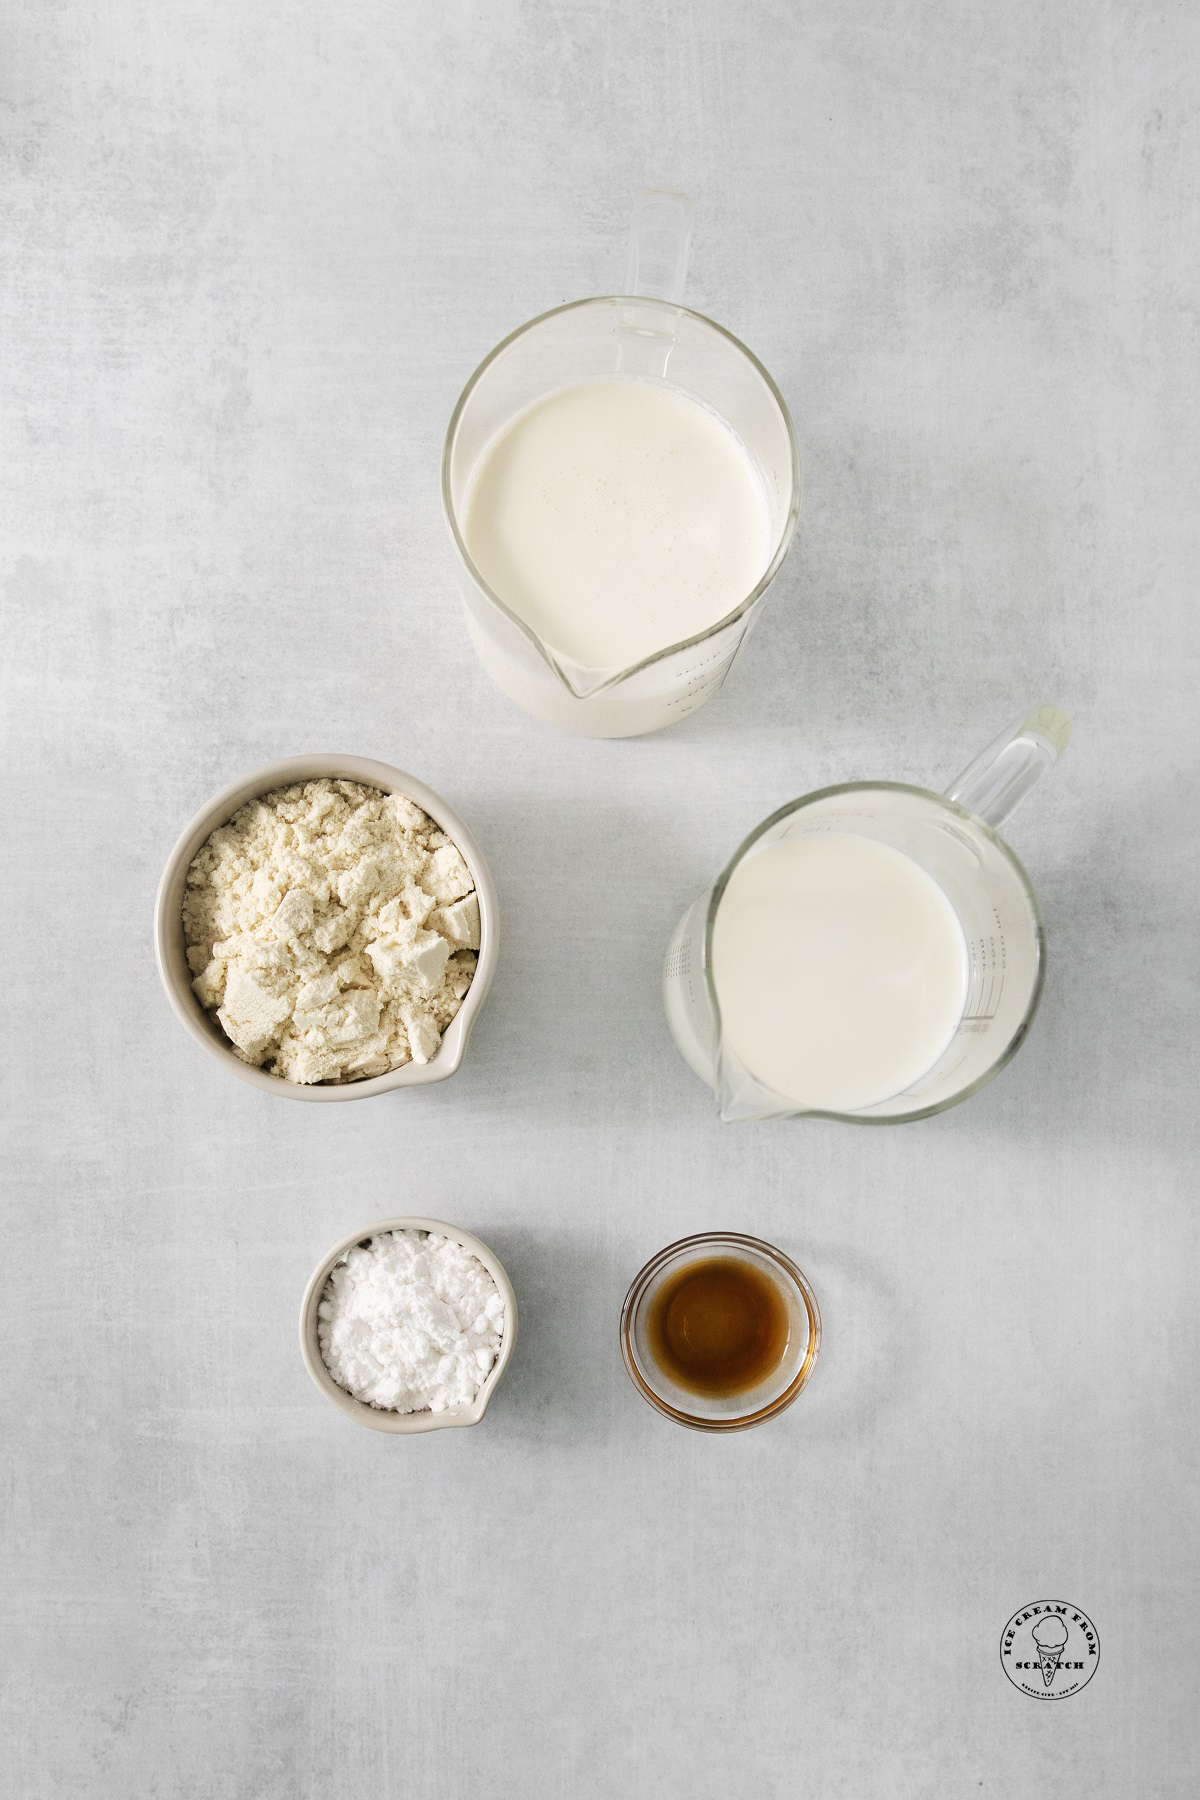
Ingredients in Homemade Protein Ice Cream
- Heavy Cream and Whole Milk – We tested this recipe with various amounts of both of these dairy ingredients and found that an equal amount of each resulted in high protein ice cream with the best creamy texture.
- Protein Powder – To make vanilla protein ice cream, we’re using Pure Protein Vanilla Cream brand protein powder. This is a whey-based powder that I enjoy the flavor of, but the recipe will work with other brands as well.
- Powdered Sweetener – Depending on the sweetness of your protein powder, you may need more or less sweetener. Here I’m adding ¼ cup of Swerve confectioners blend. Other powdered low-carb sugar substitutes to try include Besti allulose sugar replacement, or Lakanto monkfruit and erythritol blend.
- Vanilla Extract – Pure vanilla extract gives this ice cream the perfect flavor. You can also try it with vanilla bean paste or other flavor extracts.
For the complete list of ingredients and instructions on how to make protein ice cream, please see the recipe below.
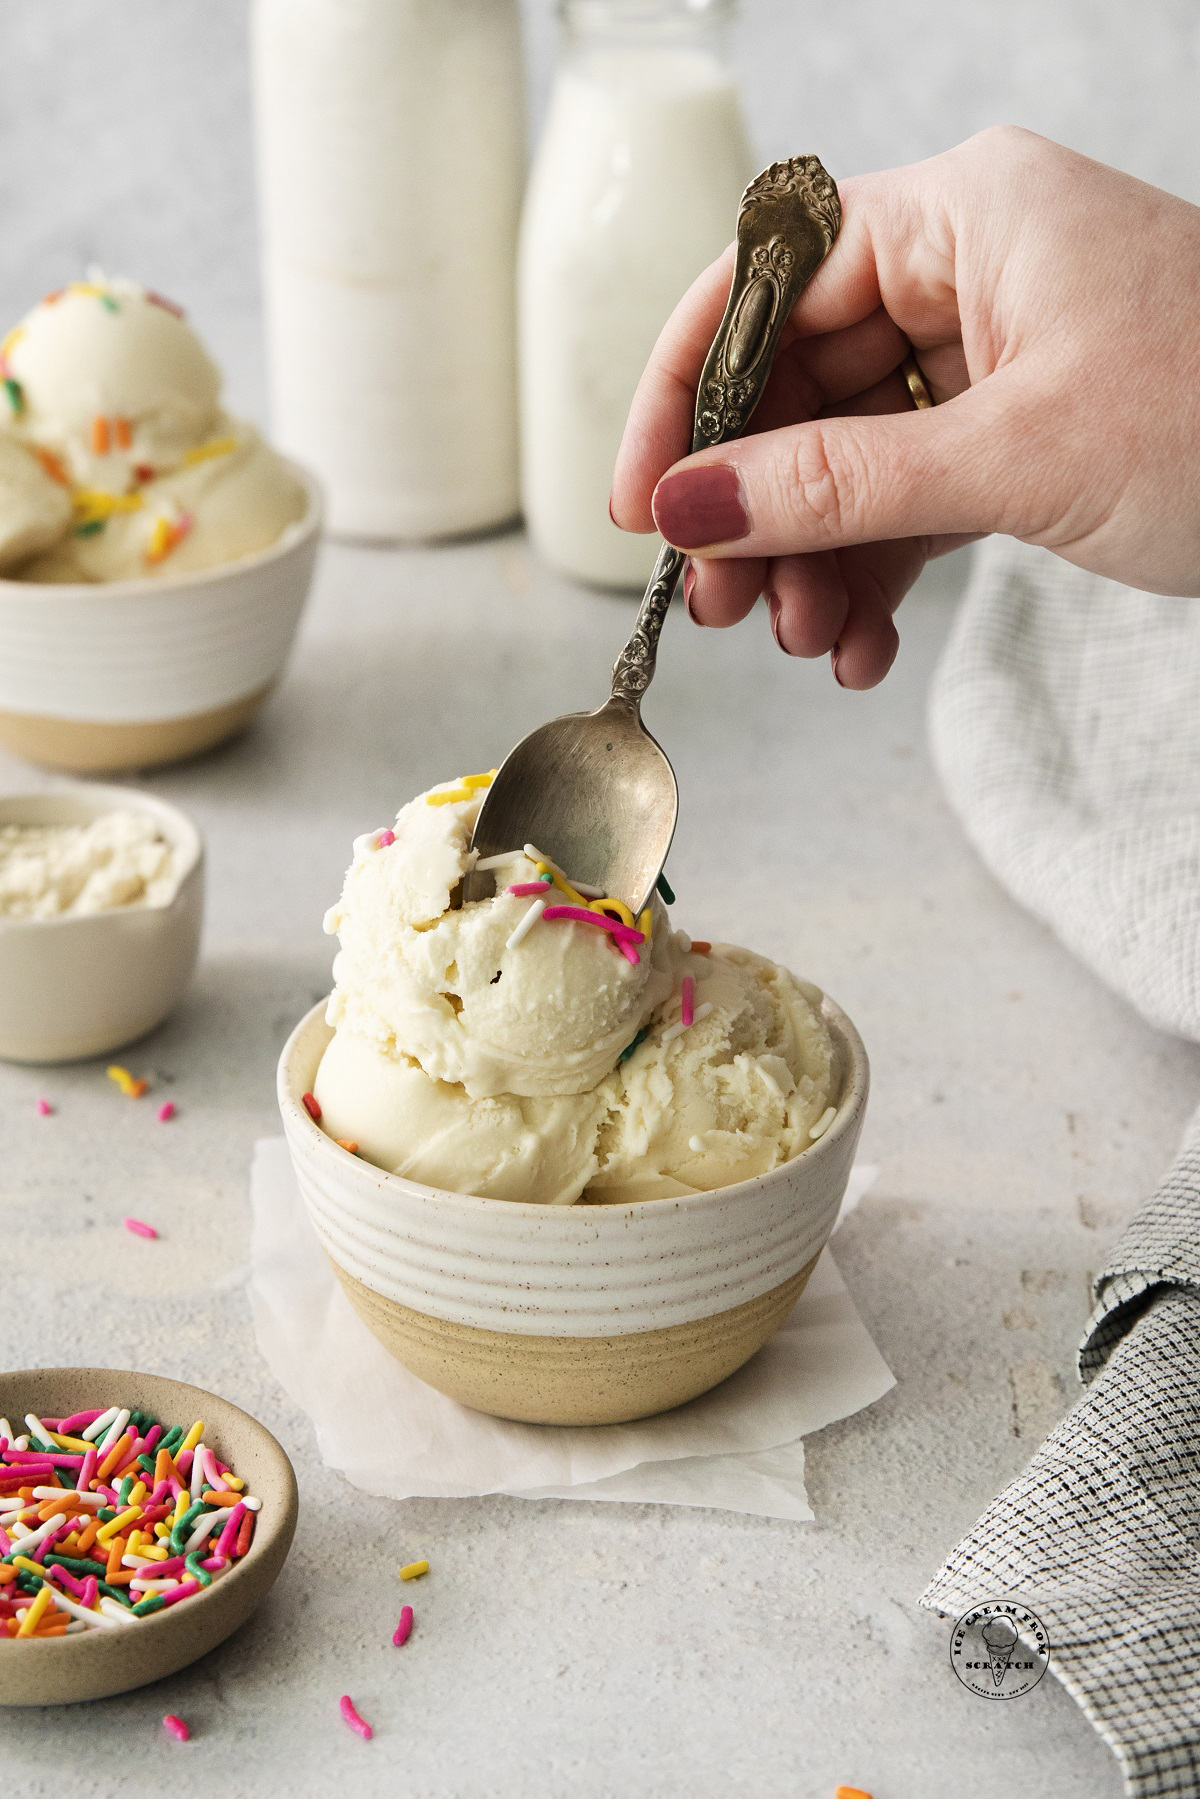
How to Store Protein Ice Cream
Store this homemade Protein Ice Cream in the freezer in an airtight container with a piece of parchment paper or wax paper pressed on top for up to one month.
Tips for Making This Tasty Protein Ice Cream Recipe
- Don’t skimp on the fat – High-fat milk and cream are essential when making homemade ice cream. Opting for a low-fat option often leads to icy ice creams and inconsistency in the texture.
- Use the right sweetener – Because we aren’t cooking or heating the ice cream base, you want to use a powdered sugar substitute. This way the sweetener will fully dissolve into the milk without any problems. If you aren’t concerned with the amount of carbs or sugar in your protein ice cream, feel free to use regular powdered sugar instead.
- Adjust as needed – Taste your ice cream base before adding it to the machine to see if it needs more sweetener. Different protein powders have different amounts of sweetness, so you’ll want to be flexible here. If your protein powder is very sweet, start with no sweetener, and add some at the end if needed.
Can I Make Protein Ice Cream With Vegan Protein Powder?
You can make this recipe with plant-based protein powder such as those made with brown rice or pea protein. The texture may change slightly depending on which type of protein you use.
No Churn Protein Ice Cream Directions
You don’t necessarily need an ice cream maker to make homemade protein ice cream! Here’s how to turn this easy ice cream recipe into a no-churn one:
- Chill a shallow container or a loaf pan in the freezer while you mix the ice cream ingredients in your blender.
- Pour the ice cream mixture into the prepared pan and freeze for 3-4 hours. Stir the ice cream every 30 minutes for the first 2 hours to help add air. This will help create a creamy, smooth texture.
Protein Ice Cream Add-Ins and Variations
- Switch out the vanilla protein powder for chocolate, strawberry, or any other flavor that you love.
- Add other flavor extracts, such as cake batter, coffee, or almond extract.
- A swirl of peanut butter or almond butter would be amazing in this recipe, or you can stir in chopped nuts.
- Sugar-free sprinkles or chocolate chips can also be added during the last two minutes of churning.
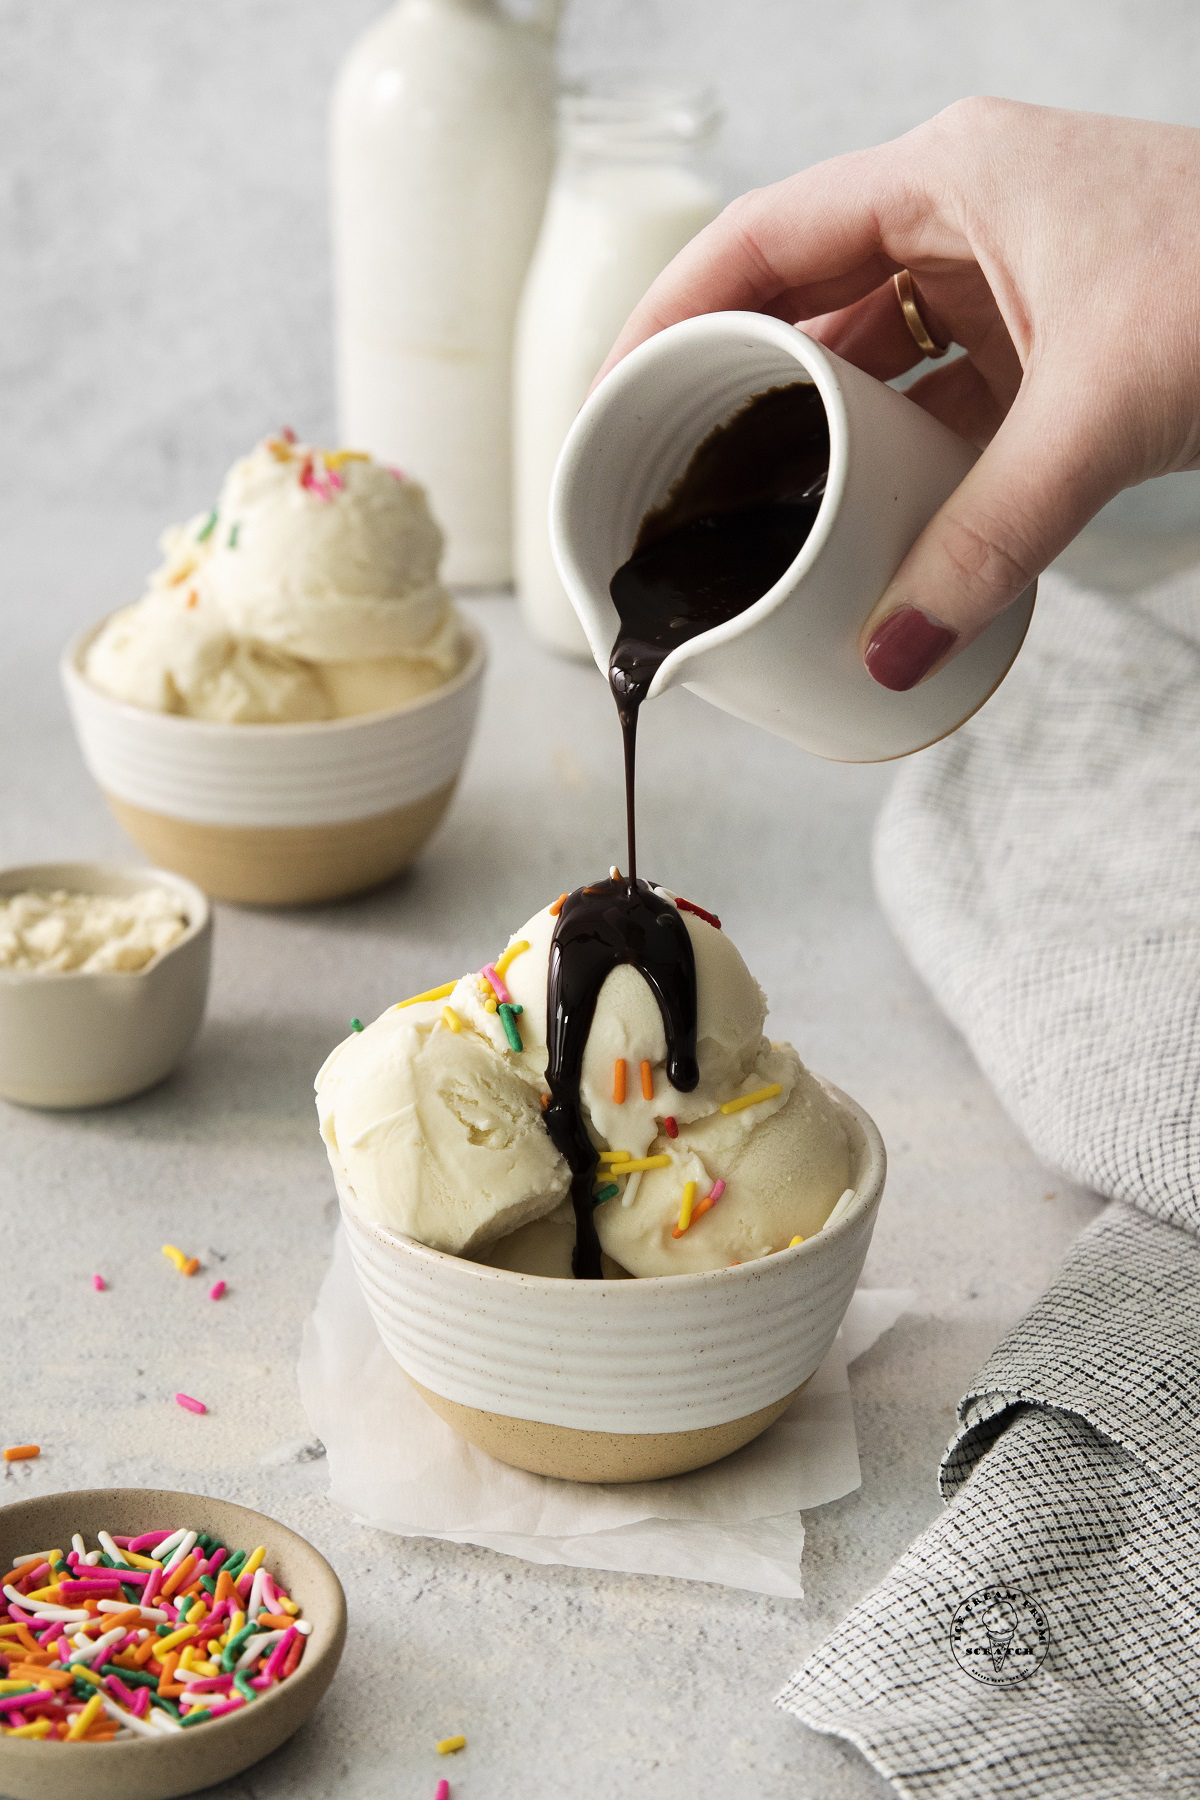
Use this homemade protein ice cream to make vanilla milkshakes, sugar free hot fudge sundaes, or homemade ice cream sandwiches!
More Healthier Homemade Ice Cream Recipes:
LET’S GET SOCIAL, you can follow us on Pinterest or leave a comment below if you have any questions.
Did you make this Homemade Protein Ice Cream Recipe? Leave a Comment Below letting us know what you thought and if you added any additional add-ins.

Protein Ice Cream
This satisfying high-protein ice cream recipe is so thick and creamy, made with just four ingredients, and boasting over 10 grams of protein per serving!
Ingredients
- 1 ½ cups heavy cream
- 1 ½ cups whole milk
- 1 cup vanilla protein powder
- 0-½ cup sugar free confectioners’ sweetener (such as Swerve) **see notes**
- 2 teaspoons pure vanilla extract
Instructions
- Freeze your ice cream maker according to the manufacturer’s instructions.
- In a blender, combine the heavy cream, whole milk, vanilla protein powder, sugar-free sweetener, and pure vanilla extract.
- Blend the ingredients together until they are fully combined and the mixture is smooth– about 30 seconds.
- Pour the mixture into your ice cream maker and churn until frozen– in my Kitchenaid Ice Cream attachment this took about 15 minutes.
- Transfer the soft-serve ice cream to a loaf pan and smooth it into an even layer. Wrap tightly with plastic wrap and chill until completely frozen– at least 4 hours.
- Once the ice cream has set, remove it from the freezer and let it sit at room temperature for a few minutes to soften. Then scoop and enjoy.
Notes
Nutrition Information:
Yield: 10 Serving Size: 1Amount Per Serving: Calories: 181Total Fat: 14gSaturated Fat: 9gTrans Fat: 0gUnsaturated Fat: 4gCholesterol: 46mgSodium: 41mgCarbohydrates: 4gFiber: 0gSugar: 3gProtein: 10g

I made this recipe and I don’t know what went wrong, but it is so hardly frozen that it actually broke my churn attachment for my KitchenAid and I could barely get it out of the bowl. I had to scrape it and it was frozen very hard. And then I just went to scoop it out of the container that I put it in to do the four hour freeze, and again it is absolutely rocksolid.
Hi Hannah,
Oh, wow! I have never had anything like that happen. Did you change up any of the ingredients? I’m not sure what would make the ice cream bowl seize up like that, since the ingredients aren’t frozen going into it.
Best,
Chrystal