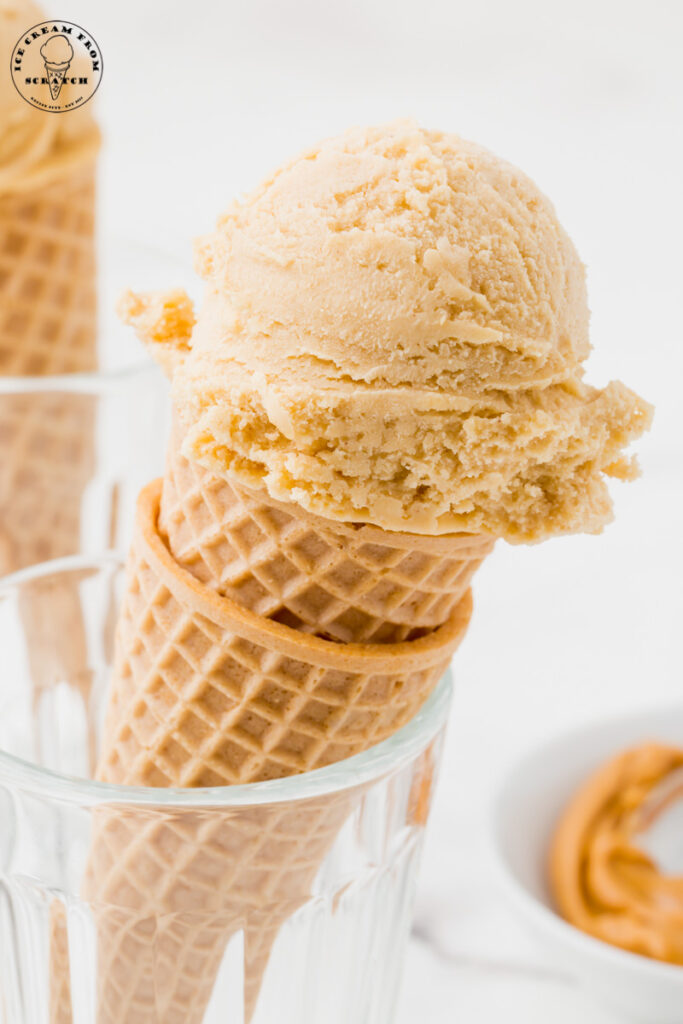
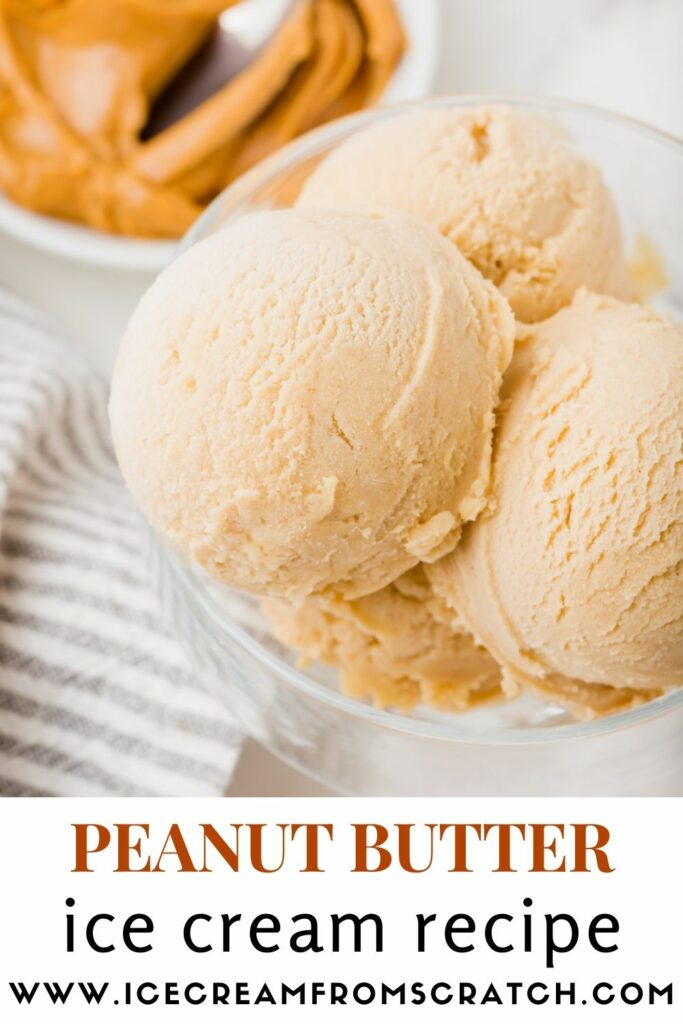
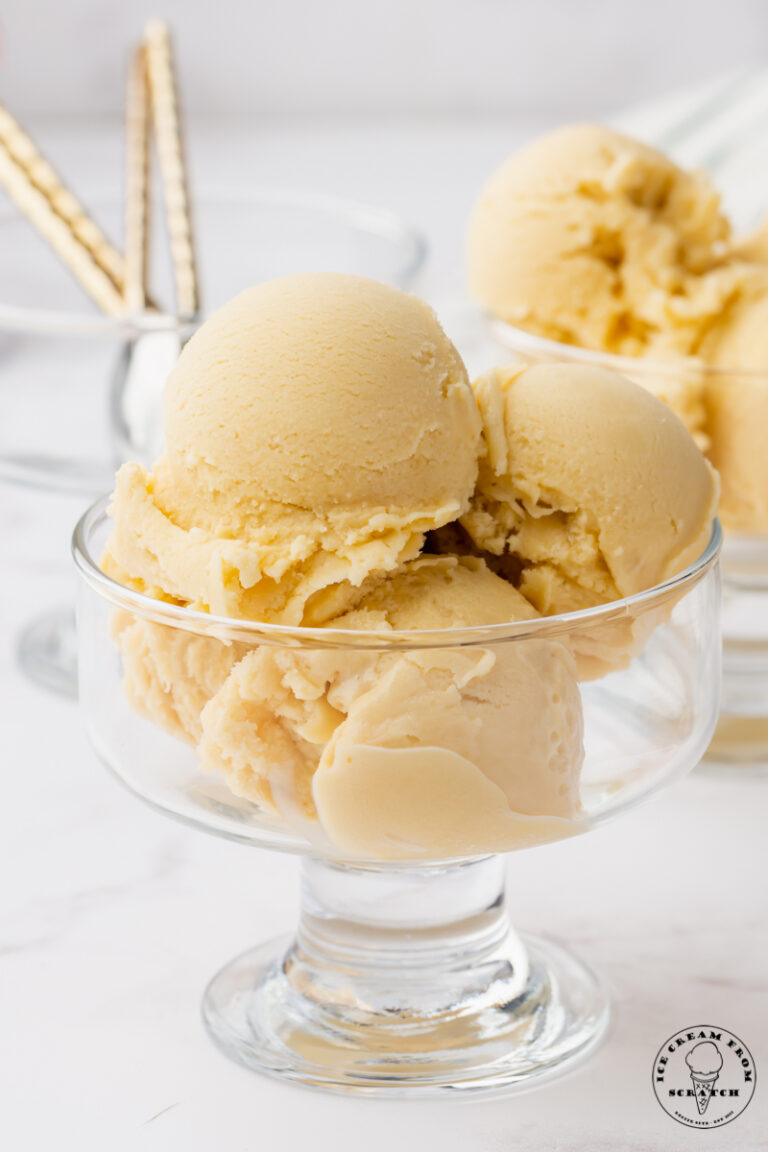
Peanut Butter Ice Cream
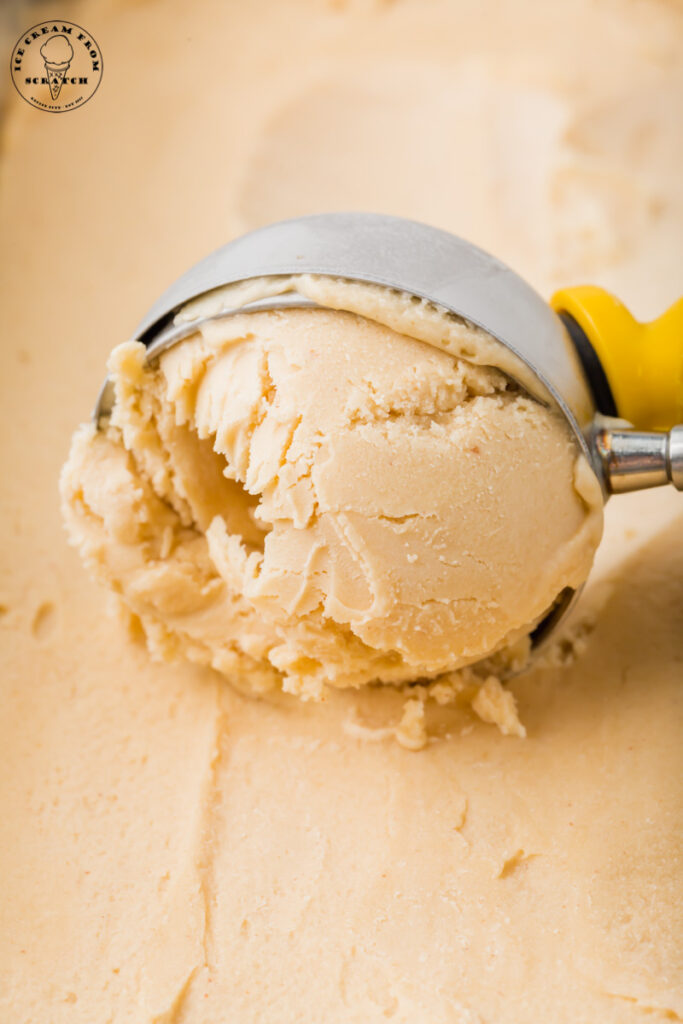
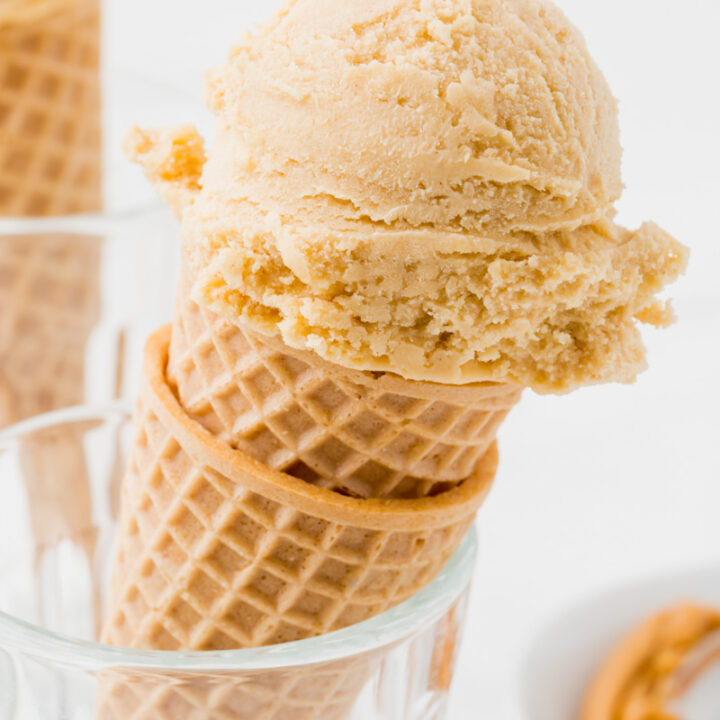
This is the creamiest, smoothest Peanut Butter Ice Cream recipe ever! It’s packed with nutty flavor, and the perfect blank slate for some optional chocolate add-ins.
This is a traditional, French-style ice cream made using an egg custard base and an ice cream machine. Peanut Butter ice cream is naturally gluten free.
You will love Peanut Butter Ice Cream on a sundae bar, or as a late night TV watching treat. If you’re a peanut butter lover, you have to try this amazing, creamy recipe.
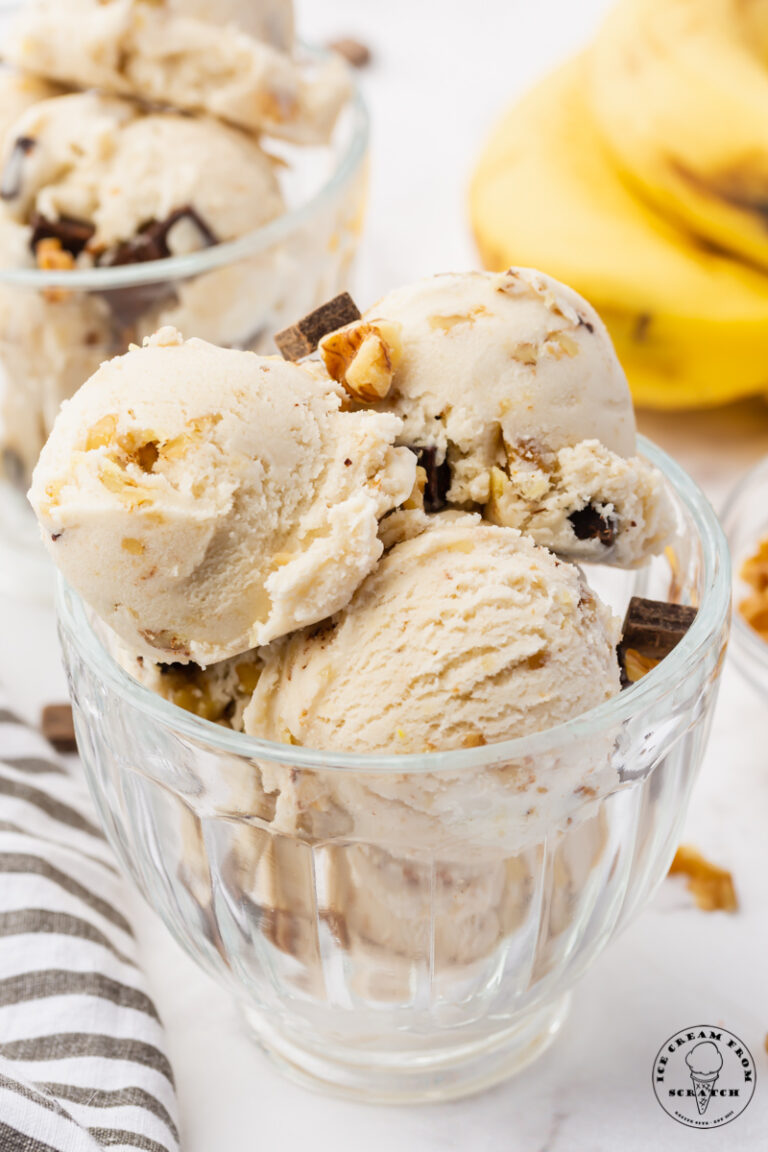
I’ve always been a fan of peanut butter ice cream. I love it with hot fudge or chopped chocolate mixed in. It’s also really good on its own, particularly if it’s creamy and smooth like this peanut butter ice cream is.
This recipe is just as good as the fresh peanut butter ice cream that we get at the small local ice cream shop, but it’s much less expensive to make my own at home. And if you like this recipe, you’ll want to make chocolate peanut butter ice cream next.
Make a Peanut Butter Milkshake with this ice cream – it’s amazingly peanutbutter-y that way. Or use peanut butter ice cream in place of vanilla in your other favorite milkshake recipes.
If you need a vegan version, my friend has the perfect Vegan Peanut Butter Ice Cream.
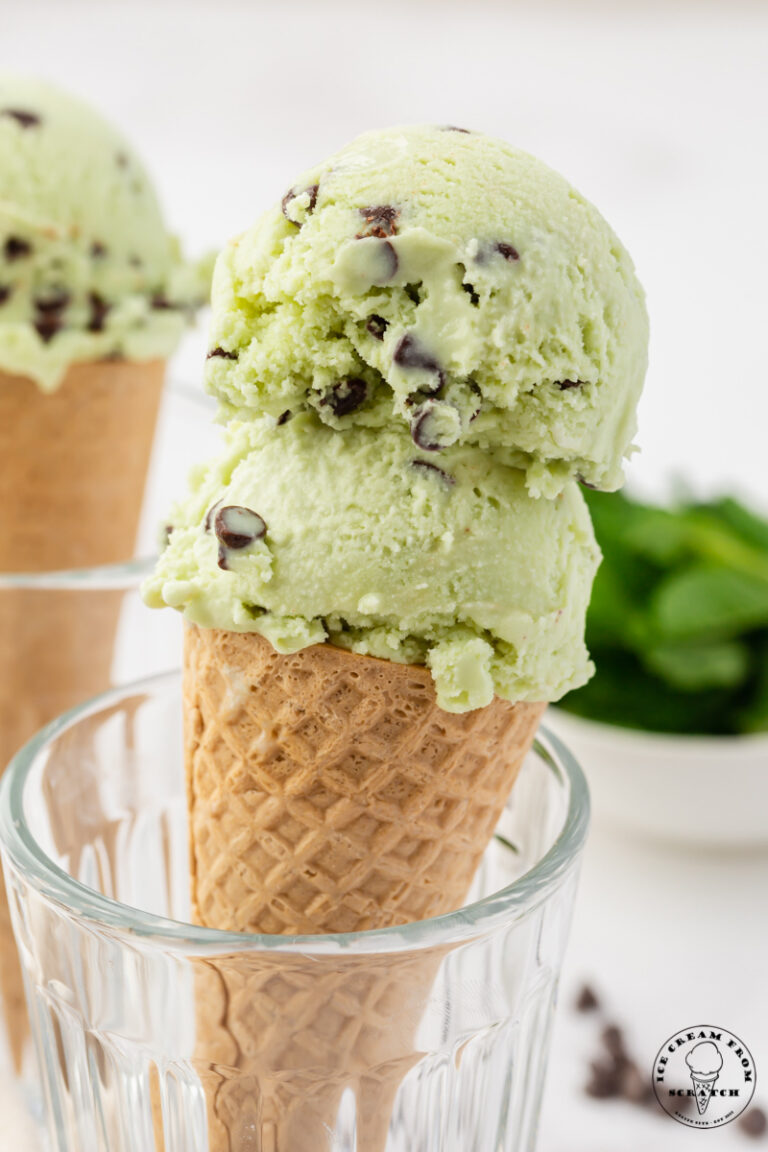
Pistachio ice cream is another rich and creamy, nutty treat that you’re sure to love.
Why you’re going to love this Peanut Butter Ice Cream Recipe
A Favorite Flavor – Peanut Butter is a classic, favorite flavor. I don’t know too many people who dislike peanut butter. Everyone will love it when you make this ice cream recipe.
Super Rich and Creamy – French style Peanut Butter ice cream is extra rich and creamy because it starts with an egg custard base. This means that there are a few more steps needed to make this ice cream, but they are completely worth it.
No Junk Ingredients – Homemade ice cream is made with ingredients that you can see and pronounce. No preservatives or additives are needed to make this creamy, rich ice cream.
Amazing for Add-ins – This recipe is perfect if you like to experiment with adding things to your ice cream recipes. I’ll give you some amazing add-in suggestions in a bit.
Step by Step Instructions – Don’t be intimidated by the amount of steps in this recipe. it’s really not as hard as it looks, and I’ll guide you through with step by step instructions. Once you get the hang of making custard bases for ice cream, you can make anything.
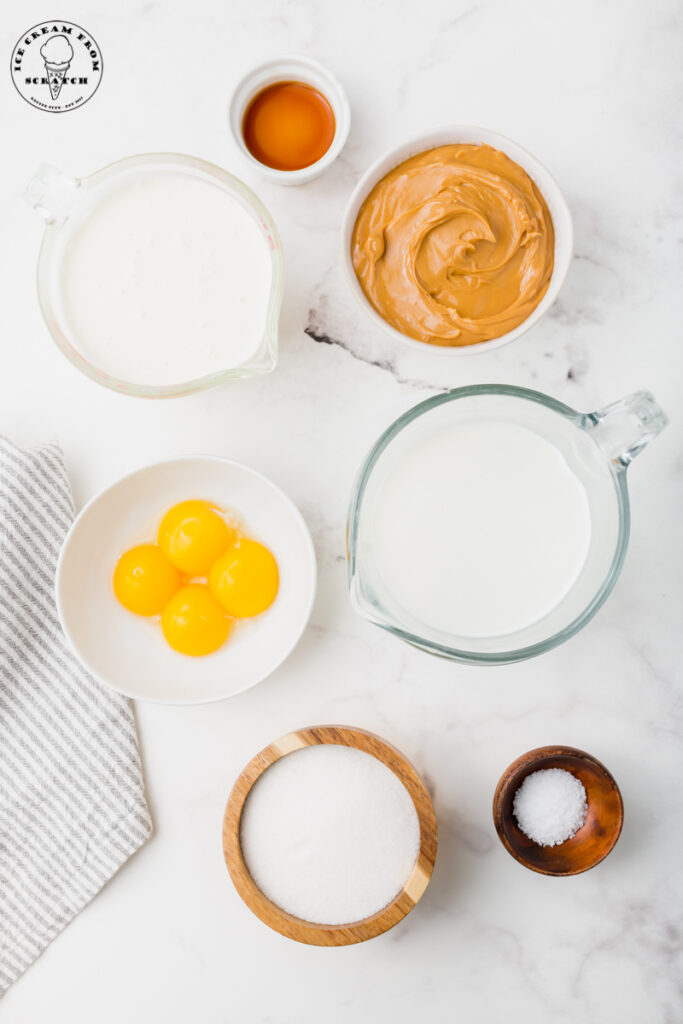
Ingredients in Homemade Peanut Butter Ice Cream
Egg Yolks – These create the base for our ice cream custard. We’ll gently heat the egg yolks to pasteurize them, but you can also purchase pasteurized eggs if you prefer.
Sugar – For sweetness and texture, plain, white, granulated sugar is the perfect choice.
Whole Milk – The first of our dairy items adds bulk and aids in getting the perfect creamy texture.
Creamy Peanut Butter – I suggest using a regular, creamy peanut butter to make this ice cream recipe. Crunchy peanut butter makes the overall texture a bit odd. Add chopped peanuts in later if you want that crunch.
Heavy Cream – A mix of both heavy cream and whole milk is what gives us the perfect creamy texture.
Vanilla Extract – Vanilla is a must for most ice cream recipes. Its flavor goes really well with peanut butter, and it elevates the simple flavors of the sugar and cream.
Sea Salt – This small amount of salt makes the peanut butter taste even better.
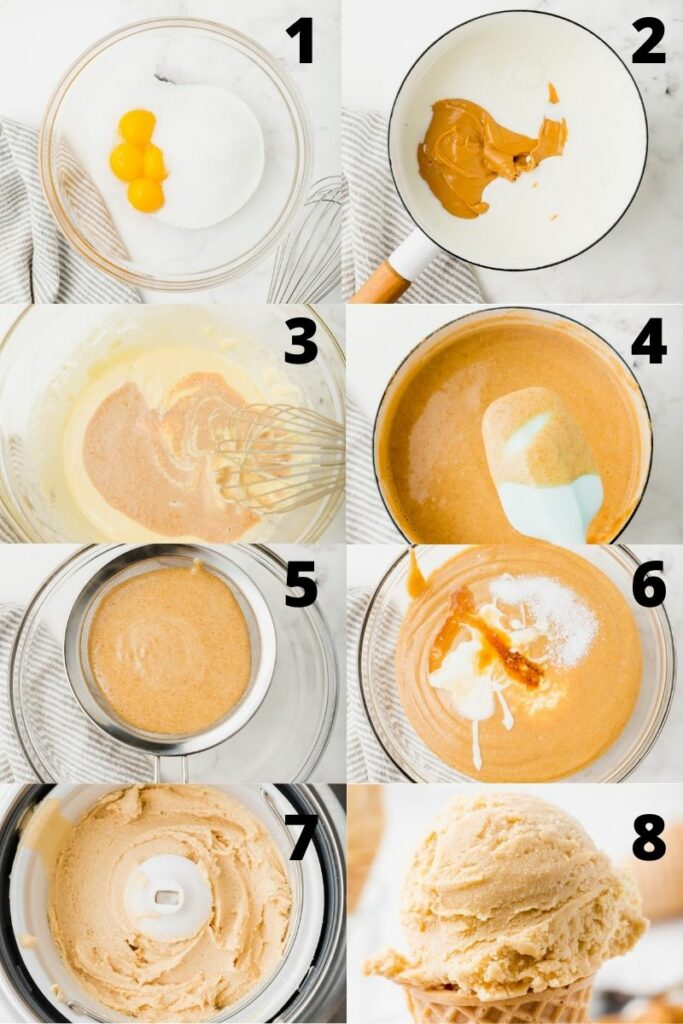
How to make Peanut Butter Ice Cream from Scratch
- In a medium bowl, whisk together the egg yolks and granulated sugar until smooth and pale yellow in color.
- Add the milk and peanut butter to a saucepan over medium heat. Whisk to combine. Bring the milk to a simmer and then remove it from the heat before it boils.
- Temper the eggs by adding 1/2 cup of the hot milk to the egg and sugar mixture, whisk constantly until combined. Then add the tempered egg mixture back into the saucepan with the remaining hot milk.
- Heat the saucepan on low. Stirring constantly, heat until the base has thickened enough to coat the back of a spoon. This should take a few minutes.
- Strain the mixture into a bowl to remove any pieces of egg that might have cooked.
- Add the heavy cream, vanilla extract, and salt and stir to combine. Cover the bowl, pressing plastic wrap to the surface of the ice cream base. Refrigerate for at least 3 hours, or until cold.
- Churn the ice cream in the chilled bowl of your ice cream machine according to the manufacturers instructions until it is thick and the consistency of soft serve ice cream.
- Spoon the ice cream into a shallow container or a loaf pan. Press plastic wrap or wax paper to the surface of the ice cream. Freeze for at least 4 hours, or until solid. Let sit at room temperature for about 5 minutes before serving.
These numbered steps match the numbered photos above and are for illustration purposes. For the complete list of ingredients and instructions, please see the recipe below.

How to Store Peanut Butter Ice Cream
Store this Peanut Butter Ice Cream in the freezer in an airtight container with a piece of parchment paper or wax paper pressed on top for up to one month.
Tips for making this Peanut Butter Ice Cream Recipe
Use quality ingredients – When making homemade ice cream, you’ll want to make sure you are using high quality ingredients for the best outcome.
Use Regular Peanut Butter – I tested this recipe using a typical sweetened, no-stir peanut butter. You can use natural peanut butter, but the ice cream base may look thinner.
Chill out – If possible, always start with chilled ingredients. This is important for homemade no-churn ice cream recipes and ice cream maker recipes.
Don’t skimp on the fat – High fat milks and creams are essential when making homemade ice cream. Opting for a low-fat option often leads to icy ice creams and inconsistency in the texture.
Don’t go crazy with the add-ins – If you’re adding in additional ingredients, pick one or two and make sure they are chopped into pieces no larger than a blueberry or pea.
Know when to add things in – Solid add-ins like chocolate, cookies, or nuts should be mixed in during the last two minutes of churning. Liquid or soft ingredients can be stirred in or swirled in before putting the pan in the freezer.
Don’t skimp on the sugar – Sugar not only adds sweetness to homemade ice creams, it also helps with the texture. Sugar is essential for the creamy texture in ice cream.
No Churn Peanut Butter Ice Cream Directions
It’s easy to make this recipe no-churn!
Chill a shallow container or a loaf pan in the freezer while you mix the ice cream ingredients.
Pour the ice cream mixture into the prepared pan and freeze for 3-4 hours. Stir the ice cream every 30 minutes for the first 2 hours to help add air. This will help create a creamy, smooth texture.
Peanut Butter Ice Cream Add-ins
I told you earlier that I was going to give you some excellent add-in ideas, so here they are! So many things are delicious in peanut butter ice cream. Try one or a few of them together for extra texture and variety.
- Mini chocolate chips, chopped chocolate bars, or a swirl of hot fudge sauce
- Chopped peanuts
- Crushed pretzels (these are especially delicious when paired with chocolate)
- Reese’s peanut butter cups, chopped
- Reese’s Pieces, chopped
- A swirl of strawberry, raspberry, or grape jam (whatever your favorite PB&J spread is)
- Chopped fresh strawberries or ripe bananas
- Crushed cookies – try Oreos or Nutter Butter cookies
- Marshmallows, or a swirl of marshmallow Fluff
How long does it take to make homemade ice cream?
This recipe only takes about 30 minutes of hands on cooking time. The hard part is waiting for the ice cream to be ready to eat. You’ll need to plan for the base to chill in the fridge for 3 hours, and then for the ice cream to harden in the freezer for 4 hours, at a minimum.
Can I make peanut butter ice cream without an ice cream maker?
Yes! This recipe works well as a no-churn ice cream recipe. There are instructions a few paragraphs up to convert this to a recipe that doesn’t require a machine.
More Homemade Ice Cream Recipes to Make
- Dog Ice Cream
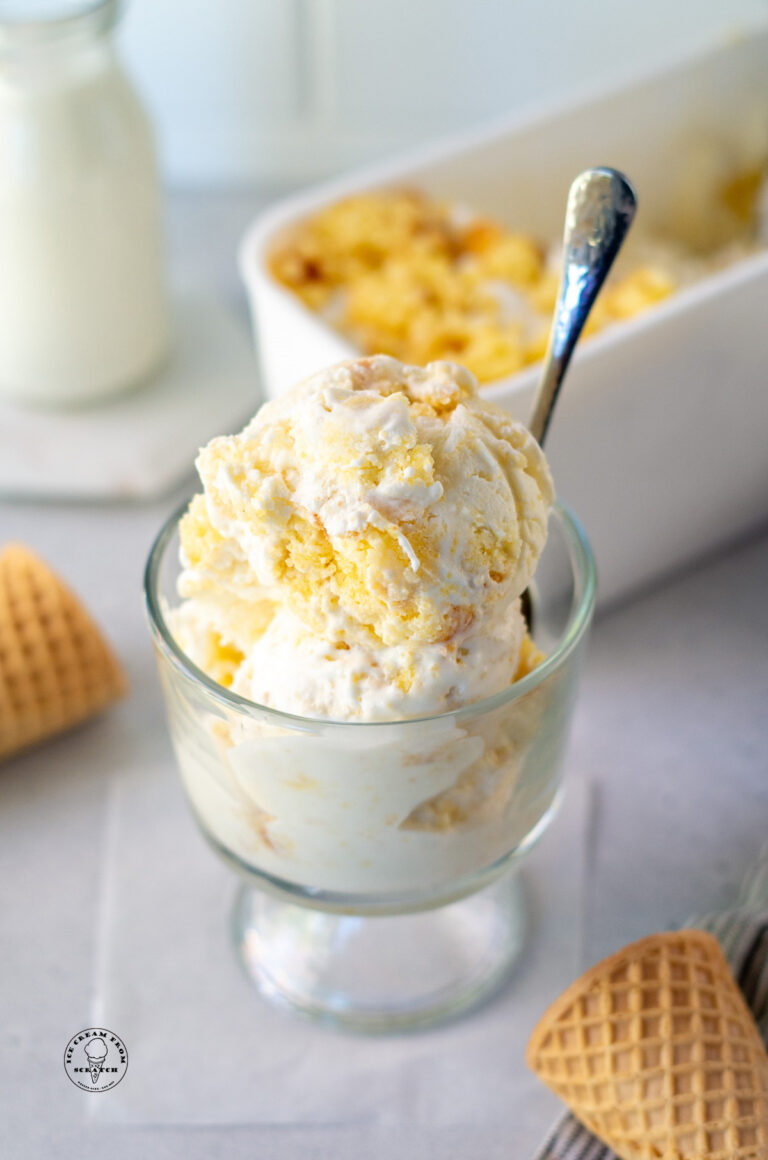
- Apple Pie Ice Cream
- Black Walnut Ice Cream
- Sweet Cream Ice Cream
- Chocolate Peanut Butter Milkshake
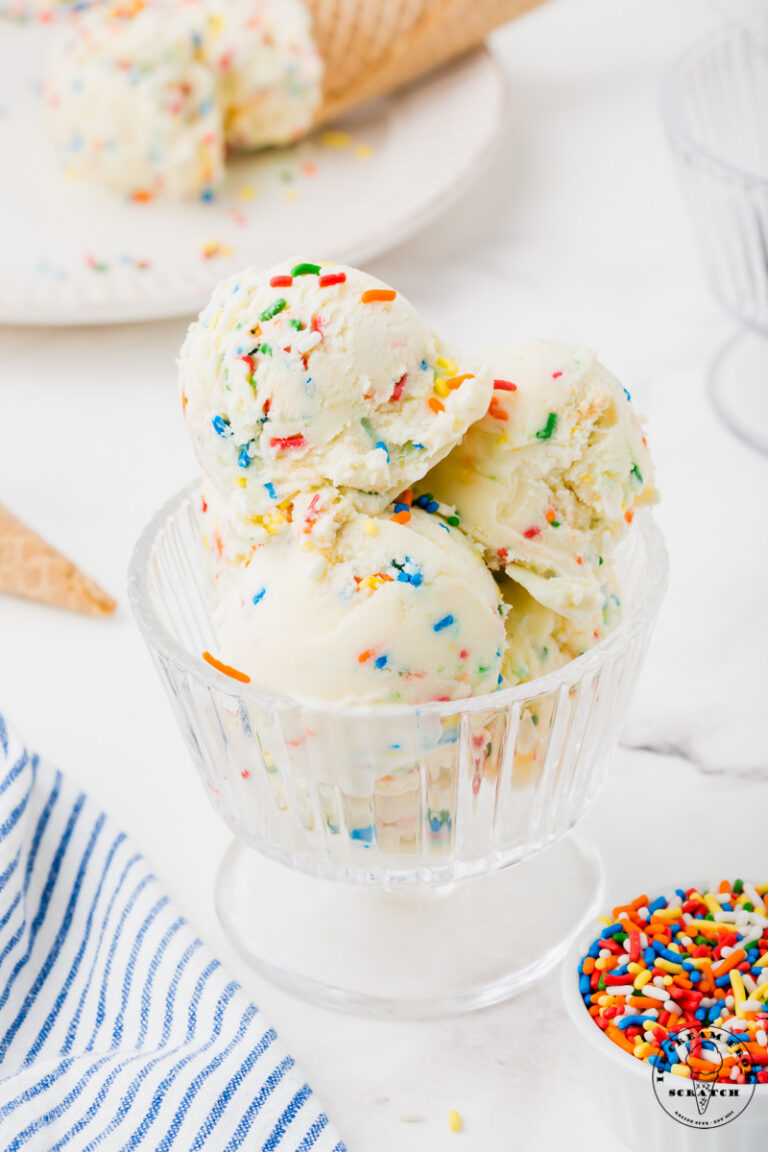
- Birthday Cake Ice Cream
LET’S GET SOCIAL, you can follow us on Pinterest or leave a comment below if you have any questions.
Did you make this Peanut Butter ice cream recipe? Leave a comment below letting us know what you thought and if you added any additional add-ins.
Peanut Butter Ice Cream
This is the creamiest, smoothest Peanut Butter Ice Cream recipe ever! It's packed with nutty flavor, and is rich and delicious because of its custard base.
Ingredients
- 4 large egg yolks
- 3/4 cup granulated sugar
- 1 1/2 cups whole milk
- ¾ cup creamy peanut butter
- 1 1/2 cups heavy cream
- 2 teaspoons vanilla extract
- 1 tsp sea salt
Instructions
- Chill the ice cream bowl for at least 24 hours or until solid. You should not hear any water sloshing around when you shake the bowl.
- In a medium bowl, whisk together the egg yolks and granulated sugar until smooth and pale yellow in color.
- Add the milk and peanut butter to a saucepan over medium heat. Whisk together until combined. Bring the milk mixture to a simmer and then remove from the heat. Be sure not to boil.
- Add about 1/2 cup of the hot milk mixture to the egg and sugar mixture and whisk constantly until combined.
- Then, add the tempered egg mixture back into the saucepan with the remaining hot milk.
- Heat the saucepan on low. Stirring constantly, heat until the base has thickened enough to coat the back of a spoon. This should take a few minutes.
- Strain the mixture into a bowl to remove any pieces of egg that may have cooked.
- Add the heavy cream, vanilla extract, and salt and stir to combine.
- Cover the bowl with plastic wrap making sure to have the plastic wrap touching the surface of the ice cream base. This will help keep it from forming a skin while chilling. Refrigerate for at least 3 hours, or until cold.
- Churn the ice cream mixture in the bowl of your ice cream machine according to your manufacturer’s instructions (mine took about 20 minutes), until it is thick and the consistency of soft-serve ice cream.
- Spoon the ice cream into a shallow container or a loaf pan. Press plastic wrap or wax paper to the surface of the ice cream. Freeze for at least 4 hours, or until solid. Let sit at room temperature for about 5 minutes before serving.
Notes
Nutrition Information:
Yield: 6 Serving Size: 1Amount Per Serving: Calories: 587Total Fat: 43gSaturated Fat: 19gTrans Fat: 1gUnsaturated Fat: 20gCholesterol: 228mgSodium: 632mgCarbohydrates: 38gFiber: 2gSugar: 32gProtein: 15g
I just made the base for this. It’s cooling in the fridge right now. It’s delicious and I can’t wait until it’s done. Thank you!
We’re so glad you like it. Thank you for taking the time to stop back by and let us know.
The Ice Cream From Scratch Team
Do you use peanut butter that has salt already in it?
Great question, Diana! Sometimes we do use salted peanut butter. We haven’t found it to make that big of a difference in saltiness.
The Ice Cream From Scratch Team